
 Pin it
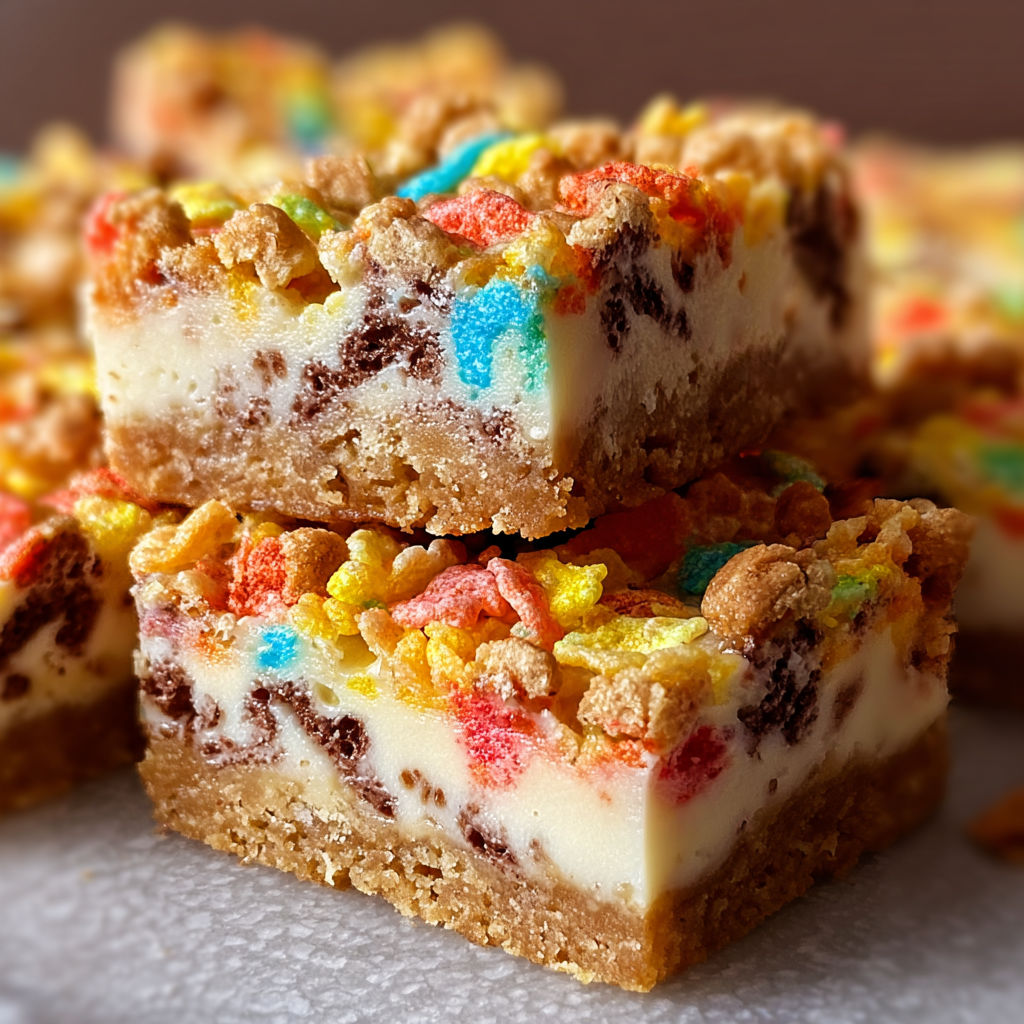
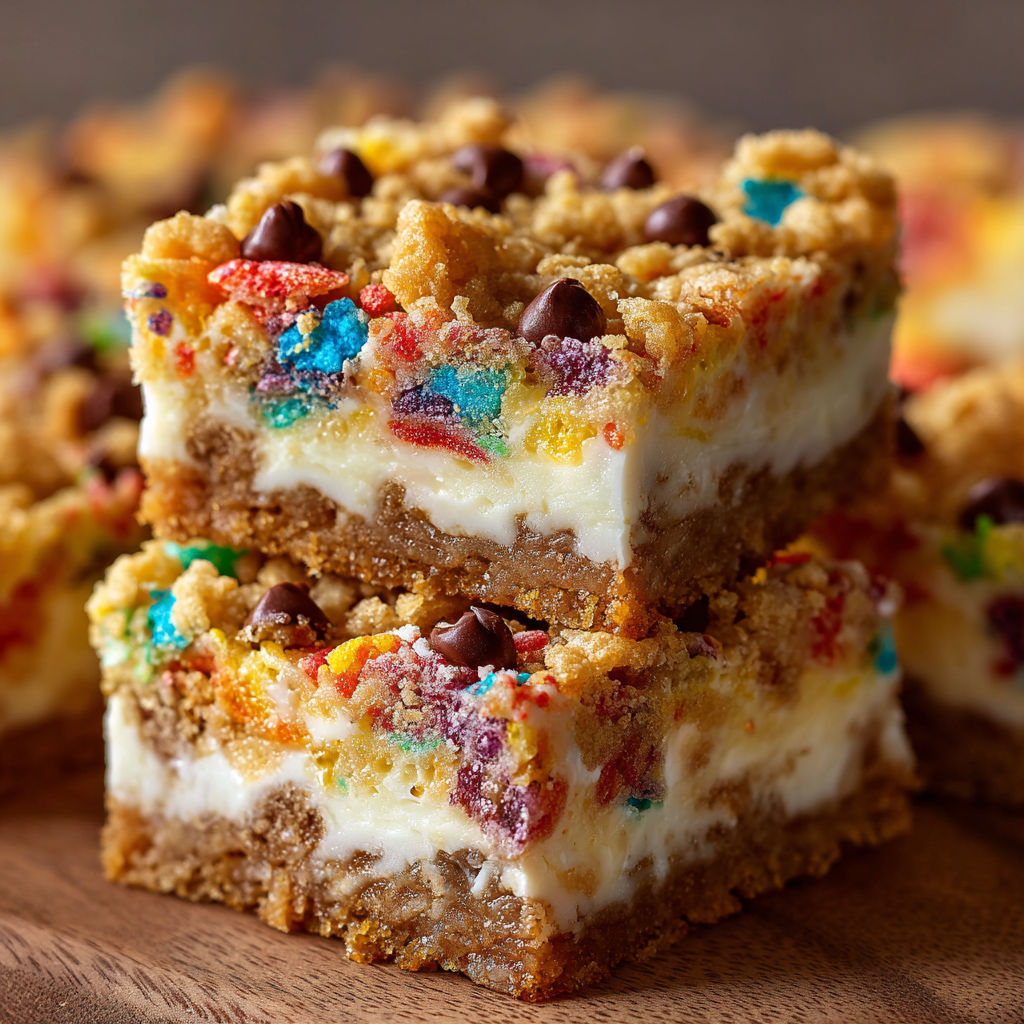
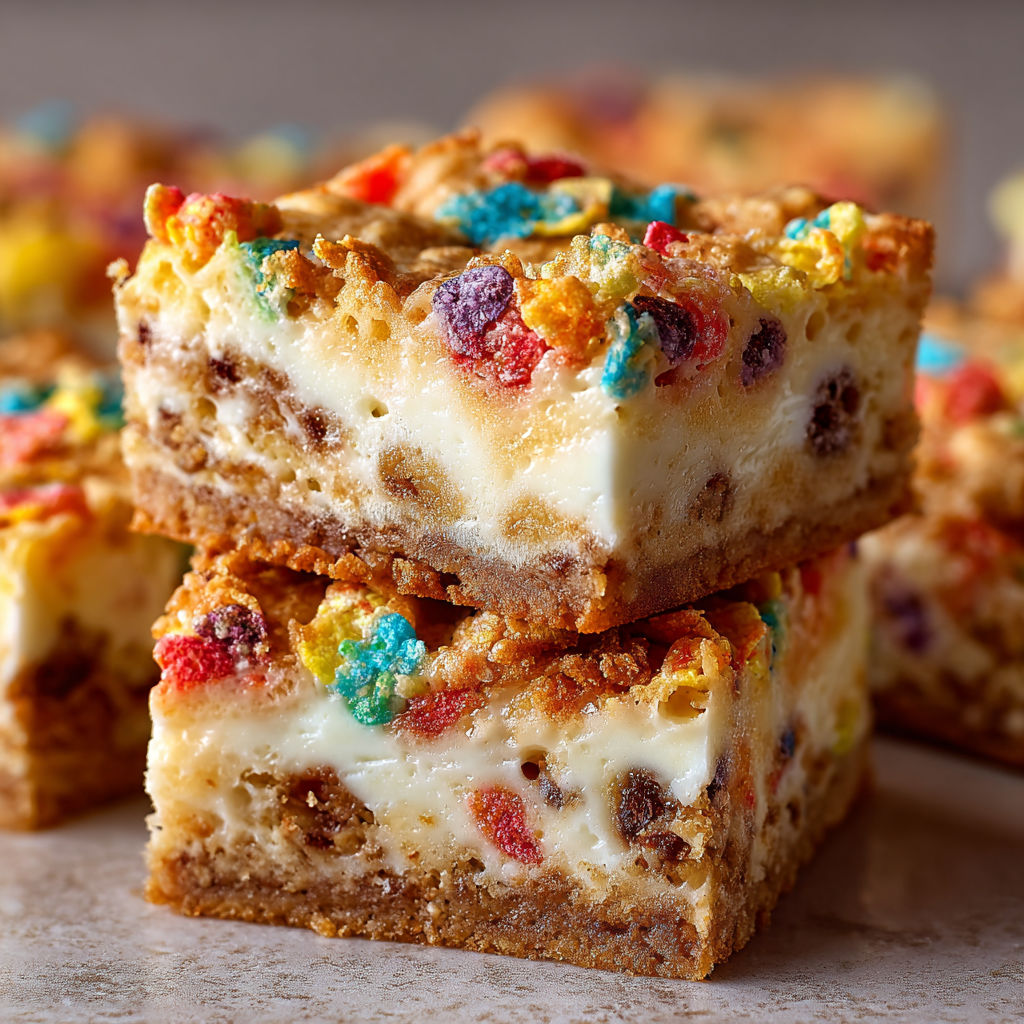
Fruity Pebbles Cookie Cheesecake Bars are pure joy in dessert form and the kind of treat that instantly perks up any gathering. Perfect for birthdays, potlucks, or weekend baking with kids, these bars combine the ultimate party cereal crunch with creamy cheesecake and buttery cookie layers. Every bite brings back a bit of childhood nostalgia with a modern twist.
My family cannot get enough of these and every time I bring a batch to a get-together they disappear within minutes. The rainbow top always earns a smile and the mix of flavors feels so nostalgic.
Ingredients
- Sugar cookie dough (pre-made, 16 ounces): For a buttery base and chewy texture pick a refrigerated brand you trust
- Fruity Pebbles cereal (1 cup, divided): For a signature crunch and pops of color fresh cereal keeps that crisp bite
- Cream cheese (8 ounces, softened): For creamy tanginess use full fat and check for a smooth texture
- Granulated sugar (1 quarter cup): To sweeten the filling with balance
- Large egg: Binds the cheesecake and adds richness choose a fresh egg for best results
- Vanilla extract (1 teaspoon): Provides warmth and depth use pure vanilla if you can
Instructions
- Mix the dough base:
- In a mixing bowl stir together the sugar cookie dough with half a cup of Fruity Pebbles cereal mixing until the cereal pieces are evenly scattered throughout. This blend will give your crust its unique snap and colorful look.
- Form the crust:
- Grease an eight by eight inch baking pan thoroughly. Press two thirds of your cookie dough and cereal mixture into the bottom of the pan creating an even layer from edge to edge. Push firmly so the crust stays compact and holds up to the cheesecake layer.
- Make the cheesecake layer:
- In a clean bowl beat together the softened cream cheese with granulated sugar egg and vanilla extract. Mix until absolutely smooth with no lumps. Use a hand mixer if you have one for the creamiest texture. Spread this mixture over the cookie crust using a spatula to reach all corners.
- Pour the cheesecake filling evenly over the cookie crust:
- Use a spatula to carefully level and spread the cheesecake filling so that it sits evenly on top of the cookie base ensuring every bite has both cookie and cheesecake.
- Top it off:
- Crumble the remaining cookie dough on top in small pieces for pockets of chewy cookie throughout the bars. Then scatter the remaining half cup of Fruity Pebbles cereal over everything pressing gently so the cereal sticks and creates a colorful tiled effect.
- Bake the bars:
- Heat your oven to three hundred fifty degrees Fahrenheit. Bake the pan for twenty five to thirty minutes watching for the edges to turn golden and the center to look set but not overly browned. If it jiggles only slightly in the middle when you shake the pan it is ready.
- Cool and chill:
- Let the bars cool completely in the pan on a rack. Transfer the pan to the fridge for at least one hour before cutting. Chilling helps the cheesecake layer firm up making clean slices possible and blending the flavors beautifully.
My hands-down favorite part is the way Fruity Pebbles stay extra crispy right on top even after baking. I once made a batch for my nephew’s birthday and he declared it the best dessert ever because he got to eat his favorite cereal in a whole new way.
Storage Tips
After slicing store bars in an airtight container in the refrigerator. They will keep their texture and flavor for up to five days. If you want them extra chilled for a firmer bite freeze the bars individually wrapped and thaw for a few minutes before serving.
Ingredient Substitutions
If you only have homemade sugar cookie dough that works perfectly and adds an extra touch of personalization. Swap Fruity Pebbles for any colorful crisp rice cereal to shake up the flavor but nothing beats the original for that iconic taste.
Serving Suggestions
For a dessert platter cut bars into small squares and pile them high. Try drizzling with a little white chocolate for a holiday spin or serving with a scoop of vanilla ice cream for an over-the-top sundae experience.
Cultural Note
Fruity Pebbles first hit breakfast tables in the nineteen seventies and quickly became beloved for their bold colors and sweet fruity scent. Reimagining this childhood favorite as a cheesecake bar bridges nostalgia and modern dessert creativity in the best way.
Seasonal Adaptations
Mix in freeze-dried strawberries for an extra fruity punch
Top with rainbow sprinkles for Pride Month or birthdays
Use chocolate cookie dough and Cocoa Pebbles for a chocolate lover’s twist
Success Stories
These bars travel surprisingly well making them perfect for school bake sales and picnic baskets. I have seen kids eagerly trade their lunch snacks for just one bite and adults ask for the recipe more than almost any other treat.
Freezer Meal Conversion
To freeze cut bars individually wrap in parchment then store in a freezable zip top bag. Defrost overnight or enjoy them straight from the freezer for extra chewy flavor.
However you serve them, these bars make any day brighter and are sure to spark conversation and smiles. Make a double batch — they go fast!
Recipe FAQs
- → Can I use flavored cream cheese?
Yes, flavored cream cheese like strawberry or vanilla blends well with Fruity Pebbles for a unique taste.
- → How do I know when the bars are done baking?
The bars are ready when the edges turn golden and the center feels set but slightly jiggly.
- → Do I need to chill before slicing?
Chilling helps the cheesecake layer firm up, making it easier to achieve clean slices and layers.
- → Can I substitute other cereals?
Other crispy cereals like Cocoa Pebbles or Rice Krispies work well, offering different flavors and textures.
- → How should I store leftovers?
Keep leftovers refrigerated in an airtight container for up to 4 days for best freshness and texture.