
 Pin it
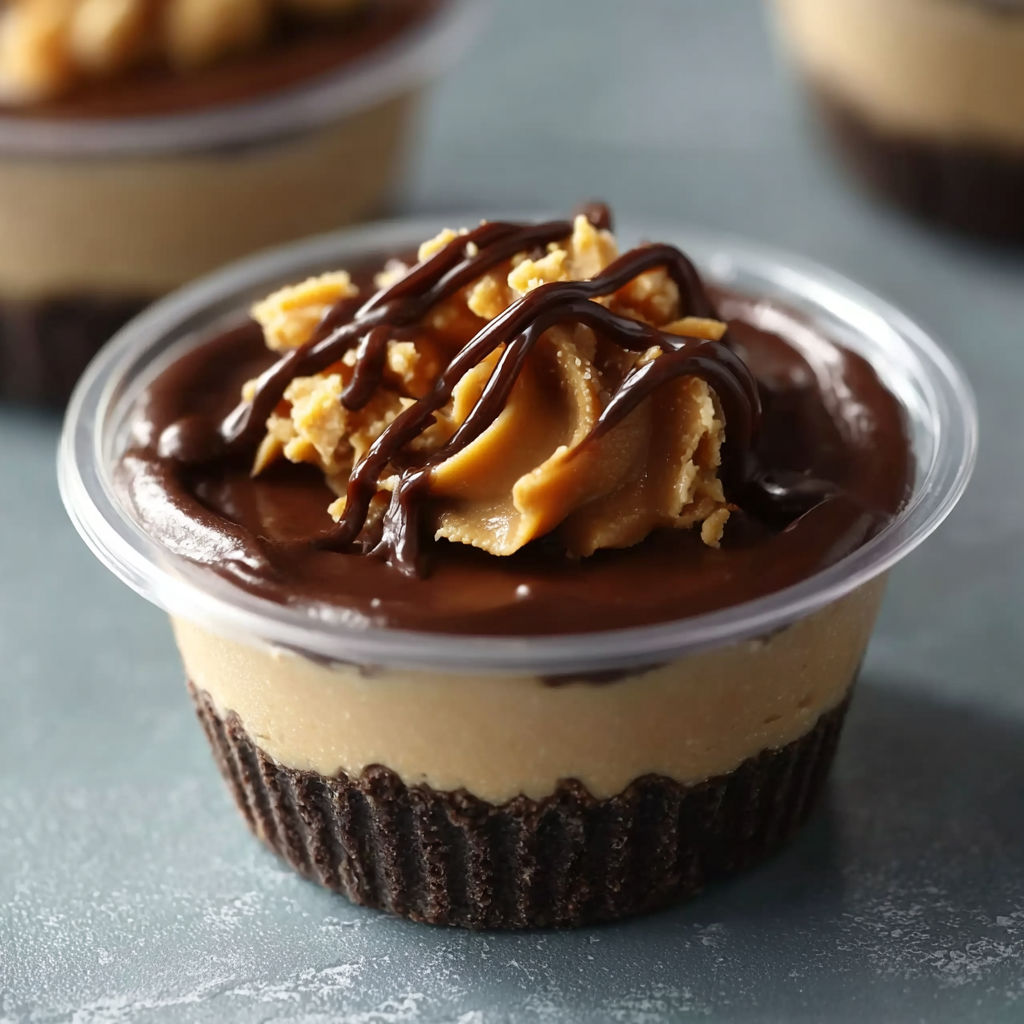
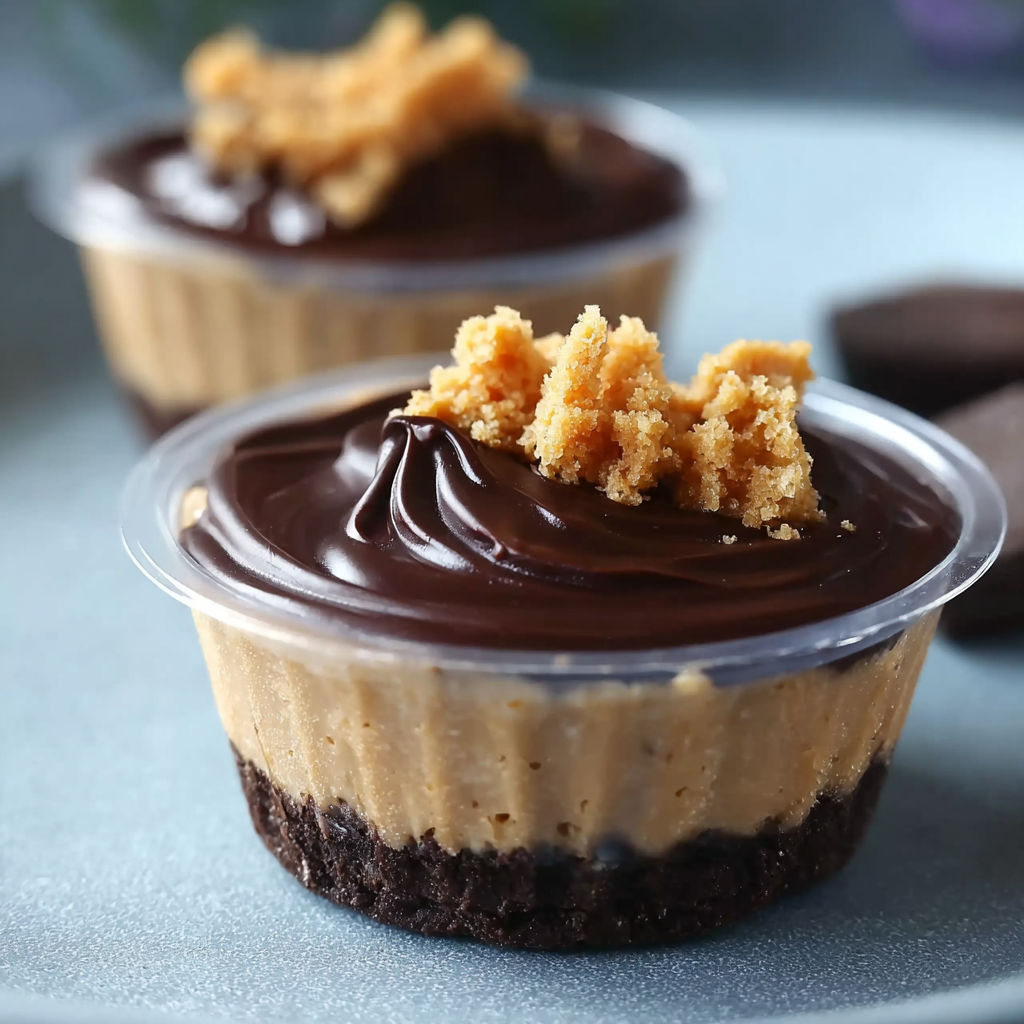
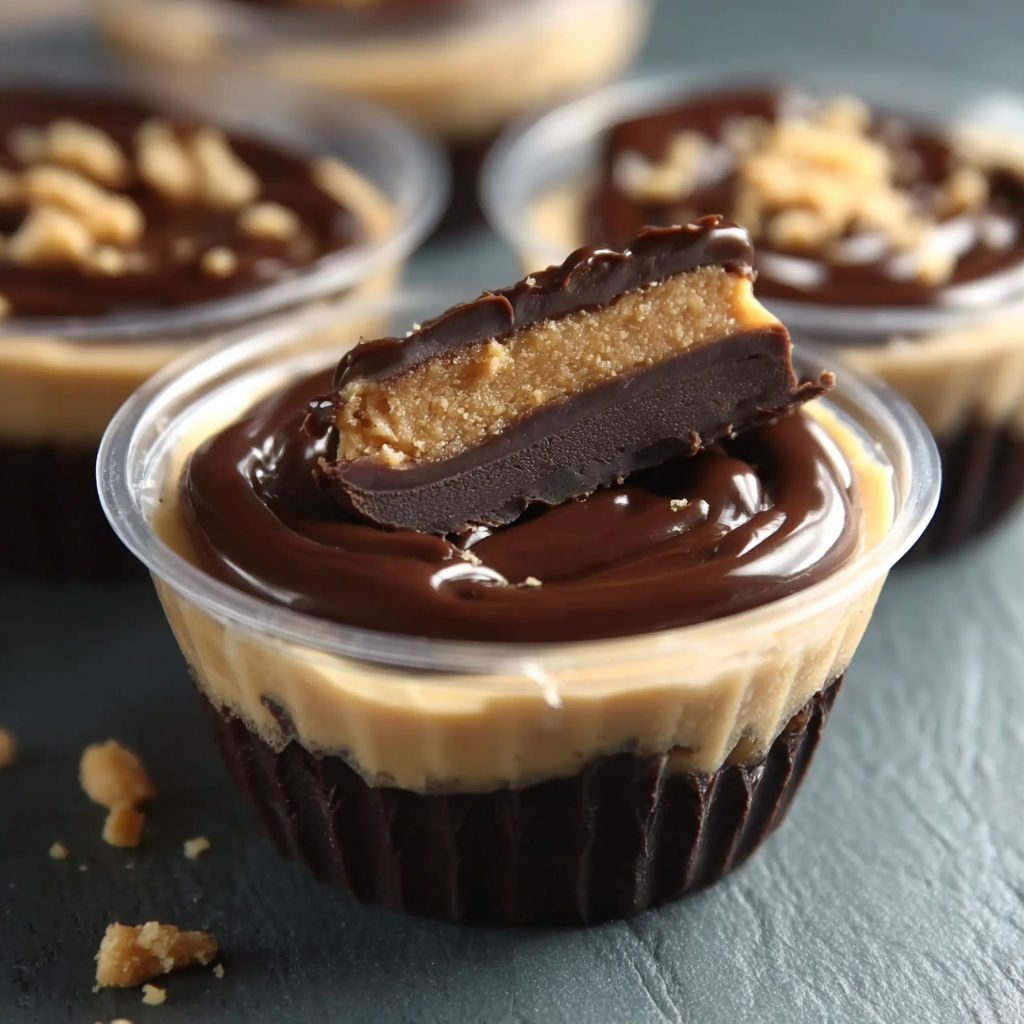
When I make Chocolate Peanut Butter Cups at home I want something crowd pleasing but still easy enough to pull together whenever the craving calls. These little desserts have the nostalgia of classic peanut butter cups but with the creamy texture of a no bake cheesecake. They are perfect for parties birthdays or just keeping in the fridge for a sneaky sweet treat anytime.
Every time I serve these at gatherings I watch them disappear long before the rest of the dessert table is touched. My family actually requests them for every holiday now
Ingredients
- Chocolate sandwich cookie crumbs: Add the perfect amount of chocolate crunch I like to use chocolate creme cookies for extra richness
- Butter: Helps bind the cookie base together Choose a high quality unsalted butter for the richest flavor
- Cream cheese: Forms the base for the filling It should be room temperature for easy mixing
- Granulated sugar: Sweetens the filling and balances the salty peanut butter
- Vanilla extract: Rounds out the flavors opt for pure vanilla if you can
- Peanut butter: Creamy style gives the smoothest texture I always go for regular not natural for easier mixing
- Heavy cream: Makes the filling extra rich and light Whip it well for maximum fluffiness
- Chocolate chips: For a quick ganache topping go for semisweet so it is not too sweet
- Mini peanut butter cups: Finish each dessert with the perfect bite
Instructions
- Prepare the crust:
- In a small bowl mix chocolate sandwich cookie crumbs with melted butter until every bit is moist and dark
- Assemble the crust:
- Scoop about a tablespoon of the mixture into each of your plastic cups then use another cup to press down firmly forming an even layer at the bottom
- Prepare the filling:
- In a large bowl beat room temperature cream cheese with sugar and vanilla until smooth and creamy You want the sugar fully dissolved and no lumps left
- Whip the cream:
- Using a separate chilled bowl whip the heavy cream until it holds stiff peaks When you lift the beater the cream should stand up on its own
- Combine:
- Gently fold the whipped cream into the peanut butter cream cheese mixture using a spatula Instead of stirring in circles scoop under and over to keep the mixture light and airy
- Fill the cups:
- Spoon or pipe the peanut butter filling into each prepared cup filling just past the halfway point but not quite to the top
- Make the ganache:
- Combine chocolate chips with a splash of heavy cream in a microwaveable bowl Heat in 30 second intervals stirring after each until everything is glossy and smooth
- Top the cups:
- Drizzle a little ganache over the filling of every cup then crown each one with a mini peanut butter cup right in the center
- Chill:
- Place lids on each dessert cup and chill for at least two hours or until set This helps the flavors come together and the texture get delightfully creamy
The highlight for me is always the whipped cream folded into the filling It makes the cups fluffy and indulgent with a cloudlike texture These remind me of making homemade candies with my sister on long summer afternoons every bite brings those memories back
Storage Tips
Keep these cups sealed in the fridge for up to five days They stay just as delicious and creamy I do not recommend freezing because the texture can become grainy once thawed
Ingredient Substitutions
You can swap the chocolate sandwich cookies for graham crackers if needed or use almond butter instead of peanut butter for a fun twist If you only have natural peanut butter be sure to stir it very well before adding to avoid a separated filling
Serving Suggestions
These make cute edible gifts just tie a ribbon around the cup Or arrange them on a big platter for a party dessert table You could even sprinkle chopped peanuts or flakes of sea salt on top for extra crunch and impact
Cultural History
The combo of chocolate and peanut butter is a beloved American classic that has been a staple since the 1920s Thanks to the rise of chocolate candies and the growing obsession with peanut butter treats these cups have found a place in every generation’s lunchbox and sweet stash
Seasonal Adaptations
For fall try swirling a spoonful of pumpkin puree into the cream cheese mixture In spring add a few fresh raspberries on top before chilling Around the holidays swap the mini peanut butter cup with a chocolate snowflake or festive candy on top
Success Stories
Kids love assembling these themselves for birthday parties I have had little cousins piping their own cups with huge grins on their faces Sometimes we have fun layering a bit of strawberry or raspberry jam in the center for a PB and J surprise
Freezer Meal Conversion
If you really want to freeze these for longer storage place assembled cups on a tray uncovered in the freezer until firm Cover and store for up to a month Thaw in the fridge overnight for the best results
These peanut butter cups will bring sweet smiles and a bit of nostalgia to any table. They are so easy you will want to make them again and again.
Recipe FAQs
- → Can I use a different cookie for the crust?
Yes, you can substitute chocolate sandwich cookies with graham crackers or vanilla cookies for a unique twist.
- → How long do the cups need to chill?
They should be chilled for at least 2 hours to allow the filling to set properly and flavors to blend.
- → Can I make the dessert ahead of time?
Absolutely. You can prepare the cups a day in advance and store them refrigerated until serving.
- → Is there a nut-free alternative?
Try using sunflower seed butter instead of peanut butter for a nut-free version while maintaining creaminess.
- → What’s the best way to create smooth ganache?
Heat the cream and chocolate chips gently, stirring until glossy and lump-free for a perfect ganache layer.