
 Pin it
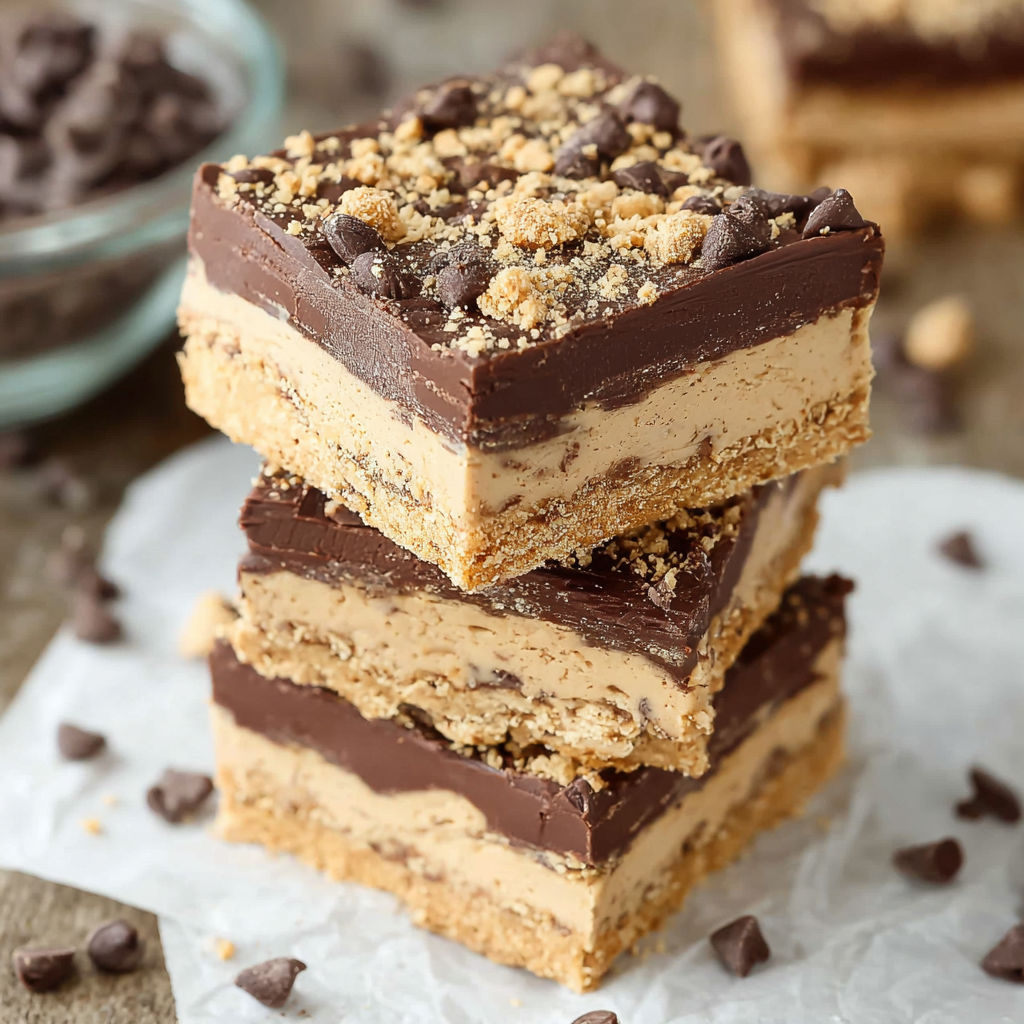
Disneyland Peanut Butter Squares are pure nostalgia for anyone who grew up visiting the park. Based off the famous treats from Main Street, this bar cookie is full of sweet and salty layers with the perfect creamy and crunchy balance. I love making these for birthday parties or as a no bake dessert when I want something rich but playful.
The first time I made these was ahead of a school bake sale. They disappeared in minutes and one teacher tracked me down for the recipe. They remind me of wandering Main Street as a kid and feeling like I had my own slice of Disneyland at home.
Ingredients
- Graham cracker sheets: bring crunch and mild sweetness look for firm sheets without cracks
- Creamy peanut butter: makes a soft and rich filling use a mainstream or stabilized variety for best texture
- Butter: creates smoothness and depth choose unsalted and let it soften well
- Vanilla: rounds out the sweetness pure extract gives the deepest flavor
- Salt: enhances all flavors use a fine sea salt for even distribution
- Powdered sugar: sweetens and firms the filling sift if needed to avoid lumps
- Shortening: is added to the chocolate for shine and easy spreading use fresher shortening to avoid off flavors
- Semi sweet chocolate chips: for a thick classic topping pick a chocolate you would enjoy eating on its own
Instructions
- Prepare Baking Dish:
- Spray a 9 by 13 inch glass baking dish with nonstick spray making sure to coat all corners for easy removal later
- Crush Graham Crackers:
- Place 2 sheets of graham crackers in a sealable bag and crush gently with a meat mallet or a heavy glass until you have fine crumbs set aside for topping
- Make Peanut Butter Filling:
- Combine peanut butter softened butter vanilla and salt in a large bowl mixing until smooth and creamy. Gradually add powdered sugar bit by bit mixing well after each addition the mixture should become thick but still pliable
- Melt Chocolate Topping:
- Add chocolate chips and shortening to a microwave safe bowl. Microwave in 30 second bursts stirring between each until just melted and smooth take care not to overheat as chocolate can seize quickly
- Build First Layer:
- Lay 6 whole sheets of graham cracker across the bottom of your prepared baking dish to cover as evenly as possible
- Add Chocolate Base:
- Pour about one third of melted chocolate over the graham crackers smoothing into an even thin layer to act as glue for the next layer
- Layer Peanut Butter Mixture:
- Using your hands grab portions of the peanut butter filling flatten and gently press to layer over the chocolate and graham crackers aim for full coverage but work gently to avoid breaking the base
- More Chocolate:
- Pour another third of the melted chocolate over the peanut butter layer smoothing to cover evenly
- Add Second Graham Cracker Layer:
- Lay the remaining 6 graham cracker sheets across the chocolate so they cover the surface snugly
- Finish with Chocolate:
- Pour the rest of the melted chocolate over the top and spread for a glossy finish
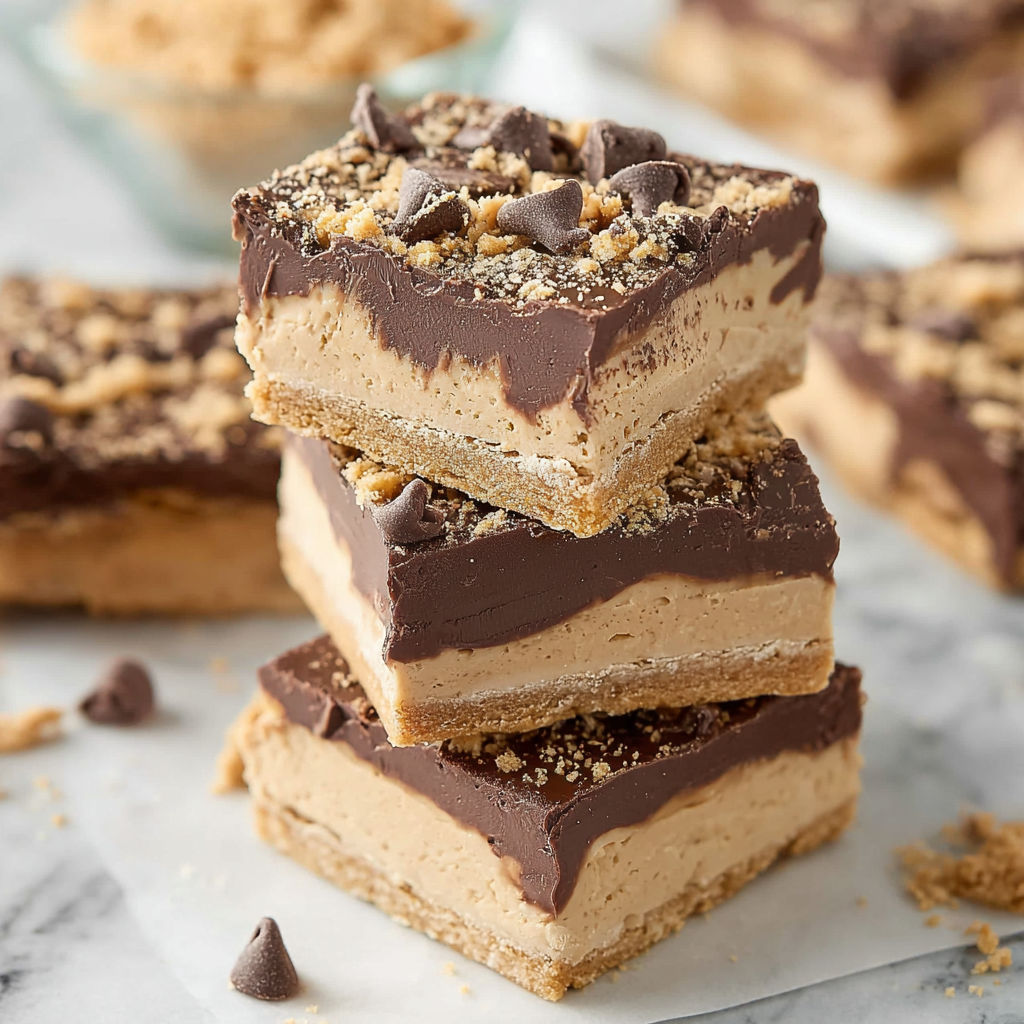
- Add Crumb Topping:
- Sprinkle the reserved crushed graham cracker crumbs evenly over the warm chocolate top for extra texture and a pretty look
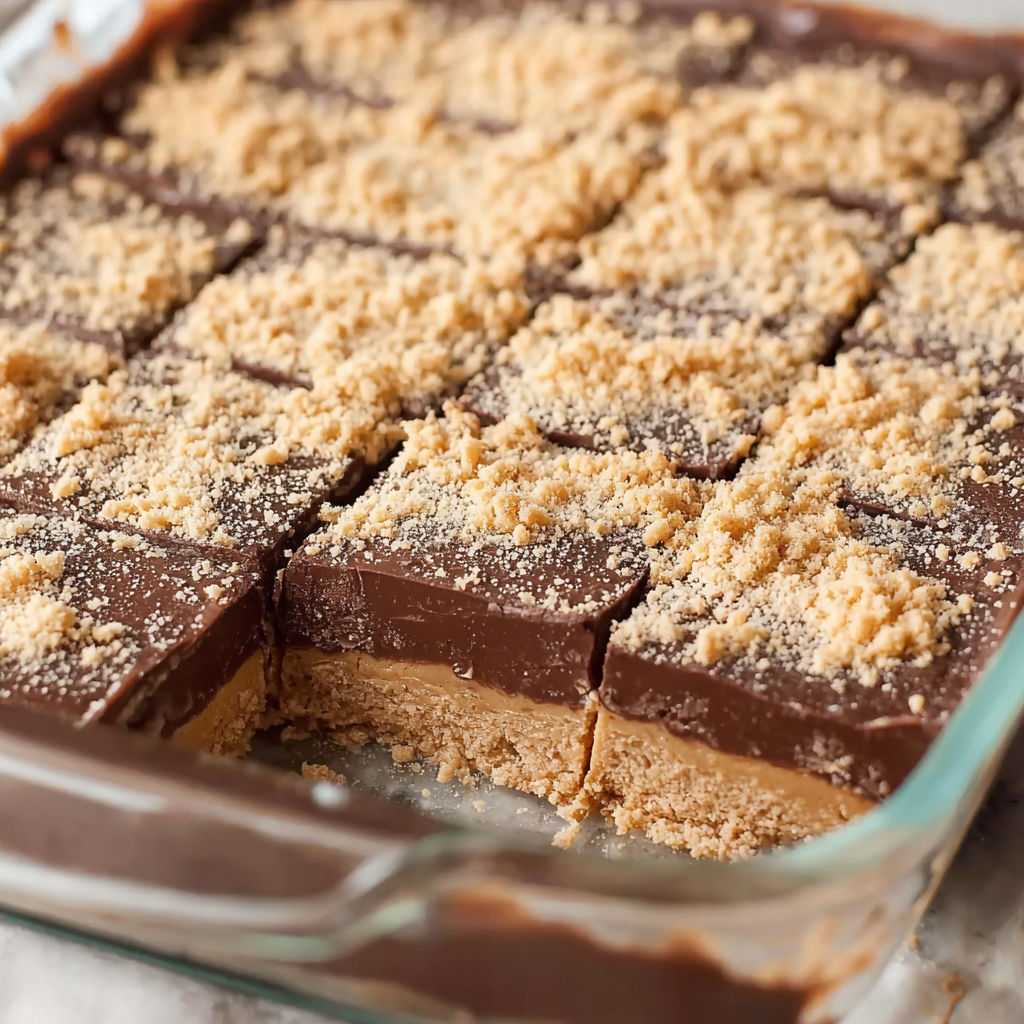
- Chill and Slice:
- Refrigerate for at least 1 hour until set then cut into tidy squares as large or small as you like
Peanut butter is the heart of this recipe. I still remember the first bite of these at Disneyland and how the filling was extra creamy and a touch salty almost like eating a peanut butter cup in layered form. Every time I make them at home my kids are right in the kitchen asking to lick the bowl.
Storage Tips
Keep leftover squares in an airtight container in the refrigerator for up to 5 days. For longer storage wrap them tightly in plastic and freeze in a single layer then transfer to a bag or airtight box. Thaw in the fridge for best texture.
Ingredient Substitutions
You can swap sunflower seed butter for peanut butter for a nut free version and it still tastes creamy. If you prefer dark chocolate swap out the semi sweet chips for bittersweet. Gluten free graham crackers will work just fine in this recipe if you need a wheat free option.
Serving Suggestions
Cut into bite size pieces for a dessert tray at parties. For a classic Disneyland experience serve these chilled on parchment. Sometimes I crumble a square over vanilla ice cream for an ultra decadent treat that brings out both the peanut and chocolate flavors.
Cultural and Historical Context
The Disneyland Peanut Butter Square echoes the classic American combo of peanut butter and chocolate and has been a favorite treat since the mid-century amusement park boom. Many visitors remember these squares from their childhood trips and recreating them at home has become a beloved family tradition for many.
Seasonal Adaptations
Add a sprinkle of flake salt on top for a holiday version. Swap in almond butter and chopped roasted almonds for a winter spin. Drizzle with a bit of caramel for fall flair.
Success Stories
My neighbor once told me these squares were the only treat that made her forget about chocolate cake at a birthday. They are always a conversation starter at bake sales and after school events. Kids and adults alike ask for seconds.
Freezer Meal Conversion
These bars freeze beautifully. Cut into squares layer in parchment and stack in an airtight container. They are ready to grab for quick lunchbox treats or unexpected company.
Serve these squares chilled for the most authentic texture. Share with friends and enjoy a taste of Disneyland from the comfort of home.
Recipe FAQs
- → What type of peanut butter is ideal for these squares?
Creamy peanut butter provides a smooth texture that blends easily with the butter and sugar, ensuring a cohesive filling.
- → Can I substitute graham crackers with another ingredient?
While graham crackers offer classic texture, digestive biscuits or similar crunchy cookies can be used if preferred.
- → How should I melt the chocolate and shortening?
Use short bursts in the microwave and stir between to avoid burning. The mixture should be smooth and pourable.
- → How long should the squares chill before serving?
Allow at least one hour in the refrigerator for the layers to firm up and the flavors to develop fully.
- → Can these be prepared in advance for events?
Yes, their sturdy, set shape makes them excellent for making ahead and storing refrigerated until serving time.