
 Pin it
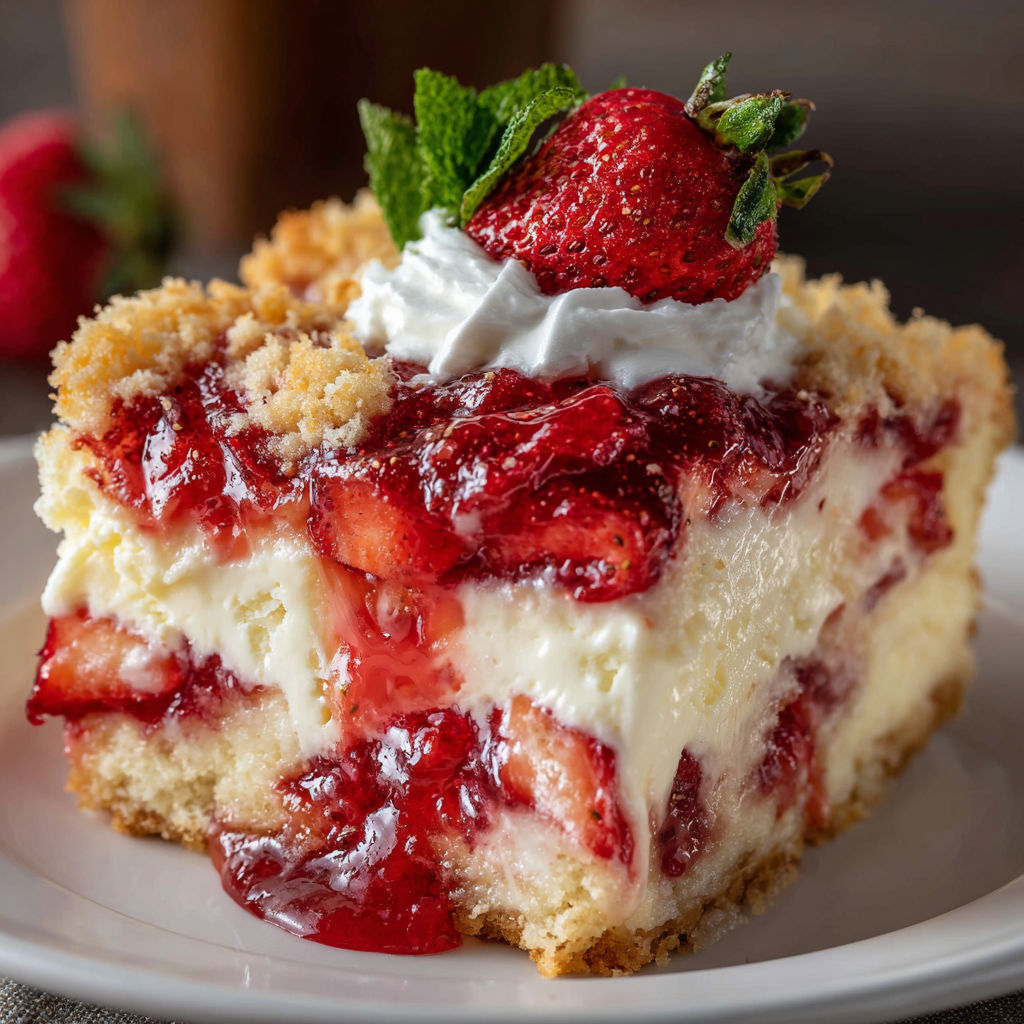
Strawberry Cheesecake Dump Cake is my go to dessert when I want something show stopping without breaking a sweat in the kitchen This recipe delivers all the flavors of classic strawberry cheesecake but in a warm gooey scoopable form perfect for any gathering or easy weeknight treat
My family was hooked the very first time I pulled this from the oven The golden crisp topping and creamy pockets are always a hit with kids and adults alike plus everyone loves how effortless it is
Ingredients
- Yellow or white cake mix: for a classic sweet and fluffy finish Pick a brand you trust for reliable results
- Strawberry pie filling: for bright tart berry flavor Canned filling guarantees the cake stays moist
- Unsalted butter: melted to create that signature crispy crisp topping Quality butter adds so much depth
- Cream cheese: softened to blend smoothly and create luscious creamy layers Use brick style for best texture
- Granulated sugar: to sweeten the tangy cream cheese Look for fine white crystals that dissolve easily
- Vanilla extract: for warmth and aromatic sweetness Pure extract makes a noticeable difference
Instructions
- Prepare the Pan:
- Preheat your oven to three hundred fifty degrees Fahrenheit Coat a nine by thirteen inch baking dish with butter or nonstick spray to prevent sticking
- Layer the Strawberries:
- Spread strawberry pie filling evenly across the bottom of the prepared baking dish Make sure every corner is covered with berry filling
- Mix and Swirl the Cheesecake:
- Use a handheld mixer or a sturdy spoon to beat the cream cheese sugar and vanilla in a bowl until completely smooth and creamy Drop spoonfuls of the mixture over the strawberry layer then gently spread or swirl to create even coverage Some streaks are okay
- Add the Cake Topping:
- Sprinkle the dry cake mix straight from the box over the entire dish Do not stir or blend it in The dry mix forms that crave worthy cobbler like lid
- Butter Blanket:
- Slowly pour the melted butter over the cake mix aiming for as much surface coverage as possible Spots will look dry but buttery streams will soak in during baking for a crispy golden result
- Bake to Perfection:
- Slide the dish onto the middle rack of the oven Bake for forty to forty five minutes or until the top is deeply golden crisp and bubbling at the edges The aroma is your signal it is nearly ready
- Cool and Serve:
- Let the cake cool for ten to fifteen minutes This helps layers set and makes serving easier Spoon generous helpings into bowls or plates Serve warm straight from the oven or chill for a firmer sliceable dessert
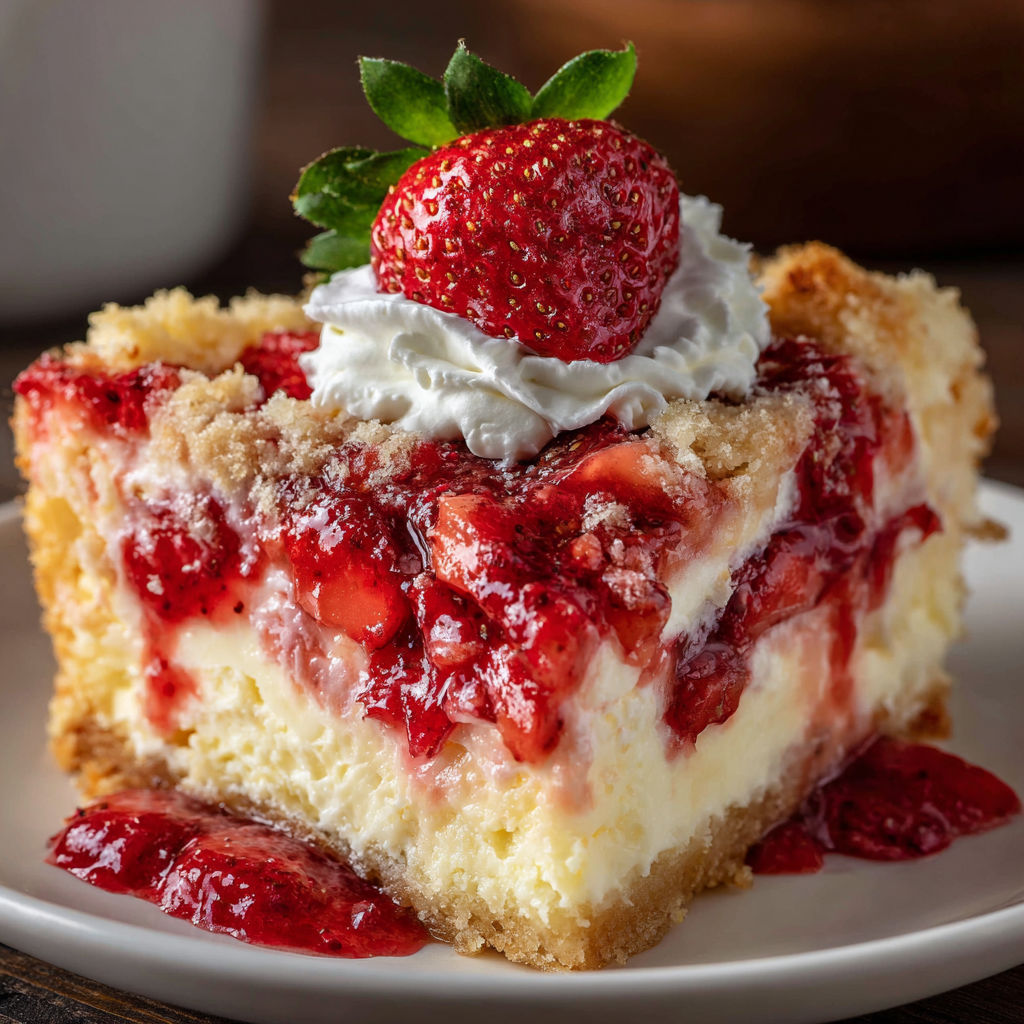
I absolutely love the pockets of tangy cream cheese especially when I get a bit in every spoonful My kids beg to swirl the cheesecake layer which always makes a fun family moment around our kitchen island
Storage Tips
To store leftovers cover the pan tightly or transfer portions to airtight containers and refrigerate for up to four days This cake is delicious cold or gently rewarmed in the microwave I do not recommend freezing once baked as the cream cheese can change texture
Ingredient Substitutions
If strawberry is not your favorite try cherry or blueberry pie filling both are equally delicious Swap the cake mix for your preferred gluten free blend if needed For a citrusy twist add a dash of fresh lemon zest to the cheesecake mixture
Serving Suggestions
I often serve this cake with a scoop of vanilla ice cream or a dollop of lightly sweetened whipped cream For a brunch table it pairs well with hot coffee and fresh berries For summer picnics let it cool completely and serve chilled in neat squares
Cultural and Historical Context
Dump cake recipes have long been cherished in American kitchens for their simplicity and nostalgic flavor They became popular in the mid twentieth century as boxed mixes and canned fillings made baking more accessible to everyone This strawberry cheesecake version is a fun twist on a classic
Seasonal Adaptations
Use fresh sliced strawberries under the canned filling in the height of strawberry season Top with extra berries before serving for a splash of color Try making with cherry filling during winter holidays for a festive touch
Success Stories
I shared this recipe at a neighborhood block party and watched the pan empty in minutes Many friends have asked for the recipe saying it brought back childhood memories and even picky eaters came back for seconds
Freezer Meal Conversion
If you want to prepare ahead assemble all layers except the melted butter then wrap and freeze Bake directly from frozen adding five to ten extra minutes to the bake time Pour butter on just before baking
This easy dump cake is my secret for effortless wow factor Every bite combines sweet strawberries and creamy cheesecake with that irresistible buttery crunch
Recipe FAQs
- → Can I use fresh strawberries instead of pie filling?
Yes, you can use sweetened fresh strawberries, but the texture may be slightly different than using canned pie filling.
- → Does the cake need to be refrigerated after baking?
It's best to refrigerate leftovers due to the cream cheese layer, ensuring freshness and food safety.
- → Can this be made with other cake mix flavors?
Absolutely! Try vanilla or even strawberry cake mix for a fun twist on the classic flavors.
- → How do I know when it’s done baking?
The top should be golden and bubbling around the edges. A slightly crisp crust indicates it’s ready.
- → Is it best served warm or chilled?
Both options are delicious—enjoy warm for gooey richness or chilled for a firmer texture.