
 Pin it
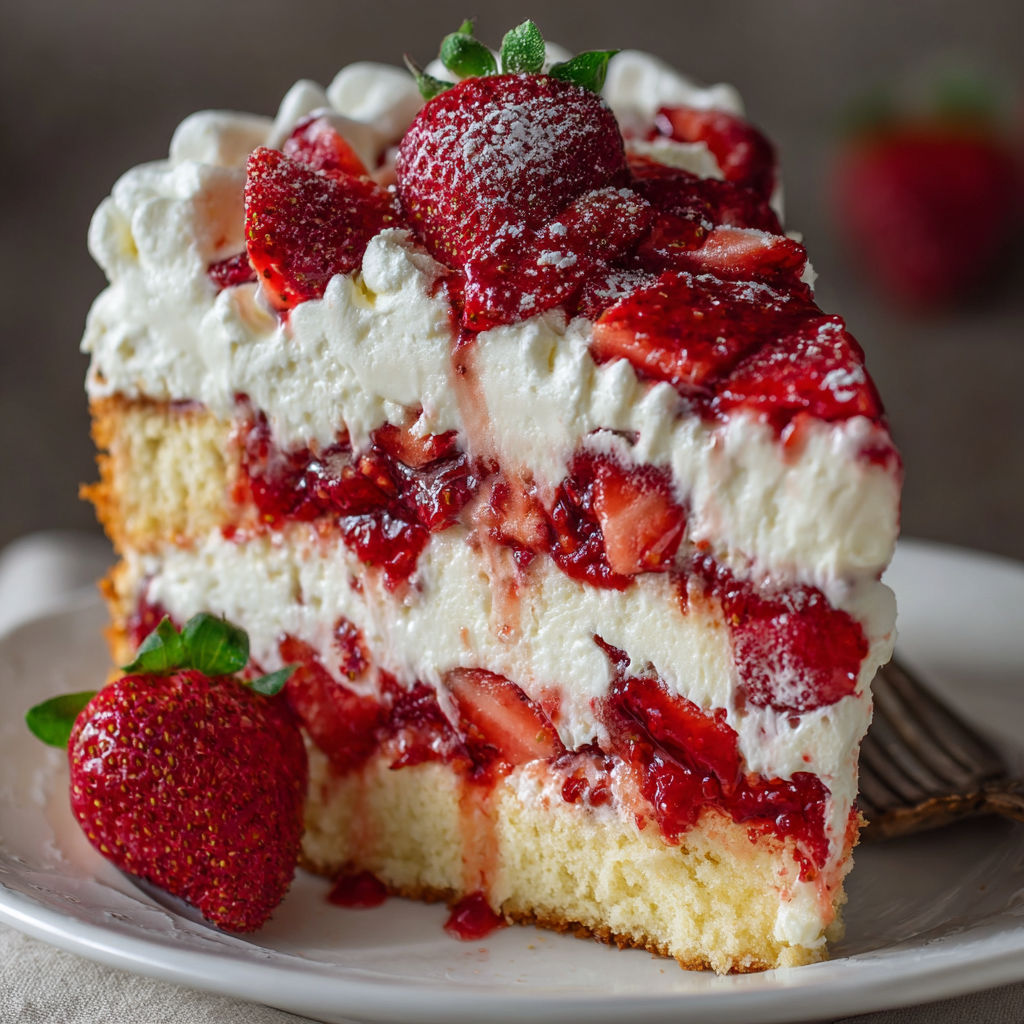
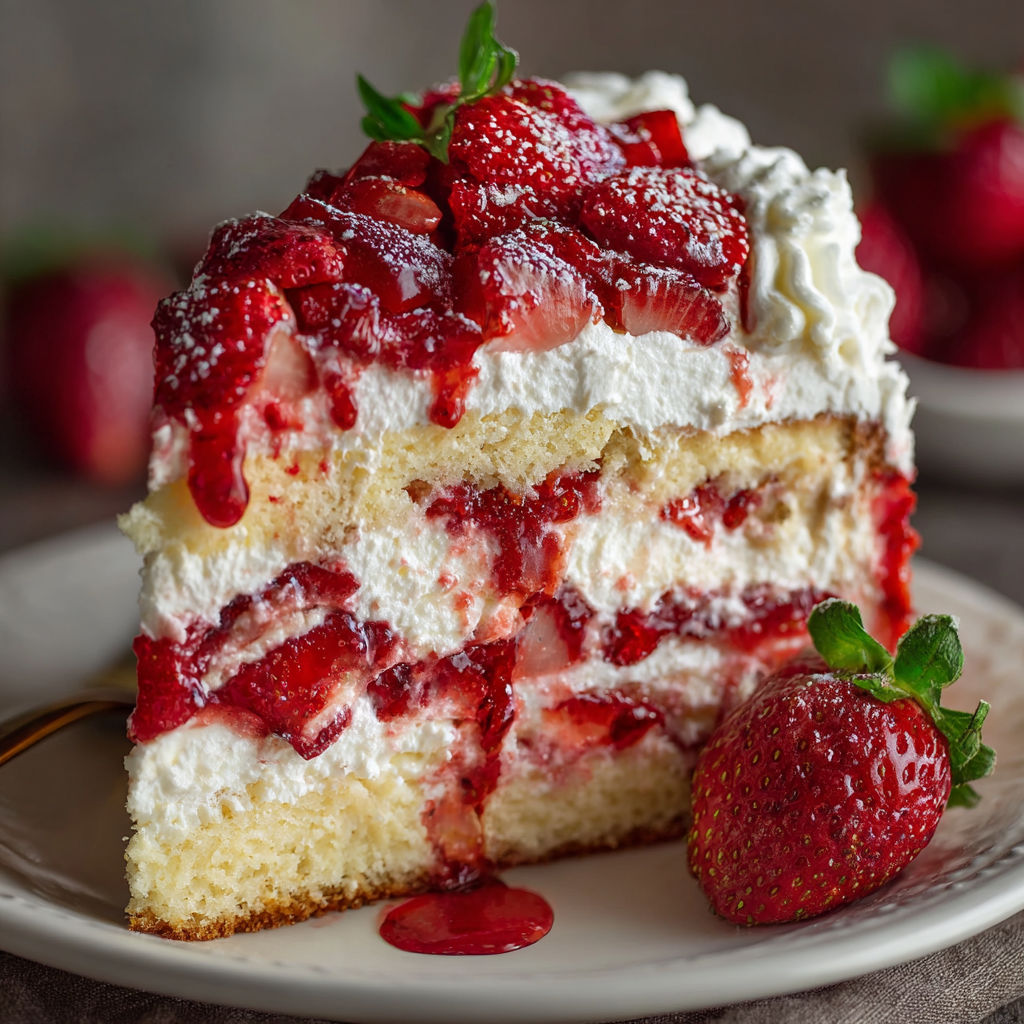
This Strawberries and Cream Dream Layer Cheesecake Cake is pure celebration. Fluffy red velvet layers sandwich airy no-bake cheesecake mousse, macerated strawberries, and berry-bright compote for an impressive showstopper that tastes as good as it looks. Each forkful is a blissful balance of creamy tang, juicy fruit, and tender cake—the kind of dessert that makes guests pause for a moment of awe before digging in.
I made this for my sister’s birthday the first time and everyone requested seconds with big grins. My favorite part is how the cheesecake and fruit layers meld into an icebox-cake effect after a good chill.
Ingredients
- Red velvet cake mix: Use your preferred brand for convenience and stunning color. Check for brands with cocoa as the top ingredient for richer flavor.
- Eggs, oil, and water: Follow your cake mix box for best texture. Use large eggs and fresh oil for lift.
- Vanilla extract: Optional but deepens the cake and brings out all the berry notes. Choose real vanilla for best aroma.
- Cream cheese: Choose full-fat blocks for the smoothest filling. Avoid pre-whipped tubs which can turn runny.
- Granulated sugar: Helps sweeten both filling and strawberry layers. Quality cane sugar melts smoothly.
- Lemon juice: Brightens flavors and keeps berries fresh. Use freshly squeezed for zing.
- Vanilla extract: Adds warmth and balances tartness. Again, real vanilla makes a difference.
- Heavy cream: Needs to be very cold for a stable whipped texture. Pick cream with no additives for better volume.
- Fresh strawberries: Select ripe, glossy berries with no bruises for both layering and compote. Fragrant strawberries mean more flavor.
- Sugar: For macerating and compote, draws out juice and gives shine. Look for fine granulated for easy dissolving.
- Cornstarch: For the compote, use a fresh box for maximum thickening power. Lumps can mean stale cornstarch.
- Whipped cream or cream cheese frosting: For dramatic piping or swirls on top. Optional but so festive. Use homemade or stable store-bought if piping ahead.
Instructions
- Prepare the Cake Layers:
- Follow the instructions on your cake mix box, measuring ingredients exactly and preheating the oven ahead of time. Add vanilla if using, then beat the batter until smooth and pour evenly into two greased and lined cake pans. Bake until the layers spring back and a toothpick comes out clean. Let cool ten minutes before unmolding. Cool fully on racks then level off the tops for even stacking.
- Macerate the Fresh Strawberries:
- Place hulled, sliced strawberries in a bowl and sprinkle with sugar. Toss gently and let sit for fifteen minutes. The berries will soften and release shiny juices which help blend the layers without slippage.
- Cook the Strawberry Compote:
- Combine diced strawberries, sugar, and lemon juice in a small saucepan. Bring to a simmer over medium, stirring and mashing just a bit as they cook. Once juicy (after about five minutes), stir in the cornstarch slurry and cook until thick and glossy. Remove from heat and cool to room temperature. The thick compote should not drip off a spoon.
- Whip the Cheesecake Filling:
- Beat room temperature cream cheese until completely smooth and creamy, scraping often. Add sugar, lemon, and vanilla, then beat again until light. In a separate cold bowl, whip heavy cream to stiff peaks. Fold the whipped cream into the cream cheese mixture gently in three batches. It should look like soft mousse. Refrigerate until ready to use.
- Set Up for Assembly:
- Lay out all components: cake layers, cheesecake filling, macerated strawberries, cooled compote, and any decorative toppings. Set a large flat plate or the bottom of a springform pan as your base for stacking.
- Add First Cake Layer:
- Set one cake layer onto your base. Gently brush off crumbs for smooth assembly.
- Spread Cheesecake Filling:
- Spoon a thick layer of cheesecake over the cake and smooth with an offset spatula. Aim for at least a third of an inch thickness so the layer remains visually special.
- Arrange Macerated Strawberries:
- Spread the macerated strawberry slices in an even layer right on top of the cheesecake filling. Be sure every slice will have some berry.
- Spoon the Compote:
- Spread a layer of strawberry compote over the strawberries, taking care that the compote does not run down the sides. Smooth to the edges.
- Add Second Cheesecake Layer:
- Follow with another thick layer of cheesecake filling, smoothing to cover all the berries and compote. This acts as a cushion for the next cake layer.
- Set Second Cake Layer:
- Place the second cake layer carefully on top and gently press down while keeping all layers even.
- Finish with Topping:
- Swirl the last of the cheesecake over the top, then decorate with more strawberries and dollops of whipped cream or cream cheese frosting for a party look.
- Chill and Set:
- Cover the assembled cake and refrigerate at least four hours, preferably overnight. The filling needs to firm up for tidy serving and a lush creamy texture.
The first time I made this with my niece we both agreed the thick layer of fresh strawberries is what takes it from good to extraordinary. She kept sneaking slices of berry while I was stacking so now I always buy a few extra for sampling.
Storage Tips
Store the assembled cake tightly covered in the fridge for up to four days. The cheesecake layers actually taste even richer and the strawberries become more syrupy after a day. For cleanest cuts wipe your knife with a warm damp cloth between slices. This cake is not recommended for long room temperature standing due to fresh dairy and fruit.
Ingredient Substitutions
Swap the red velvet cake base with vanilla, white or chocolate cake for a twist. Out of fresh berries, try thawed frozen strawberries but drain them well and skip the maceration step. For a lighter filling, swap half the cream cheese with mascarpone for a slightly different creaminess. Gluten free cake mixes also work with careful cooling and layering.
Serving Suggestions
Slice with a sharp knife warmed with hot water for red carpet-worthy layers. Serve extra strawberry compote or whipped cream on the side for even more wow. If making for a big gathering cut smaller wedges since the cake is rich. This cake is lovely at brunch, baby showers, or the centerpiece for a spring birthday.
Cultural and Seasonal Context
Layered berry cakes are beloved in spring and summer for good reason. Strawberries have long signaled celebrations and the combo of cake, fruit, and cream is a classic in American and European patisserie. This cake is perfect for Mother’s Day, Valentine’s Day, or when local berries come into season.
Seasonal Adaptations
Choose only the sweetest local strawberries for maximum impact. Outside strawberry season, layer with ripe peaches or blackberries using the same process. Adjust sugar in compote based on the natural sweetness of your fruit.
Success Stories
I have made this cake for baby showers as a pink and white centerpiece and at family reunions with kids decorating the top with their initials. Each time I serve it there are no leftovers and always requests for the recipe.
Freezer Meal Conversion
This cake actually freezes quite well. Slice individual pieces and wrap tightly before freezing for up to a month. Thaw in the refrigerator overnight before serving. The only element that does not freeze well is the fresh berry topping so add those fresh after thawing.
With a little patience and fresh berries, you can create a centerpiece dessert worthy of any occasion. Each bite celebrates the harmony of fruit, cream and cake.
Recipe FAQs
- → How do you keep the cake layers moist?
Ensure cake layers cool properly and avoid overbaking. Adding strawberries and compote also adds moisture.
- → Can I use other cake flavors?
Absolutely—chocolate or vanilla sponge works well if red velvet isn't your preference.
- → What's the best way to achieve stable cheesecake layers?
Beat heavy cream to stiff peaks and gently fold into the cream cheese mixture to keep it stable yet airy.
- → How long should the assembled cake chill?
Refrigerate for at least four hours, though chilling overnight ensures the cleanest, firmest slices.
- → Can the dessert be made ahead?
Yes! Assemble fully and chill; decorate just before serving for freshest results and best appearance.