
 Pin it
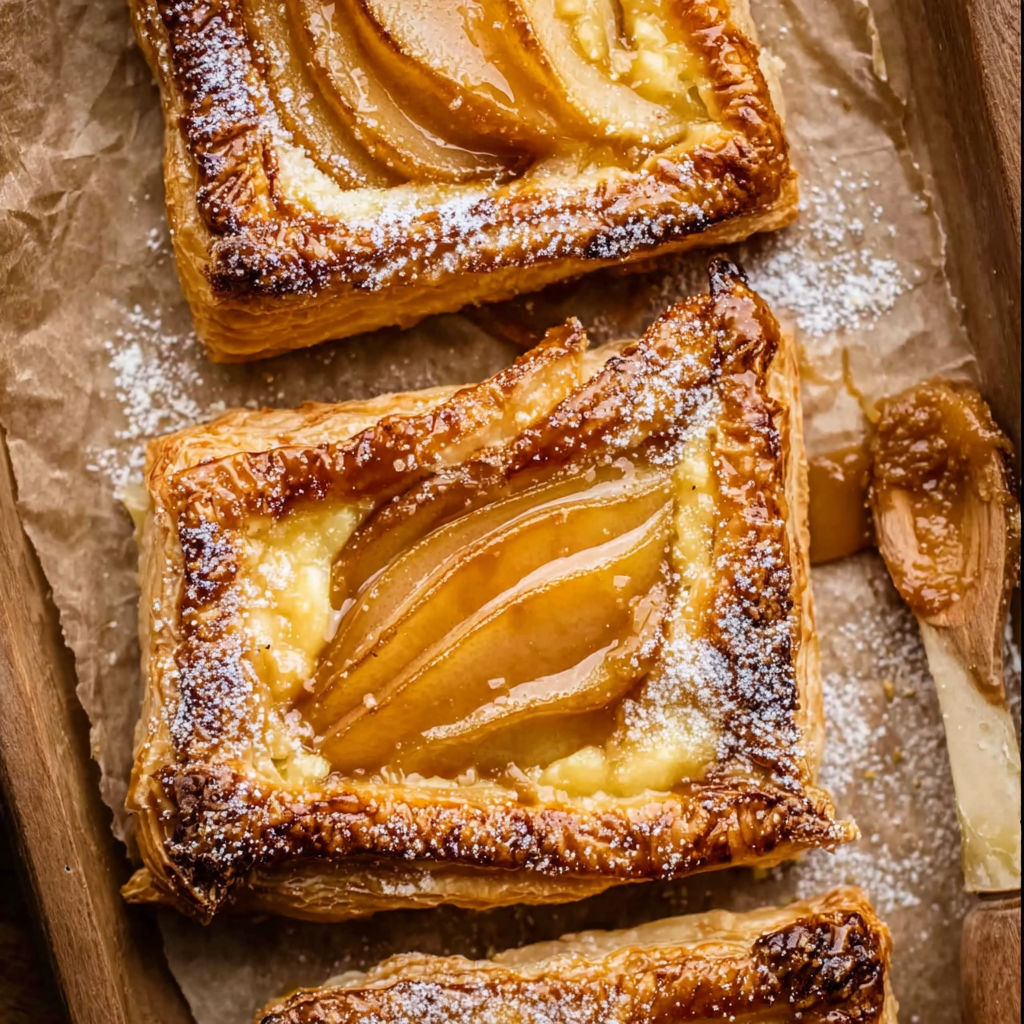
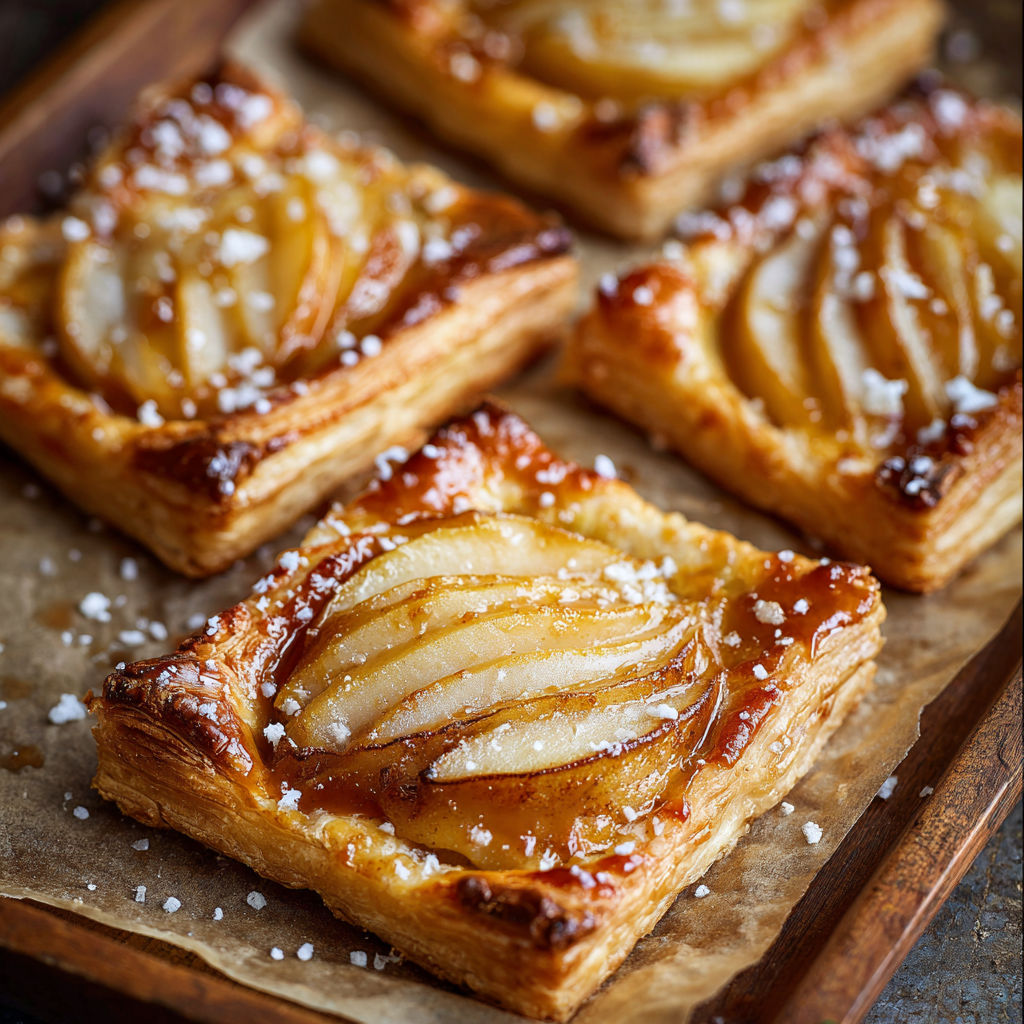
Flaky pastry and sweet pears come together in these salted caramel pear tarts that look elegant but are so easy to make. They have been my go to for casual dinners and celebration tables alike. The magic of salty caramel and ripe pears makes every bite special and the tarts are deceptively simple to put together.
I made these for my book club once and they were devoured in minutes with everyone begging for the recipe. Lately they have become our Sunday night treat when pears are at their very best.
Ingredients
- All butter puff pastry: this creates a rich flaky base for the caramel and pears look for a brand that lists butter as the only fat for best flavor
- Egg: for brushing on the pastry which gives a golden shiny finish choose eggs with bright orange yolks for the best color
- Ripe pears: they are the star use pears that give a little when pressed but hold their shape avoid overly soft or mealy fruit
- Brown Demerara sugar: this gives warmth and a light crunch due to its large crystals
- Heavy cream or double cream: adds creaminess and helps the sugar caramelize you want a high fat cream for luscious results
- Coarse sea salt: balances the sweetness and provides pops of flavor use flaky salt if you have it for the best texture
Instructions
- Prepare the Baking Sheet and Oven:
- Preheat your oven to 375 degrees Fahrenheit which is 190 degrees Celsius and line a large baking sheet with parchment paper so the tarts do not stick and clean up is a breeze.
- Shape the Puff Pastry:
- Roll out the cold puff pastry on a lightly floured surface until it is about a quarter inch thick. Cut it into eight rectangles of equal size. On each rectangle use a small knife to gently make two diagonal slits from opposite corners forming an L shape but leave about half an inch intact at the corners so the sides do not separate during baking. Gently brush the entire surface with beaten egg.
- Form the Tart Shells:
- Lift one cut corner over the center to the opposite side, tucking it underneath. Repeat with the other cut corner to create little pockets ready to cradle the pears. Chill the shaped pastries for 10 minutes in the fridge so the pastry stays crisp during baking.
- Prepare the Pears:
- Peel and core each pear then cut in half lengthwise. Slice each half into even slices about a quarter inch wide. The slices should stay together so you can easily fan them into the tart shells.
- Fill and Finish the Tarts:
- Place a prepared pear half in the center of each pastry shell. Sprinkle one teaspoon of brown sugar over each pear, followed by a generous teaspoon of heavy cream. Finish with a small pinch of coarse sea salt on top of every tart.
- Bake the Tarts:
- Slide the baking sheet into the preheated oven and bake for about 30 minutes, until the pastry is deeply golden and the pears are soft and bubbling. The aroma will fill your kitchen and the edges should puff up beautifully.
- Cool and Serve:
- Let the tarts cool on the baking sheet for a few minutes so the caramel has time to thicken a little. Serve them warm for the best texture and flavor. If you want to impress, dust with a bit of powdered sugar just before bringing them to the table.
I absolutely love the salt in this recipe because those little bursts make every bite memorable. My youngest always sneaks the first tart straight off the tray and it has become a sweet little tradition.
Storage Tips
Store any leftover tarts in an airtight container in the fridge for up to three days. They can be enjoyed cold or reheated in a hot oven until just crisp again. For longer storage you can freeze the unbaked shaped pastries and bake from frozen adding a few extra minutes.
Ingredient Substitutions
For the pears you can substitute apples or firm ripe peaches in summer. If you do not have brown sugar white sugar with a drizzle of maple syrup can give a similar note. Try regular whipping cream if heavy cream is not available.
Serving Suggestions
Serve on their own or add a scoop of vanilla bean ice cream to highlight the warm caramel. They also pair perfectly with softly whipped cream or a little crème fraîche on the side.
Cultural and Historical Context
Pears have long been a symbol of autumn warmth in many European desserts and salted caramel owes its roots to French pastry traditions. Combining them in a buttery tart feels like a little tribute to both.
Seasonal Adaptations
Bosc pears give the best flavor late autumn Bartlett pears are tender in early season A sprinkle of chopped toasted hazelnuts works for an added crunch
Success Stories
Guests always think these took hours to make because they look so impressive Straight from the oven they are the first thing to disappear at brunch and family gatherings.
Freezer Meal Conversion
Assemble the tarts up to the point of filling and freeze them flat on a tray. Once frozen you can transfer to a freezer bag. Bake from frozen adding about seven minutes more and the results are just as good as fresh.
The smell of caramelizing pears and flaky pastry is enough to gather my whole family in the kitchen before these even have a chance to cool. Every time I make these salted caramel pear tarts I am reminded how simple ingredients really can create something magical.
Recipe FAQs
- → What pears work best for this dessert?
Choose ripe yet firm pears like Bartlett or Anjou to ensure they hold their shape during baking and retain a succulent texture.
- → Can store-bought puff pastry be used?
Yes, high-quality all-butter puff pastry saves time and gives reliably flaky, golden results for this sweet treat.
- → How do I achieve a caramel flavor?
Brown sugar combined with heavy cream in the oven melts into a caramel-like sauce, marrying beautifully with the pears.
- → Is it necessary to chill the pastries before baking?
Chilling briefly helps the pastry retain its shape and ensures a crisp, layered texture when baked.
- → Can I serve these tarts cold?
They're best served warm to enjoy the contrast between the flaky pastry and the soft, fragrant pears, but they are tasty at room temperature too.