
 Pin it
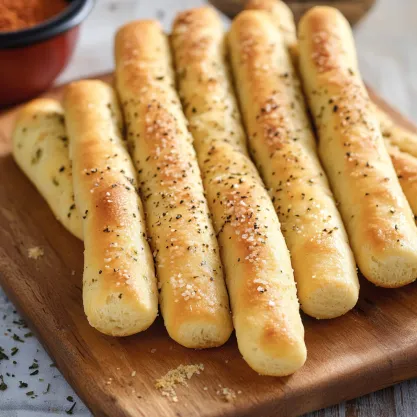
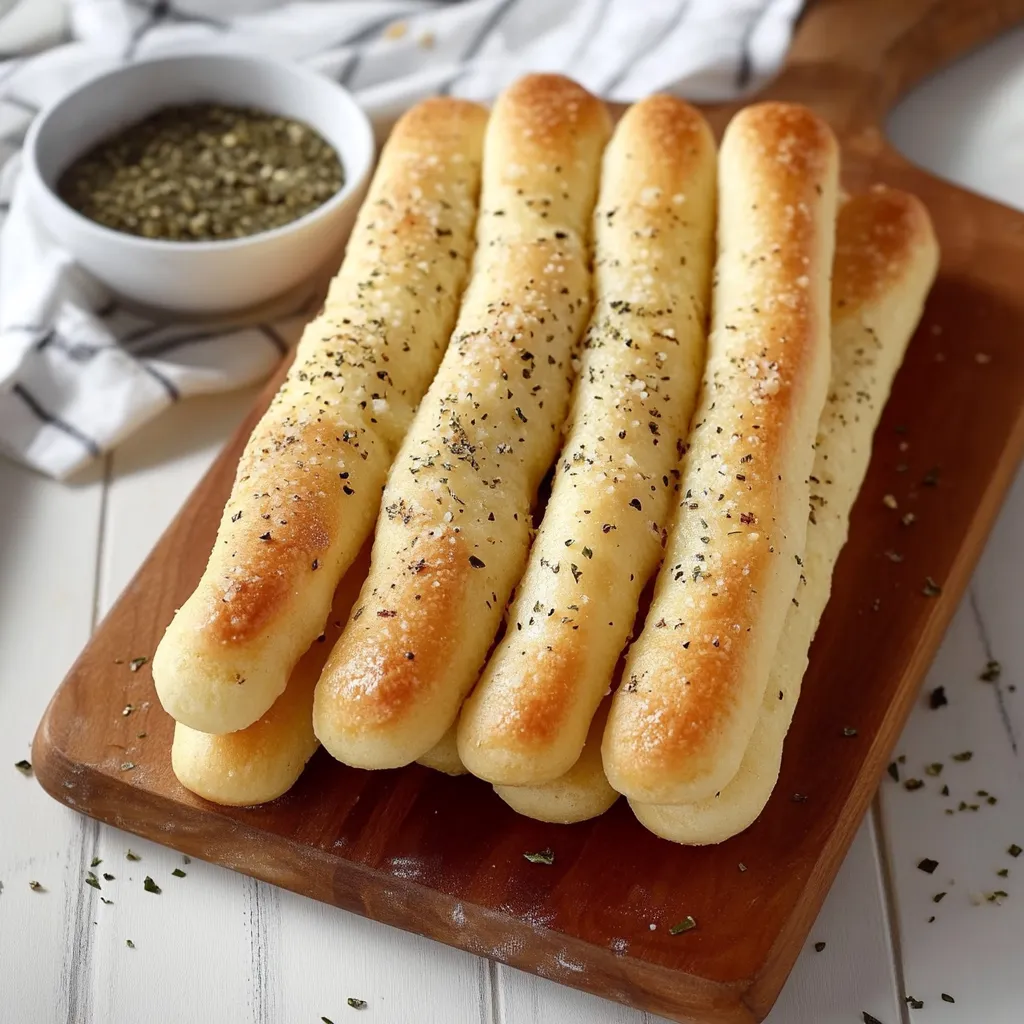
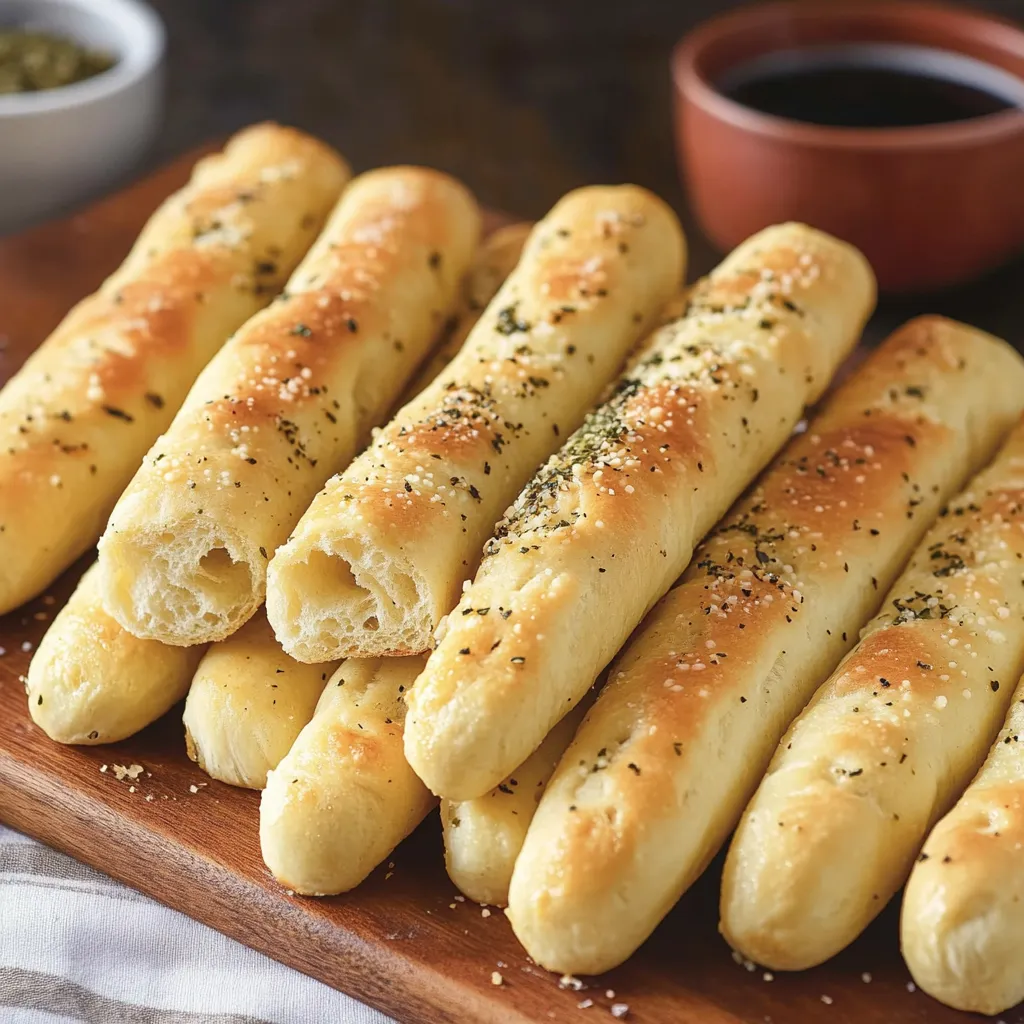
The irresistible aroma of freshly baked breadsticks, golden and glistening with garlic butter, brings the authentic Olive Garden experience right into your kitchen. These homemade breadsticks capture the perfect balance of soft, pillowy texture inside and a gentle crisp outside, making them virtually indistinguishable from the restaurant favorite you know and love.
After years of testing different flour combinations and rising techniques, I've found this recipe produces the most authentic results. My family now requests these breadsticks for every gathering, and they disappear faster than I can bake them.
Essential Ingredients Guide
- Active dry yeast: Provides the perfect rise and develops complex flavors during proofing. Look for yeast that's within its expiration date and store it in the refrigerator
- Unbleached all-purpose flour: Creates the ideal texture. Choose a protein content between 10-12% for the perfect chew
- Premium salted butter: Enhances the rich flavor profile. European-style butter with higher fat content yields superior results
- Fine granulated sugar: Feeds the yeast and balances flavors. Avoid substituting with other sweeteners
- Sea salt: Brings out the buttery notes. Kosher salt works well too, but table salt can make them too salty
- Garlic powder: Provides consistent flavor. Fresh garlic can burn during baking
- Mediterranean oregano: Adds authentic Italian flavor notes. Turkish oregano works well too
Creating Perfect Breadsticks
- Starting The Magic:
- Mix warm water (110°F) with yeast in a glass bowl, watching for bubbles that signal active yeast. Meanwhile, measure flour using the spoon-and-level method for accuracy.
- Developing The Base:
- Combine sugar, softened butter, and salt in your stand mixer, ensuring butter is at room temperature for proper incorporation. Add flour gradually, allowing each addition to blend completely.
- Mastering The Rise:
- Create a warm environment by preheating your oven briefly, then turning it off. Place dough in a lightly oiled bowl, covering with a damp cloth to maintain perfect humidity.
- Shaping Your Success:
- Position each dough portion on a lightly floured marble or wooden surface. Use your palms to roll each piece with gentle, even pressure, working from the center outward. Watch for uniform thickness throughout the length.
- Time For Transformation:
- Place breadsticks on parchment-lined baking sheets, maintaining two-inch spacing. Cover gently with a clean kitchen towel and let rise until visibly puffy.
- The Final Touch:
- Brush with melted garlic butter mixture, applying half before baking and half after. This layering of flavor develops during the baking process, creating irresistible breadsticks.
Growing up in an Italian household, bread making was a sacred weekend ritual. My grandmother always said the quality of your bread reflects the love you put into making it. These breadsticks embody that philosophy perfectly.
Perfect Pairings
Transform any meal into a restaurant-worthy experience by serving these warm breadsticks alongside hearty Italian soups, crisp garden salads, or robust pasta dishes. They shine particularly bright when used to soak up rich tomato sauces or creamy alfredo.
Creative Adaptations
Explore different flavor profiles by incorporating roasted garlic into the dough, sprinkling everything bagel seasoning before baking, or adding crushed red pepper flakes for a spicy kick. For a wholesome twist, substitute up to one-third of the flour with whole wheat while maintaining the same soft texture.
Keeping Freshness Alive
Store your baked treasures in a paper bag at room temperature for up to two days, maintaining their crisp exterior. Revive day-old breadsticks by spritzing them lightly with water and warming in a 350°F oven for five minutes. Freeze unbaked breadsticks after shaping for up to three months.
After years of perfecting this recipe, I've found that these breadsticks bring people together like nothing else. There's something magical about breaking bread together, especially when it's warm from the oven and crafted with care. Whether you're hosting a dinner party or simply craving comfort food, these breadsticks never fail to create moments of pure joy around the table.
Recipe FAQs
- → Can I freeze these breadsticks?
- Yes, you can freeze the baked breadsticks for up to 3 months. Thaw at room temperature and warm briefly in the oven before serving.
- → How do I store leftover breadsticks?
- Store in an airtight container at room temperature for up to 2 days. Reheat briefly in the oven or microwave before serving.
- → Why didn't my dough rise properly?
- This usually happens if your yeast is old or if the water was too hot/cold. Use warm water (110-115°F) and check that your yeast is fresh.
- → Can I make the dough ahead of time?
- Yes, you can refrigerate the dough after kneading for up to 24 hours. Let it come to room temperature before shaping.
- → What's the best way to reheat these breadsticks?
- Wrap them in foil and warm in a 350°F oven for 5-7 minutes, or microwave individually for 15-20 seconds.