
 Pin it
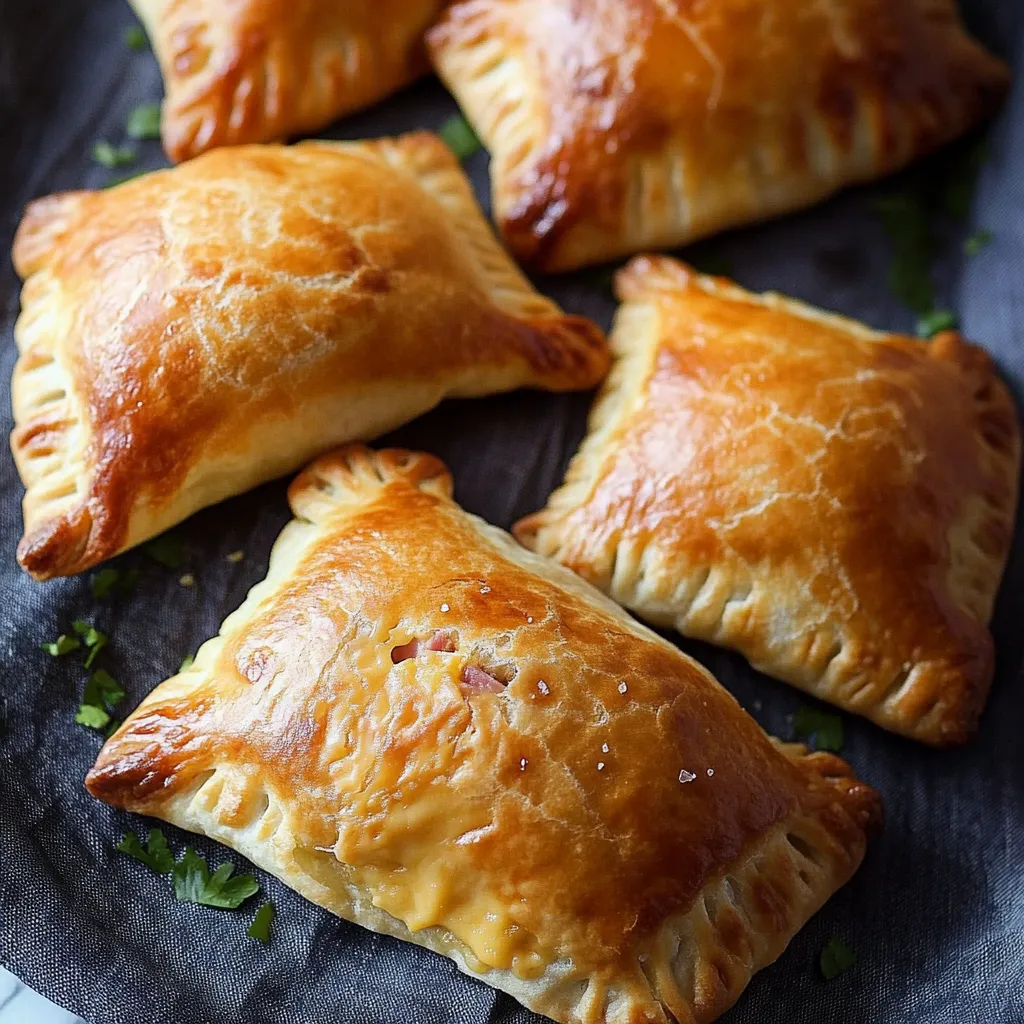
Homemade ham and cheese pockets combine the comfort of fresh bread with savory fillings, creating a portable meal perfect for lunch boxes or casual dinners. The magic happens when buttery dough encases melty cheese and tender ham, all baked until golden perfection. Making these at home lets you control exactly what goes inside while experiencing the satisfaction of creating something delicious from scratch.
Last weekend I made these for my grandson's soccer tournament. The entire team devoured them between games, and several parents asked for the recipe. Nothing beats watching hungry kids enjoy something you've made with your own hands.
Quality Ingredients Matter
- Yeast: Fresh active dry yeast ensures proper rising. Keep yeast stored in a cool place and check expiration dates for best results.
- Warm Water: Temperature matters tremendously. Too hot kills yeast, too cool prevents activation. Aim for water that feels like warm bath water on your wrist.
- Unbleached All-Purpose Flour: Contains more protein than bleached varieties, creating better structure in your dough without toughness.
- Extra Virgin Olive Oil: Adds subtle flavor while creating tenderness in the finished product. Cold pressed varieties offer best flavor.
- Cheese: Medium or sharp cheddar provides excellent melting properties with robust flavor, though provolone or Swiss work beautifully too.
- Ham: Look for naturally cured ham without excessive additives. Thicker slices provide better texture and prevent becoming rubbery during baking.
Creating Perfect Pockets
- Activate Yeast:
- Combine yeast with warm water around 105°F. Wait until it becomes foamy, which indicates your yeast is alive and ready to work. This crucial activation ensures proper rising and texture.
- Mix Dough Base:
- Incorporate flour gradually into your yeast mixture, adding olive oil, sugar and salt. The sugar feeds your yeast while salt controls the fermentation process. Continue mixing until ingredients form a shaggy mass.
- Develop Gluten:
- Knead dough on lightly floured surface until smooth and elastic. Proper kneading develops gluten structure that creates that perfect chewy texture. The dough should spring back when gently pressed with your finger.
- Portion Evenly:
- Divide dough into eight equal portions using a bench scraper or knife. Equal portioning ensures consistent baking times and proper filling distribution. Allow portions to rest briefly before shaping.
- Shape With Purpose:
- Roll each portion into rectangles about 6 inches by 4 inches, keeping thickness even throughout. Even thickness prevents weak spots where filling might escape during baking.
- Fill Strategically:
- Place ham and cheese on one half of each rectangle, leaving half-inch border around edges. This border becomes your sealing area, preventing filling from leaking during baking.
- Seal Thoroughly:
- Fold dough over filling and press edges firmly with fingertips before crimping with fork tines. Proper sealing keeps fillings contained and creates those classic pocket marks everyone loves.
- Apply Egg Wash:
- Brush tops with beaten egg mixed with a tablespoon of water. This creates gorgeous golden color while also helping any seasonings adhere to the surface.
I absolutely adore the versatility of ham in these pockets. My husband grew up on a small farm where they cured their own ham, and he swears these remind him of his mother's cooking. Something about that slightly sweet, smoky flavor paired with sharp cheese creates nostalgia in every bite.

Baking Temperature Secrets
Proper preheating remains essential for these pockets. Setting your oven to 375°F allows for gradual browning while ensuring the filling heats thoroughly without burning the exterior. Position your rack in the middle of the oven where air circulates most effectively. Always check for golden color rather than relying solely on timing, as ovens vary significantly in temperature accuracy.
Perfect Pairings
Serve these golden pockets alongside a simple green salad dressed with vinaigrette for a complete meal. The acidity from the dressing cuts through the richness of the cheese beautifully. During cooler months, tomato soup makes an ideal companion, creating that classic grilled cheese and soup combination everyone craves. For picnics or lunchboxes, include some fresh fruit and perhaps a small container of honey mustard for dipping.
Flavor Modifications
Switch Cheese Varieties: Experiment with pepper jack for heat lovers, smoked gouda for depth, or mild mozzarella for children. Each cheese creates different melting patterns and flavor profiles while maintaining the essential gooey interior everyone loves.
Add Vegetables: Incorporate sautéed mushrooms, caramelized onions, or spinach alongside ham for additional nutrients and complexity. Just ensure vegetables have released their moisture before filling to prevent soggy pockets.
Explore Proteins: Substitute diced chicken, turkey, or even vegetarian alternatives like tempeh. Consider adding complementary seasonings like Italian herbs with chicken or curry powder with chickpeas for cohesive flavor profiles.
Keeping Leftovers Fresh
Refrigerate Properly: Store completely cooled pockets in airtight containers with parchment between layers to prevent sticking. Consume refrigerated pockets within three days for optimal flavor and texture.
Freeze Intelligently: Wrap individual pockets in plastic wrap then place in freezer bags with air removed. Label with date and contents. Frozen pockets remain good for approximately three months before quality diminishes.
Revive Effectively: Reheat refrigerated pockets in 300°F oven for 10 minutes rather than microwave to maintain exterior crispness. For frozen pockets, thaw in refrigerator overnight then reheat, or reheat from frozen at 325°F for approximately 20 minutes until heated throughout.

These pockets remind me why cooking from scratch matters. My grandmother taught me that putting love into food changes how it tastes. After years of professional cooking, I still believe there's truth to that wisdom. When you bite into these pockets, you taste more than ingredients—you taste care, attention, and the simple joy of feeding people well.
Recipe FAQs
- → Can I freeze these ham and cheese pockets?
- Yes! After baking and cooling, wrap them individually in aluminum foil and freeze. To reheat, microwave for 2-3 minutes or bake at 350°F for 20 minutes straight from frozen.
- → How long does the dough need to rise?
- The dough needs to rise for 60-90 minutes at room temperature until doubled in size. For extra flavor, you can let it rise slowly in the refrigerator for 8-12 hours.
- → Can I use different fillings?
- Absolutely! While this recipe uses ham and cheddar, you can substitute with other meats, cheeses, or even vegetables. Just make sure fillings aren't too wet to prevent soggy pockets.
- → Do I need a stand mixer to make these?
- No, a stand mixer is helpful but not required. You can mix the dough in a large bowl with a wooden spoon or silicone spatula and knead by hand on a lightly floured surface.
- → How do I know when my dough is kneaded enough?
- The dough is ready when it feels soft but slightly tacky, and slowly bounces back when poked. You can also do a windowpane test - if you can stretch a small piece thin enough for light to pass through without tearing, it's ready.