
 Pin it
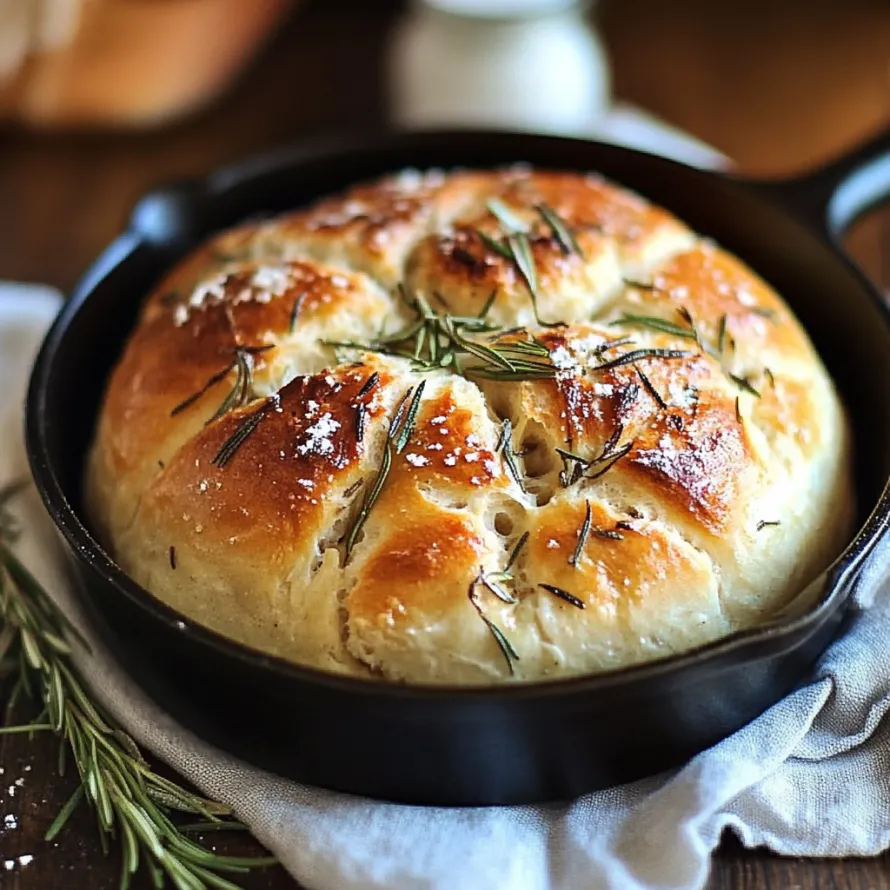
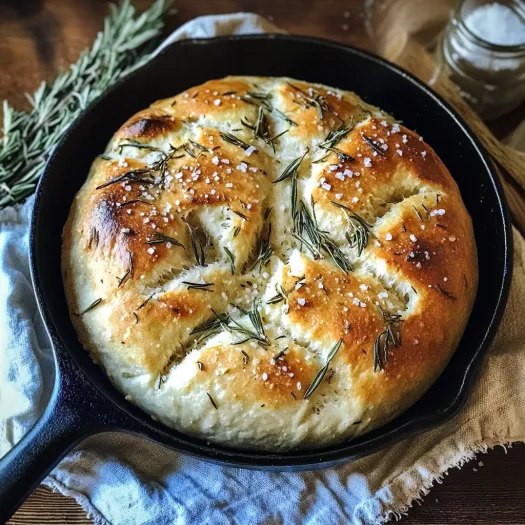
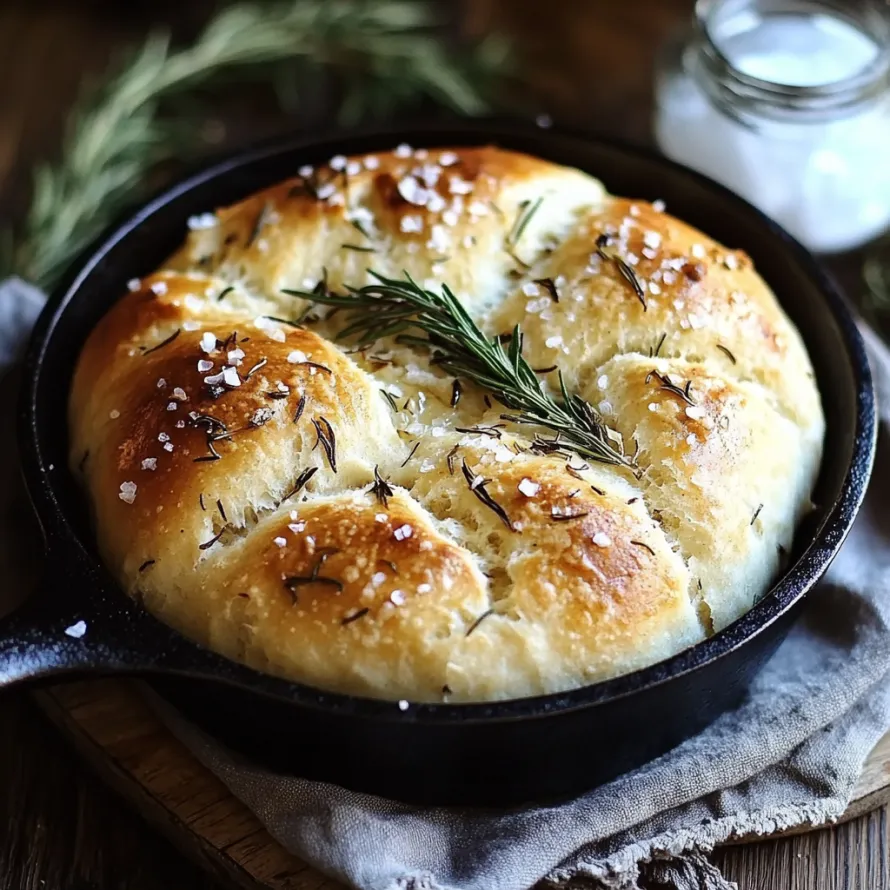
This rustic garlic rosemary skillet bread transforms simple ingredients into a bakery-quality loaf right in your home kitchen. The combination of fragrant rosemary and garlic creates an aroma that will have everyone gathering in the kitchen before it even comes out of the oven.
I first made this bread when guests were coming over with only two hours notice. The way their eyes lit up when they tasted that first warm slice convinced me this recipe needed to become part of my regular rotation.
Ingredients
- All purpose flour: Creates the perfect texture not too dense or too airy
- Instant yeast: Speeds up the process no need to proof separately
- Salt: Enhances all the flavors and helps control the yeast activity
- Sugar: Provides food for the yeast ensuring a good rise
- Olive oil: Adds richness and helps create that beautiful crust
- Warm water: Activates the yeast aim for the temperature of a warm bath
- Fresh garlic cloves: Provide far better flavor than pre minced or powdered
- Fresh rosemary: Brings an aromatic woody note dried will work but use half the amount
- Coarse sea salt: On top creates delightful crunchy pops of flavor
Step-by-Step Instructions
- Combine Dry Ingredients:
- Mix the flour yeast salt and sugar in a large bowl ensuring even distribution of the yeast and salt throughout the mixture. This prevents the salt from directly contacting the yeast which can inhibit its effectiveness.
- Create The Dough:
- Pour in the olive oil and warm water stirring with a wooden spoon until everything comes together. The dough will look somewhat shaggy at this point which is perfectly normal. Continue mixing until no dry flour remains.
- Add Aromatics:
- Fold in the minced garlic and chopped rosemary kneading gently to distribute them evenly throughout the dough. This ensures every bite will have that wonderful flavor. Knead for about 5 minutes until the dough becomes smooth and elastic it should spring back when poked.
- First Rise:
- Cover the bowl with a clean kitchen towel or plastic wrap and place it in a warm draft free spot. Let the dough rise for about an hour until it doubles in size. Near a warm oven or in sunlight works well during cooler months.
- Preheat And Prepare:
- Place your cast iron skillet in the oven and preheat to 400°F. Heating the skillet creates that beautiful bakery style crust we're aiming for. Allow at least 10 minutes for proper heating.
- Shape The Loaf:
- Gently deflate the risen dough by pressing down on it and form it into a round loaf shape. You don't need to knead it again just shape it with your hands into a ball.
- Transfer To Skillet:
- Carefully remove the hot skillet from the oven using thick oven mitts. Lightly brush or spray it with oil then place your shaped dough into the center. Work quickly but carefully to avoid burning yourself.
- Final Touches:
- Brush the top of the dough generously with olive oil which helps create that golden crispy crust. Sprinkle coarse sea salt evenly across the top for both flavor and visual appeal.
The moment this bread comes out of the oven is magical in my house. That first slice always disappears while still too hot to handle properly but somehow that makes it taste even better. I've found that a good quality olive oil makes a noticeable difference in both flavor and texture.
Make Ahead Options
This dough can be prepared up to 24 hours in advance and kept in the refrigerator. The slow cold fermentation actually enhances the flavor making it even more delicious. Simply remove from the refrigerator about 30 minutes before you want to bake to allow it to come to room temperature then continue with the baking instructions.
Perfect Pairings
This bread shines alongside hearty soups and stews especially tomato based ones where you can soak up all those delicious juices. For a simple but impressive appetizer serve warm slices with good quality olive oil and balsamic vinegar for dipping. It also makes excellent sandwich bread particularly for grilled cheese or Italian style sandwiches.
Flavor Variations
While garlic and rosemary create a classic combination you can easily customize this recipe. Try adding sundried tomatoes and basil for an Italian twist or substitute the rosemary with thyme and add grated parmesan for a French inspired loaf. For a heartier option mix in some chopped olives and crumbled feta cheese.
Set aside a little extra olive oil and fresh herbs to take this bread to the next level during serving!
Recipe FAQs
- → Can I use dried rosemary instead of fresh?
Yes, you can substitute dried rosemary, but use only about 2 teaspoons since dried herbs are more potent than fresh. For the best flavor, crush the dried rosemary between your fingers before adding to release more of its essential oils.
- → What if I don't have a cast-iron skillet?
You can use any oven-safe pan or dish instead. A regular baking sheet will work, though you won't get quite the same crusty exterior. If using a baking sheet, form the dough into a round loaf on parchment paper and transfer it to the preheated sheet.
- → How do I know when the bread is fully baked?
The bread should be golden brown on top and sound hollow when tapped on the bottom. If you have an instant-read thermometer, the internal temperature should reach about 190-200°F (88-93°C).
- → Can I add other herbs or ingredients to this bread?
Absolutely! This bread is versatile and works well with additions like grated parmesan cheese, sundried tomatoes, olives, or other herbs like thyme or sage. Just be careful not to add too many wet ingredients as they can affect the dough consistency.
- → How should I store this bread?
Once completely cooled, store in a paper bag or bread box at room temperature for up to 3 days. For longer storage, slice and freeze in an airtight container for up to 3 months. Refresh frozen slices by toasting them briefly.
- → Can I make the dough ahead of time?
Yes, you can refrigerate the dough after kneading for up to 24 hours. This actually improves flavor development. Allow the cold dough to sit at room temperature for about 30 minutes before shaping and baking.