
 Pin it
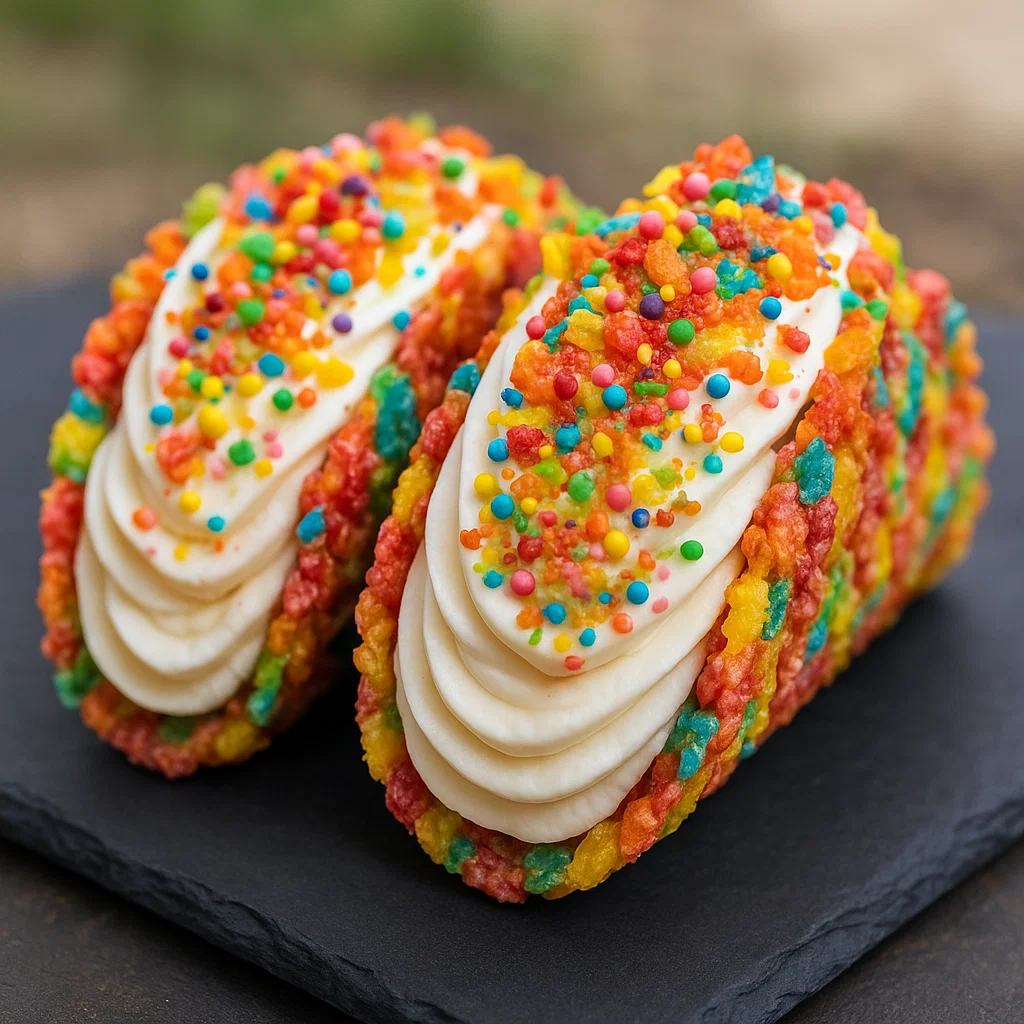
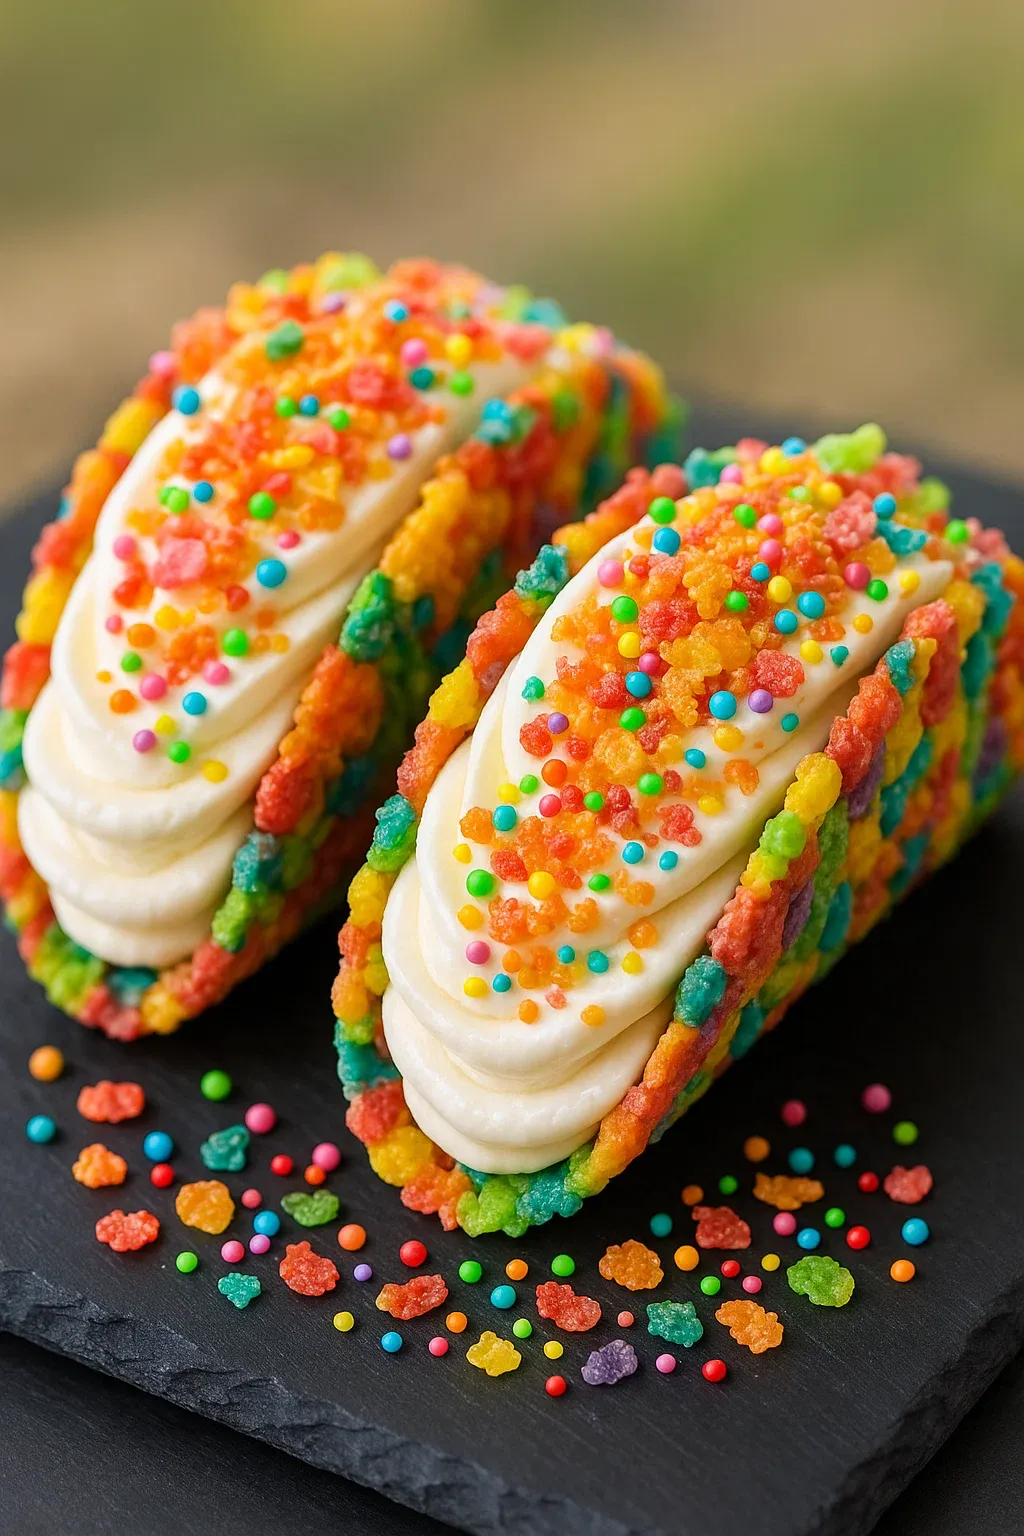
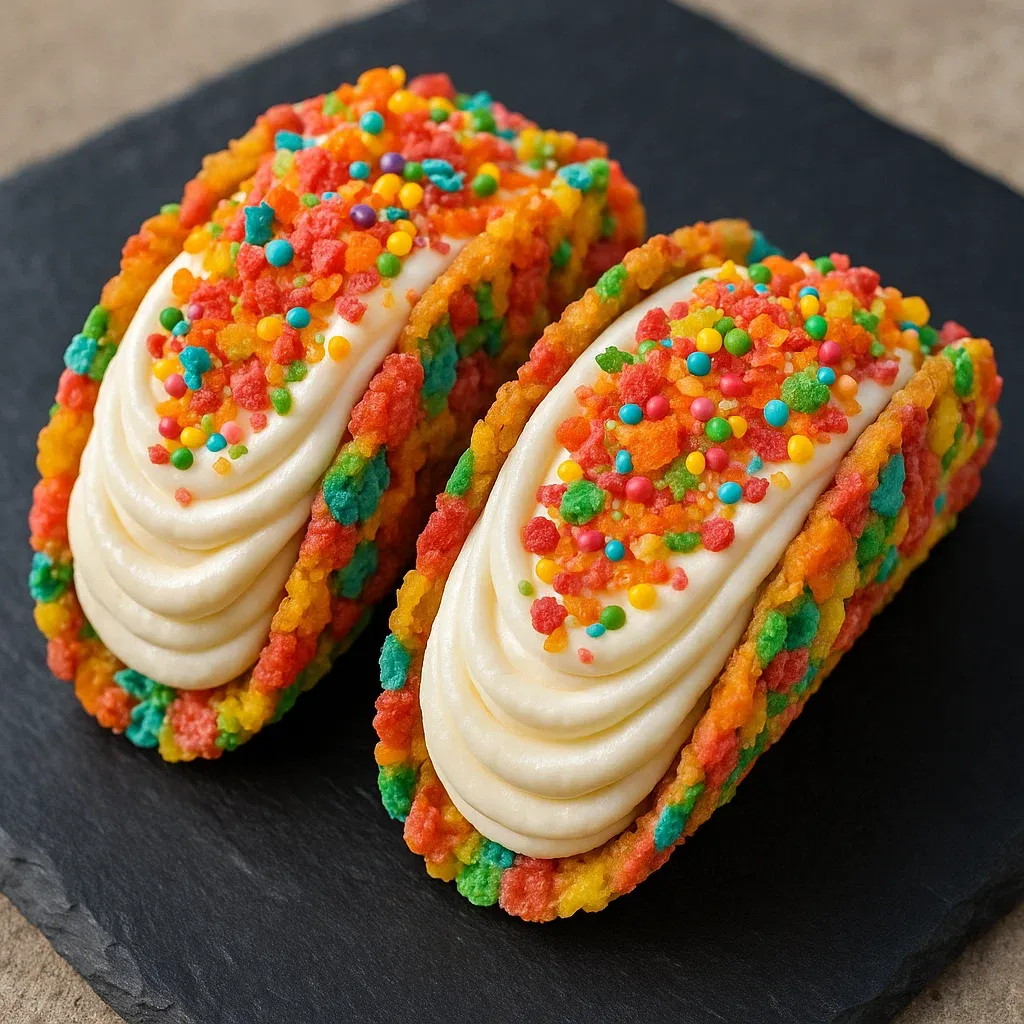
These eye-catching Fruity Pebbles Cheesecake Tacos turn ordinary breakfast cereal into something truly special. The mix of sweet, crunchy shells with smooth, rich filling makes a treat that appeals to kids and grown-ups alike, fitting for any get-together while bringing out everyone's playful side.
I came up with this idea during a stormy day when I needed to entertain my visiting nieces. Now they always ask to make them whenever they stop by, and I'm honestly just as excited as they are each time.
Ingredients
- 3 cups colorful fruity cereal: These bright pieces form the perfect crunchy shell and bring that childhood taste we all remember
- 1/2 cup unsalted butter melted: This sticks everything together and adds a nice buttery richness
- 8 oz cream cheese softened: Gives you that genuine cheesecake flavor - go for full fat for the best results
- 1/2 cup powdered sugar sifted: Adds sweetness without any grittiness, don't skip the sifting step
- 1 tsp pure vanilla extract: Makes everything taste better, grab the real stuff instead of artificial
- 1 cup whipped cream: Creates that airy, light texture in your filling
- Additional fruity cereal for garnish: Brings extra crunch and makes them look super pretty
How To Make Fruity Pebbles Cheesecake Tacos
- Prepare the Crunchy Shell:
- Mix your fruity cereal with the melted butter in a big bowl until you've covered every little piece. Make sure the butter's warm but not hot enough to make the colors run. Don't rush this part since good coating means your shells won't fall apart.
- Shape Your Shells:
- Push the mixture hard into taco shapes using molds or a muffin tin with curved sections. Use your fingertips or a spoon back to press evenly, making shells around 1/4 inch thick. Stick them in the fridge for at least 30 minutes until they're totally firm. They should feel hard when you touch them.
- Whisk Up the Cheesecake Filling:
- Use an electric mixer to beat your room temp cream cheese for 2 minutes until it's all fluffy with no lumps. Slowly add the powdered sugar and vanilla while you keep mixing. Don't forget to scrape down the bowl sides often so everything gets smooth as silk.
- Add Airiness:
- Use a rubber spatula to carefully fold your whipped cream into the cream cheese mix. Go gently and fold from bottom to top until just mixed. If you stir too much, you'll knock all the air out and end up with heavy filling instead of light and fluffy.
- Assemble the Bites:
- Take your hard shells from the fridge. Fill each one with plenty of the cheesecake mixture using a regular spoon or a piping bag if you want them to look extra fancy. Don't be stingy - fill them until they're almost overflowing.
- Garnish and Serve:
- Scatter more fruity cereal on top of each taco, pushing lightly so they stick to the filling. Eat right away for maximum crunch or keep in the fridge for up to 2 hours before serving.
What I love most about making these is watching simple cereal turn into cute little cups for that creamy filling. My grandma always told me that the best desserts mix different textures together, and these tacos prove she was right with every bite that's both crunchy and smooth.
Make Ahead Options
While these treats taste best on the day you make them, you can get a head start by prepping parts separately. You can make the cereal shells up to two days early and keep them in something airtight. The filling stays good in the fridge for about 24 hours. For the tastiest results, I'd suggest putting everything together no more than 4 hours before you plan to serve them so they stay perfectly crunchy and creamy.
Variation Ideas
What's great about this treat is how easy it is to switch things up. Try using Cocoa Pebbles for chocolate lovers, or maybe Cinnamon Toast Crunch for something warm and spicy. For grown-up parties, add a spoonful of orange liqueur to your filling and finish with some orange zest. During special holidays, pick cereal colors that match the season like red and green for Christmas or soft pastels at Easter to make your dessert fit any celebration.
Serving Suggestions
Put these bright tacos on a plain white plate to make their colors really pop. For a fun party idea, set out ready-made shells and filling separately so everyone can build their own and add extras like chocolate chips, sprinkles, or fresh fruit. They also look super cute served in colorful paper liners after a taco dinner or Mexican-themed meal.
Recipe FAQs
- → How do I shape the cereal shells?
Push the butter-coated cereal mix firmly into small taco molds or the back of a muffin tin. Let them chill for 30 minutes so they'll keep their shape.
- → Can I use any brand of fruity cereal?
You bet, any colorful fruity cereal brand will do the trick in this recipe.
- → How do I make the filling light and airy?
For that airy texture, carefully fold the whipped cream into your cream cheese mix with a spatula. Don't overmix or you'll lose all the fluffiness.
- → Can these be made ahead of time?
Sure thing, you can make the shells and filling beforehand. Just put them together right before you serve them to keep everything fresh and crunchy.
- → What is the best way to serve these tacos?
Eat them right after adding the extra cereal topping for the best crunch, or stick them in the fridge if you want a cooler, firmer treat.