
 Pin it
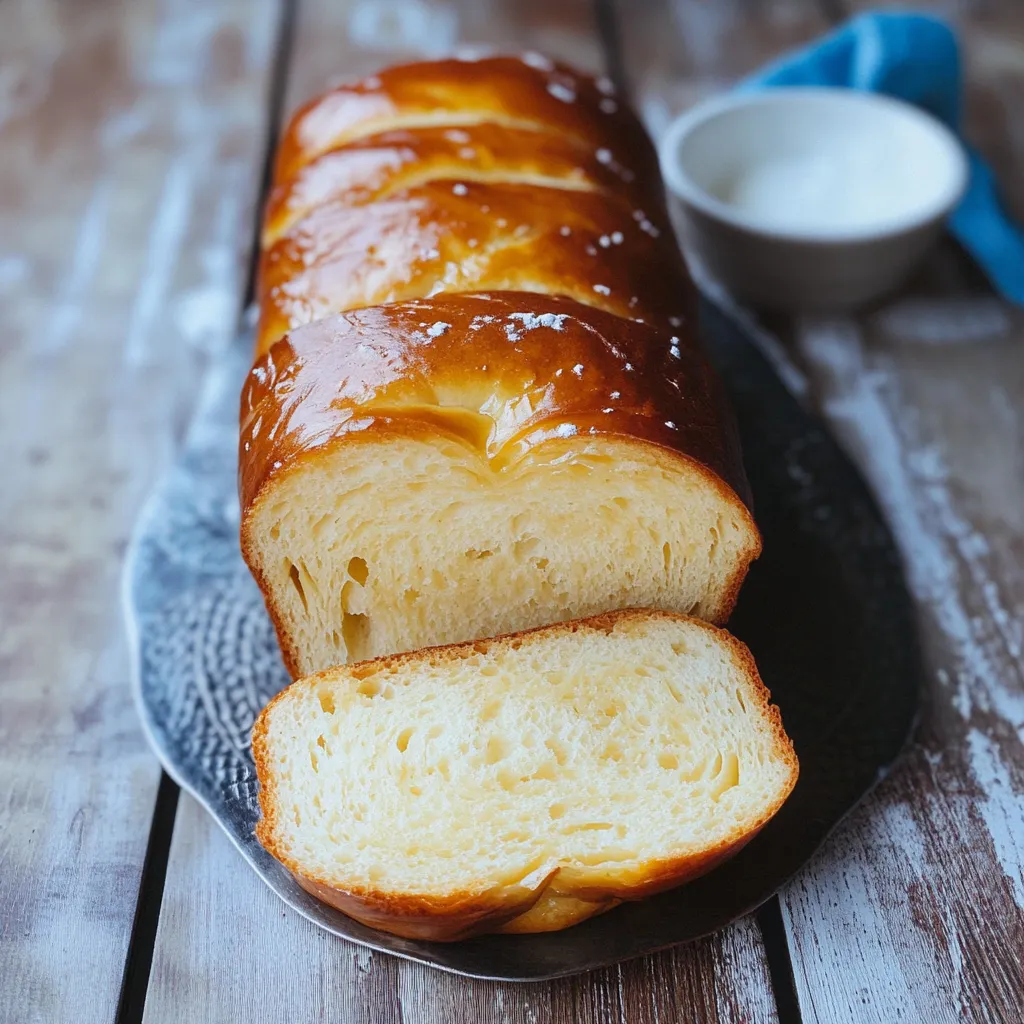
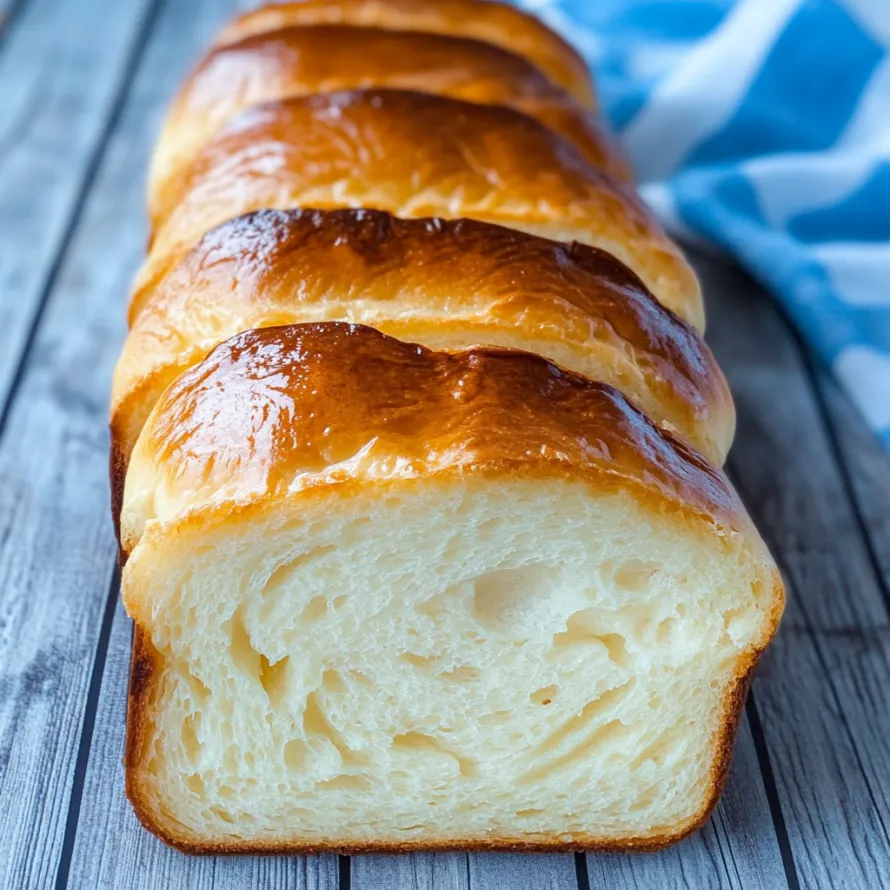
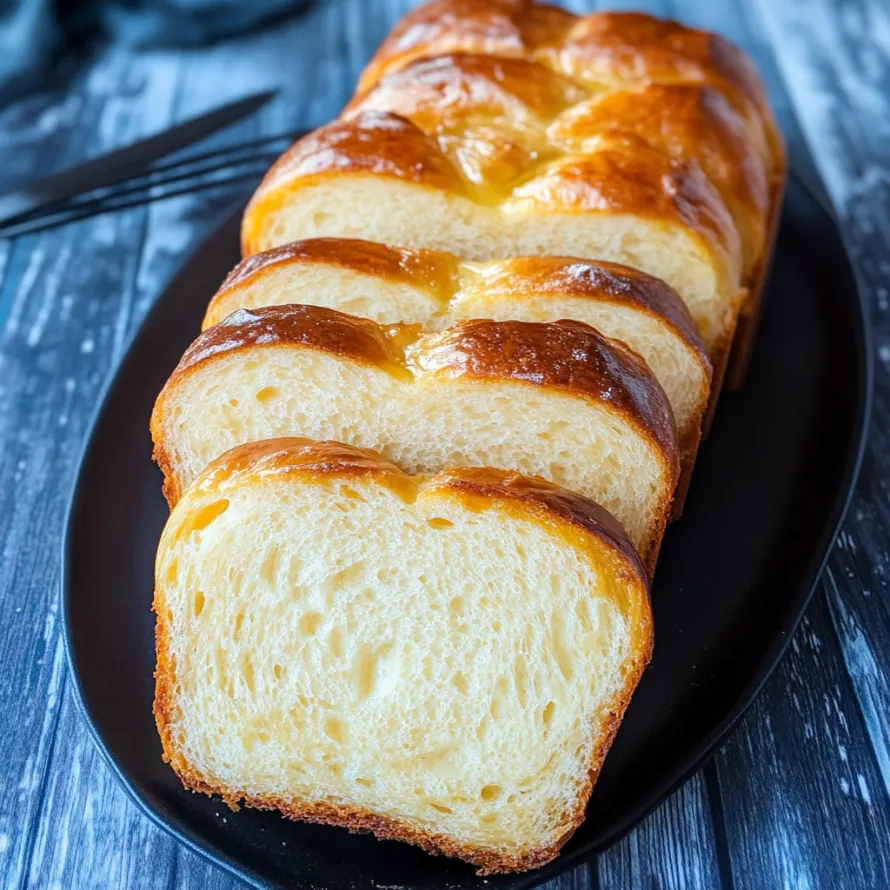
Condensed milk bread transforms ordinary ingredients into an extraordinary loaf with cloud-like texture and subtle sweetness that lingers pleasantly on the palate. The silky interior pulls apart in tender strands while the golden crust provides just enough contrast to create the perfect bite. This bread bridges the gap between everyday sandwich loaf and special occasion treat, making it versatile enough for everything from morning toast to afternoon tea sandwiches.
My first attempt at condensed milk bread happened during a rainy weekend when I craved something special yet achievable. The moment I pulled the golden loaf from my oven, the kitchen filled with a warm caramel aroma that brought my entire family running. One bite of the pillowy soft interior convinced me this would become our new standard for homemade bread, impressive enough for guests yet simple enough for regular baking rotation.
Ingredient Selection Matters
- Sweetened condensed milk: Contributes distinctive flavor while adding tenderness through milk proteins and sugars
- Cake flour: Produces noticeably finer crumb structure though all purpose flour works with slight texture difference
- Whole milk: Provides necessary moisture and fat content essential for proper dough development
- Unsalted butter: Allows precise control over salt levels while contributing richness
- Instant yeast: Ensures reliable rising without activation steps required by active dry varieties
- Egg wash: Creates the signature golden sheen while helping additional toppings adhere properly
Perfect Bread Creation
- Initial Combination:
- Begin by warming whole milk to approximately 100°F, creating ideal environment for yeast activation without damaging living organisms. Combine condensed milk with warmed milk, stirring until completely incorporated. In separate large bowl, whisk together cake flour, salt, sugar and instant yeast ensuring even distribution of ingredients. Create well in center of dry ingredients before pouring milk mixture into depression. Mix initially with wooden spoon until shaggy dough forms, incorporating most dry ingredients.
- Developing Structure:
- Transfer partially mixed dough to lightly floured work surface or mixer fitted with dough hook. Begin kneading process by pushing dough away from body, then folding back toward yourself repeatedly. Continue this rhythmic motion approximately ten minutes until dough becomes smooth and elastic. Add room temperature butter in small pieces, fully incorporating each addition before adding more. Properly developed dough should stretch thinly without tearing when pulled between fingers, creating translucent "windowpane" effect.
- First Rising Phase:
- Shape kneaded dough into tight ball by tucking edges underneath, creating tension across surface. Place in lightly oiled bowl, turning once to coat entire surface preventing dry spots during rising. Cover bowl with plastic wrap or damp kitchen towel before placing in warm draft free location. Allow dough to rise until doubled in volume, approximately 60 to 90 minutes depending on ambient temperature. Properly risen dough will hold indentation when gently pressed with fingertip.
- Shaping Procedure:
- Gently deflate risen dough by pressing with flat palms before transferring to clean work surface. Divide dough into equal portions using bench scraper or sharp knife. Shape each portion into tight ball by creating tension across surface. Roll each ball into cylinder approximately eight inches long before arranging pieces in prepared loaf pan. Position cylinders with cut sides facing pan walls creating attractive presentation when baked.
- Final Rise:
- Cover shaped dough loosely with plastic wrap or clean kitchen towel before placing in warm location for second rise. Allow dough to expand until nearly reaching top of loaf pan, approximately 45 to 60 minutes. Properly proofed dough should spring back slowly when lightly pressed with finger. While dough completes final rise, preheat oven to 350°F ensuring proper temperature before baking begins.
- Baking Excellence:
- Whisk together egg with tablespoon of water creating smooth egg wash. Gently brush risen dough with egg wash using soft pastry brush, avoiding pressing which deflates carefully risen dough. Bake in preheated oven approximately 35 minutes, rotating halfway through baking time ensuring even browning. Properly baked bread should sound hollow when tapped on bottom and register internal temperature of 190°F when tested with instant read thermometer.
The first time my grandmother introduced me to condensed milk, she showed me how this simple ingredient transformed ordinary foods into something special. She would spread it thinly on toast or drizzle it over fresh fruit, treating it as precious because of its wartime scarcity in her childhood. When developing this recipe, I wanted to capture that same transformative quality, allowing condensed milk to elevate simple bread into something memorable without overwhelming its basic nature.
Wonderful Accompaniments
Serve slightly warm slices alongside fresh berry compote for breakfast indulgence that balances fruit acidity against bread sweetness. Consider preparing thin sandwiches with cream cheese and cucumber for elegant afternoon tea presentation. Toast thick slices until golden before topping with cinnamon butter for simple dessert that requires minimal preparation but delivers memorable satisfaction.
Creative Variations
Incorporate dried cranberries and orange zest into dough before final shaping for seasonal adaptation perfect for holiday breakfasts. Experiment with adding tablespoon matcha powder to dry ingredients creating subtle green tea flavor profile with visual interest. Consider dividing dough into individual rolls rather than loaf, reducing baking time to approximately 20 minutes while creating perfect portion control.
Maximizing Freshness
Store completely cooled bread in airtight container or sealed plastic bag at room temperature up to three days maintaining optimal texture. Refresh slightly stale bread by warming briefly in 300°F oven approximately five minutes restoring tenderness without drying edges. Prevent condensation by allowing bread to cool completely before storage which otherwise creates soggy crust destroying textural contrast.
My journey with this condensed milk bread reminds me that baking transcends mere recipe following to become sensory experience connecting generations through shared flavors. The process requires patience and attention but rewards with incomparable aroma filling your kitchen and distinctive texture impossible to find in commercial alternatives. Whether serving this bread to family or sharing with friends, its unique character creates conversation while its versatility ensures empty plates. The subtle sweetness and exceptional texture demonstrate how simple ingredients transform through careful technique into something greater than their individual contributions.
Recipe FAQs
- → Can I use all-purpose flour instead of cake flour?
- Yes, you can substitute all-purpose flour by using 2 tablespoons less AP flour per cup of cake flour called for, and adding 2 tablespoons of cornstarch per cup to lighten the texture.
- → How long does the condensed milk bread stay fresh?
- The bread stays fresh for up to 3 days when wrapped in plastic wrap and stored in a cool, dry place at room temperature.
- → Why does this recipe require two proofing times?
- The double proofing process is essential for developing the bread's structure and flavor. The first proof allows the yeast to create air pockets, while the second proof happens after shaping to achieve the final texture.
- → Can I freeze this condensed milk bread?
- Yes, you can freeze the baked bread. Wrap it tightly in plastic wrap and then aluminum foil before freezing. Thaw at room temperature when ready to eat.
- → What makes this bread so fluffy and soft?
- The combination of sweetened condensed milk, butter, and eggs creates an enriched dough that bakes up exceptionally soft and fluffy. The condensed milk adds sweetness while contributing to the tender texture.