
 Pin it
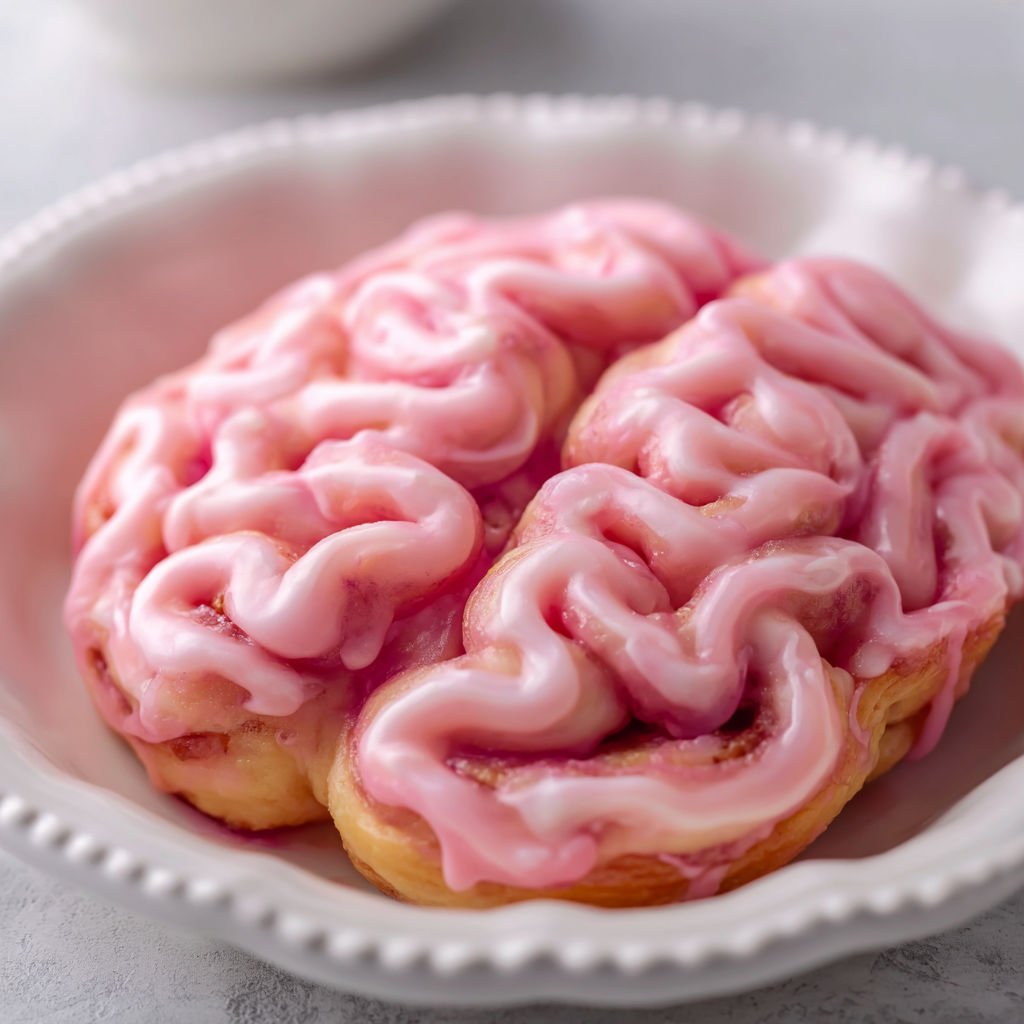
There is nothing like sharing a little spooky fun with a tray of cinnamon roll brains baked right in your own kitchen. This recipe turns your favorite packaged cinnamon rolls into a delightfully gory brunch centerpiece that is always the talk of the Halloween party. It is quick to prepare and perfect for feeding a hungry crowd with minimal fuss.
My kids still talk about the year I first served these at our annual Halloween bash. The brains look wild but taste exactly like classic gooey cinnamon rolls which is what makes them so fun to eat and serve.
Ingredients
- Pillsbury Grands Cinnamon Rolls: classic rich dough with deep cinnamon swirl be sure to grab the Grands for max size and structure
- Non stick baking spray: keeps everything from sticking and helps the edges crisp up nicely
- Red food coloring: for that playful faux gory effect grab a gel version if you want vibrant color
Instructions
- Open the Dough:
- Remove both cans from the fridge and carefully open them. Set the included icing tubs aside for later. Let your dough sit for five to ten minutes at room temperature so it is easier to work with and less likely to snap when unrolling.
- Unroll and Shape:
- Starting with one cinnamon roll unroll it carefully but stop when you reach the tight center spiral. The centers form the core of your brains so do not unroll too far or you will lose that classic swirled look. Repeat with all rolls.
- Prepare the Dish:
- Coat a ten inch round casserole dish thoroughly with non stick spray. This not only keeps your brains from sticking but helps the exterior brown evenly which is key for presentation.
- Arrange the Dough:
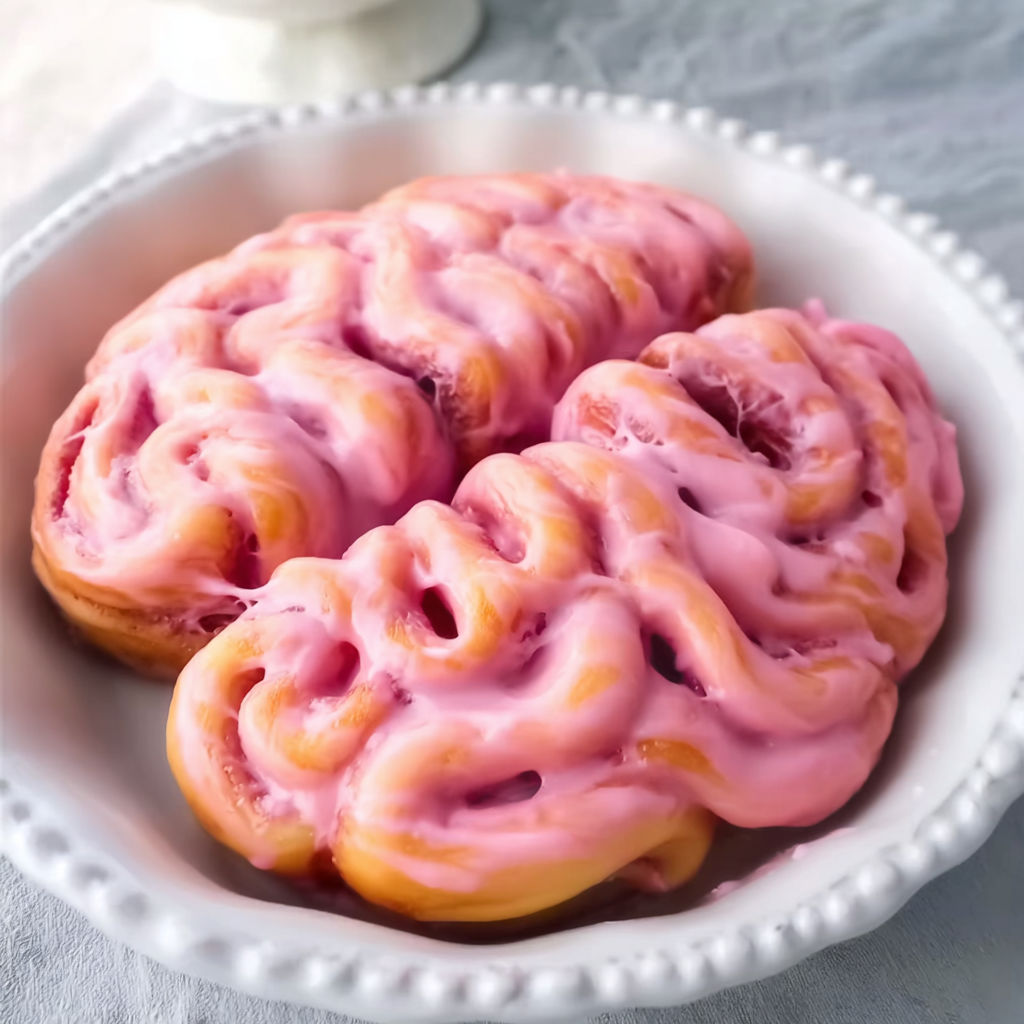
- Take half the unrolled cinnamon roll strips and arrange them on one side of the dish in loose folds mimicking the folds of a brain. Gently press or nestle them together so the dough holds its shape but leave a visible channel down the center. Repeat with the remaining strips on the other side.
- Bake:
- Slide the dish into your preheated oven set at three hundred fifty degrees Fahrenheit. Bake for thirty minutes or until the top is golden brown and slightly puffed. If your brains are browning too quickly tent with a little foil around the twenty five minute mark.
- Color the Icing:
- While the rolls bake stir a drop of red food coloring into the saved icing until you reach the hue of pink brains that suits your style. Gel coloring works fast so start slowly.
- Top and Serve:
- Once cool enough to handle but still warm drizzle or spread the pink icing over the folds of your brains using a butter knife. For extra gore swirl lines down the center channel. Serve in wedges or let guests pull apart with a fork for party fun.
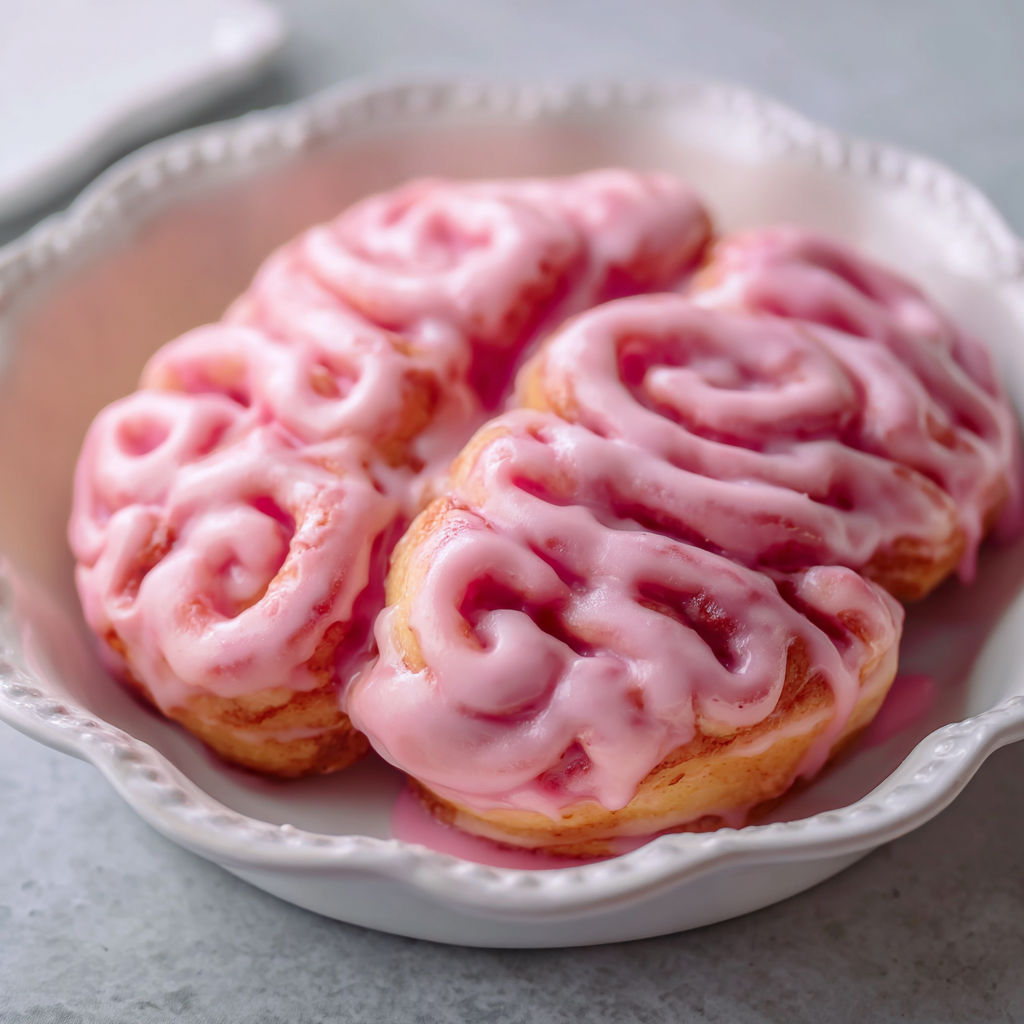
I absolutely love how the red tinted icing transforms an everyday breakfast bread into an instant conversation starter. The year we hosted a family Halloween brunch the dish was gone in minutes and even the grownups fought for the last bite.
Storage Tips
Keep leftovers tightly wrapped or in an airtight container at room temperature for up to two days. For best flavor briefly reheat individual portions in the microwave for about ten seconds. If you want to make ahead store uniced baked rolls for one day and glaze right before serving for freshest results.
Ingredient Substitutions
You can swap out regular cinnamon rolls if you cannot find Grands but the final look will be a smaller brain. For more color impact use pink gel dye for a brighter finish. Dairy free baking sprays and icing can make it friendly for more guests. If you want to add a little tang stir a spoonful of softened cream cheese into the icing before coloring.
Serving Suggestions
Pair your cinnamon roll brains with fresh fruit for a balanced Halloween breakfast. These are also fantastic alongside hot apple cider or spiced coffee. Get creative by adding candy eyeballs for extra spooky flair if serving to kids.
Cultural and Seasonal Context
While cinnamon rolls are a beloved treat year round this playful version truly shines at Halloween. The recipe makes playful use of traditional ingredients to create a show stopping dessert or brunch dish. My family now requests this every October as part of our spooky season rituals.
Seasonal Adaptations
Perfect for October gatherings and kids parties. Transforms a classic into a fun themed centerpiece. Works just as well for zombie movie marathons as for breakfast.
Success Stories
A friend of mine sent me her own twist using purple and green food coloring for a mad scientist party. The results looked wild and the pan was empty by the end of the night. You can see the brain effect really wows both kids and adults with so little effort.
Freezer Meal Conversion
For a make ahead option bake and cool the unfrosted brains completely. Wrap tightly and freeze for up to one month. Thaw at room temperature and then warm in a low oven before adding the icing. This works great for planning ahead for a big event or class party.
You might end up making cinnamon roll brains for more than just Halloween because it is so easy and versatile. Every bite brings a grin and I will always remember the squeals and laughter when we first pulled that pink icing brain from the oven.
Recipe FAQs
- → How do I achieve the brain shape?
Unroll cinnamon rolls and arrange the strips in folds on each side of the dish, leaving a space center to mimic the look.
- → Can I use other brands of cinnamon rolls?
Yes, any large packaged cinnamon roll dough will work, but texture and flavor may vary slightly.
- → How do I add color to the icing?
Mix a drop of red food coloring into the included icing until you reach your desired shade of pink.
- → What is the best way to serve this dessert?
Let guests pull sections apart, or slice into wedges for easy serving at parties and gatherings.
- → Can I make this treat ahead of time?
It can be baked in advance, but for best freshness, add the colored icing just before serving.