
 Pin it
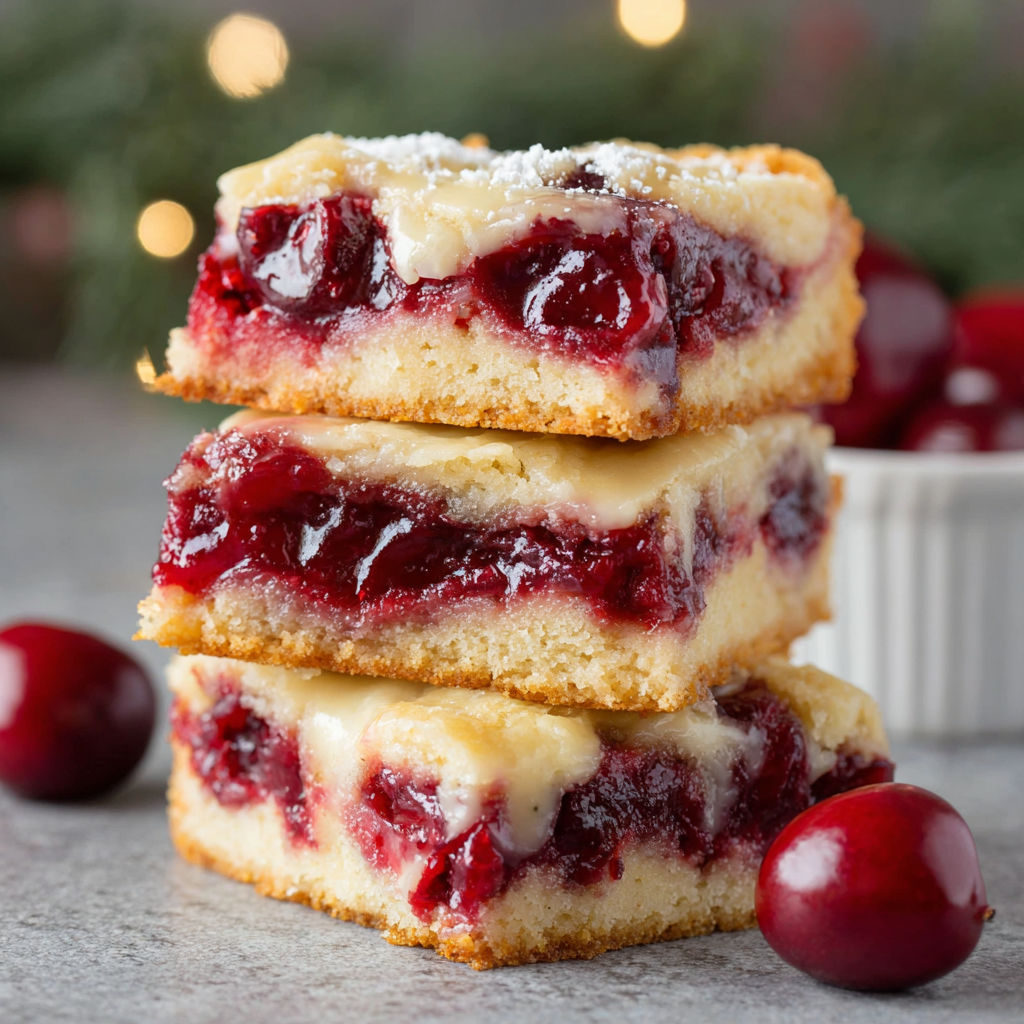
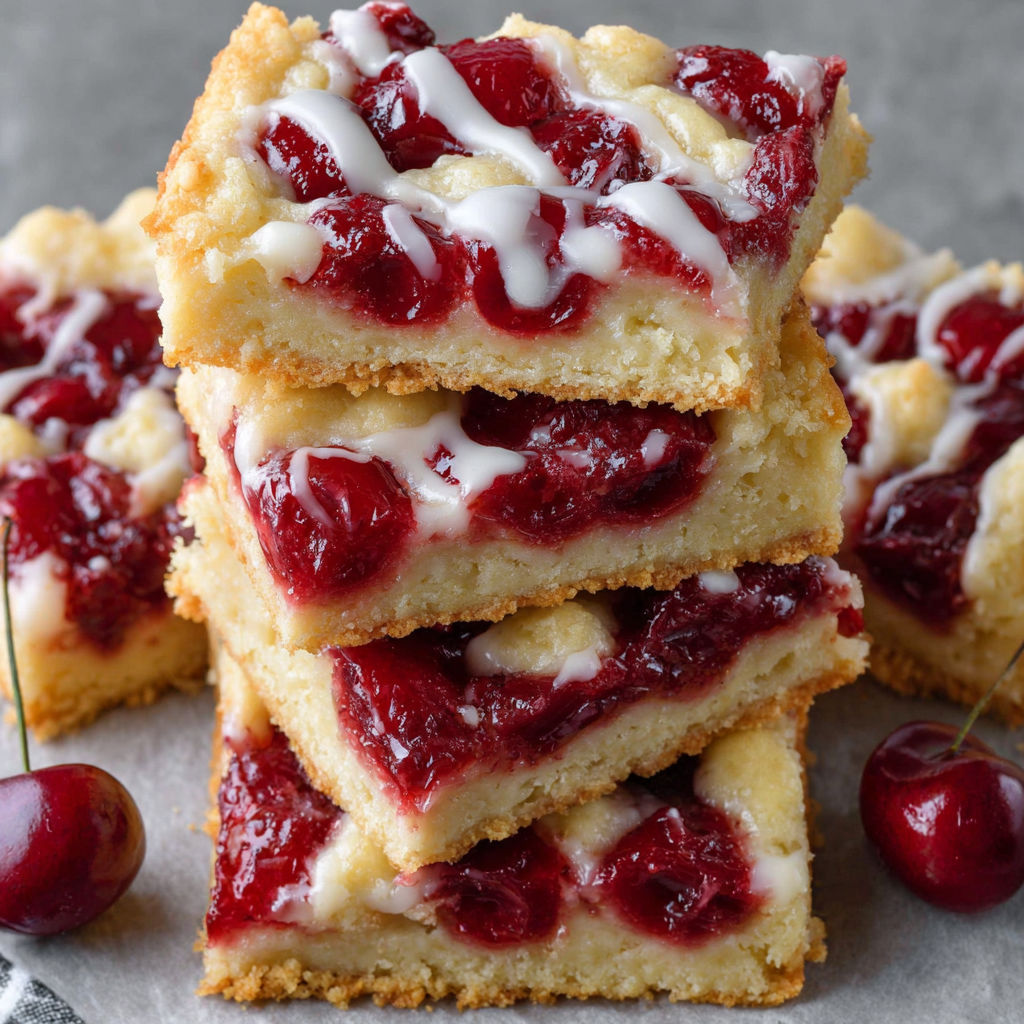
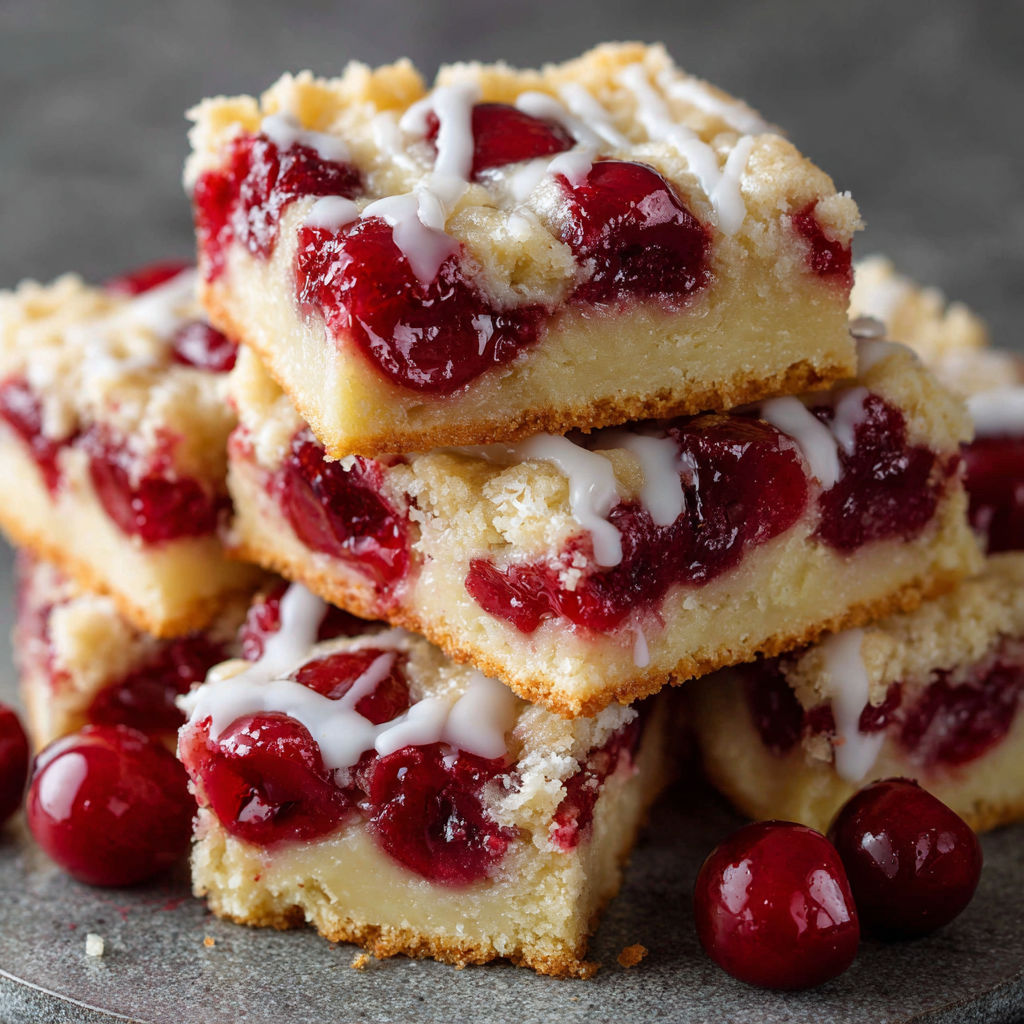
Christmas Cherry Bars bring holiday color and nostalgia to any dessert table with a tender buttery base and bursts of sweet cherry filling in every bite. These crowd-pleasing bars are easy enough for baking with kids yet festive enough for special gatherings. Their simple pantry ingredients and classic flavors never fail to spark joy throughout the season.
I first pulled this recipe out of my grandmother’s old recipe box to share with my own kids on a snowy December weekend. Now it is our most requested treat for cookie swaps and classroom parties.
Ingredients
- Butter: Use high-quality unsalted butter for rich flavor and a tender crumb. Make sure it is fully softened for creaming.
- Sugar: White granulated sugar gives the bars just the right sweetness and helps create a light texture.
- Eggs: Large eggs bind the dough and add a soft chew. Use room temperature eggs for easier mixing.
- Vanilla extract: Real vanilla rounds out the flavor. If you can, choose pure extract for the best flavor.
- All purpose flour: Use a fresh bag of flour for the fluffiest bars. Sift it if you want extra soft texture.
- Salt: Just a pinch brings out all the flavors and balances the sweetness.
- Cherry pie filling: Classic canned cherry pie filling keeps things easy and gives a juicy jewel-like finish. Look for whole cherries in syrup for best results.
- Powdered sugar: For the optional glaze. It adds sweetness and a snowy holiday look.
- Milk: The liquid for mixing up the glaze. Whole milk gives the richest result.
- Vanilla extract: For the optional glaze boost it with a drop of real vanilla for even more flavor.
Instructions
- Prepare the Pan:
- Grease a 9 by 13 inch baking pan thoroughly with butter or nonstick spray to prevent sticking. This ensures you get clean slices that release easily from the pan.
- Make the Batter:
- In a large bowl using a hand mixer or stand mixer beat the softened butter with the sugar until it looks pale and fluffy. This usually takes about three to five minutes and is key for the bar’s tender texture.
- Add Eggs and Vanilla:
- Crack in the eggs one at a time beating well after each addition so everything gets fully incorporated. Pour in the vanilla and mix again.
- Combine Dry Ingredients:
- In a separate bowl whisk together the flour and salt. Start adding the dry mix into the wet ingredients a bit at a time mixing on low speed until everything is just combined. The batter will be thick but smooth.
- Layer the Batter:
- Scoop about two thirds of the batter into your prepared baking pan. Use an offset spatula or the back of a spoon to carefully spread it into an even layer reaching all corners.
- Add the Cherry Filling:
- Using a large spoon drop the cherry pie filling all over the batter and gently nudge it into a single even layer covering the surface from edge to edge. Try to distribute the cherries evenly for the prettiest bars.
- Top with Remaining Batter:
- Place spoonfuls of the remaining batter over the top of the cherries. You do not need to cover every inch—let some cherry filling peek through for a pretty effect.
- Bake:
- Place the pan in your preheated oven and bake for thirty five to forty minutes. The bars are done when the top turns golden and a toothpick inserted into the center comes out mostly clean though a little cherry on the pick is perfect.
- Cool Completely:
- Remove from the oven and let the bars cool entirely in the pan on a wire rack. This helps them set up and makes slicing much easier.
- Glaze the Bars:
- Once the bars are fully cool whisk the powdered sugar milk and vanilla together until smooth and pourable. Drizzle all over the top letting some run down the sides for a snowy effect. Allow the glaze to set before slicing into bars.
- Serve and Enjoy:
- Use a large sharp knife to cut the bars into squares or rectangles. Wipe the knife clean between cuts for neat slices.
The cherry filling is my favorite part because of its vibrant color and jammy texture. Every Christmas my family gathers in the kitchen to swirl the cherry ribbons and sneak tastes of the batter. There is always laughter and a sense of tradition in the air as these bars come together.
Storage Tips
Store leftover bars in an airtight container at room temperature for up to three days. To keep them moist line the container with wax paper and separate layers with parchment if you stack them. For longer storage freeze well wrapped bars for up to two months. Thaw overnight in the refrigerator and glaze after thawing if freezing without the glaze.
Ingredient Substitutions
Feel free to swap out the cherry pie filling for blueberry raspberry or apple for a new twist. For extra richness add a splash of almond extract to the batter. Gluten free flour blends work well in place of all purpose flour if you want a gluten free option just check that your other ingredients are certified gluten free.
Serving Suggestions
These bars are delicious served on their own but look especially festive dusted with extra powdered sugar or garnished with chopped nuts. Pair them with a mug of hot cocoa or coffee for the coziest holiday treat. For a dessert platter cut the bars small and arrange them with other cookies and candies.
Cultural Context
Bar cookies like these are a cherished tradition in American holiday baking thanks to their simplicity and crowd pleasing appeal. The bright red cherry filling offers a classic Christmas color and a flash of childhood nostalgia for many families.
Seasonal Adaptations
Use cranberry orange filling for a fall twist Try lemon glaze instead of vanilla for spring events Add colored sprinkles for birthday or celebration bars
Neighbors and friends are always astonished at how quickly these disappear from the cookie platter. I once brought a tray to a holiday office party and every bar was gone before lunch. These bars have genuinely become part of our family’s story season after season.
Recipe FAQs
- → Can I use homemade cherry filling?
Yes, homemade cherry filling works great and may add an extra burst of flavor to the bars.
- → How should I store these bars?
Store cooled bars in an airtight container at room temperature for up to 3 days, or refrigerate longer.
- → Can the bars be frozen for later?
Yes, freeze sliced bars in layers with wax paper. Thaw at room temperature before serving.
- → Is the glaze necessary?
The glaze adds sweetness and presentation, but the bars are delicious without it as well.
- → What variations can be made?
Try experimenting with different fruit fillings, or add almond extract for a unique twist.