
 Pin it
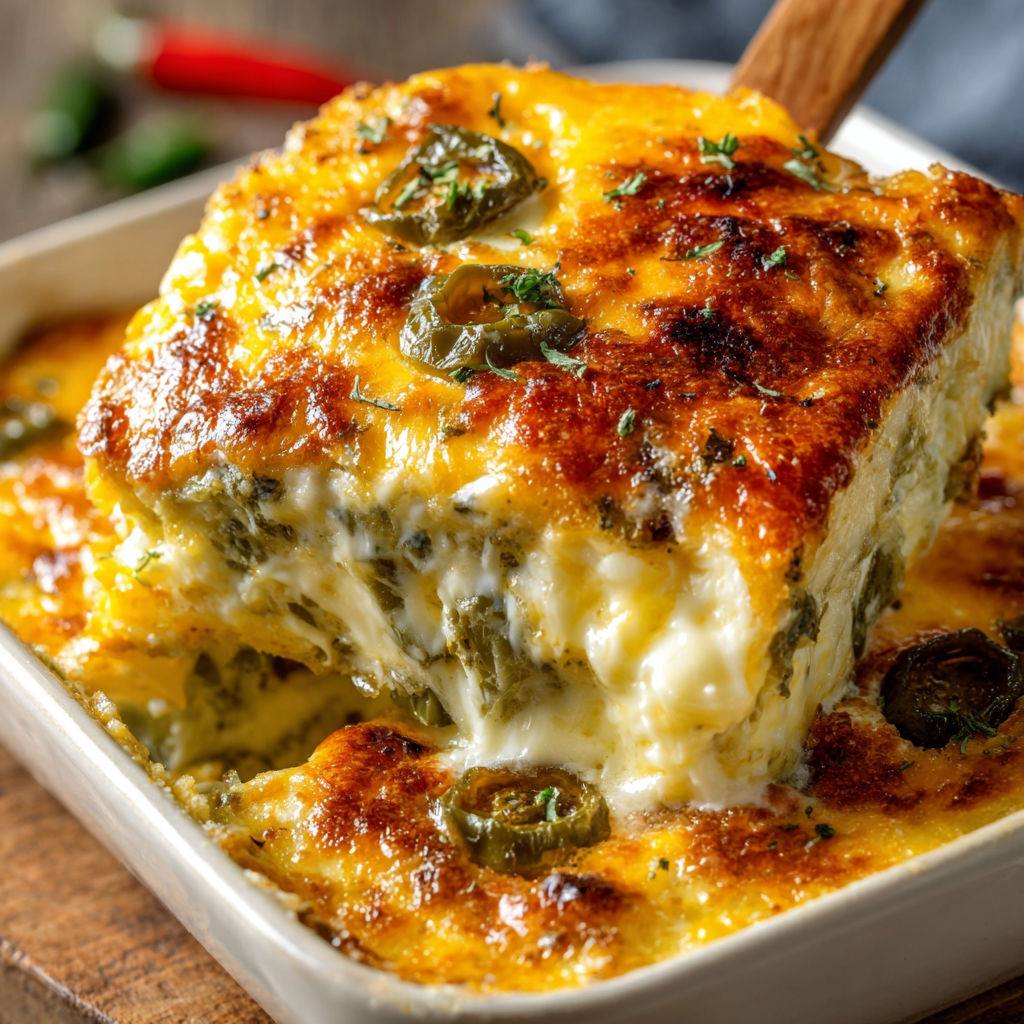
This Chile Relleno casserole is a weeknight winner when you want bold flavors with minimal fuss. It brings together layers of roasted green chiles and gooey cheese all surrounded by a fluffy egg batter. You get that classic Tex-Mex comfort without frying or complicated steps, just oven-baked goodness that feeds your crew in under an hour.
My family loves the mild heat and gooey cheese in every bite. The first time I made this casserole I was amazed by how quickly it disappeared from the table and it’s been a cozy favorite ever since.
Ingredients
- Canned whole green chiles: drained and halved look for firm unbroken chiles for easy layering and a mild earthy heat
- Monterey Jack cheese: for creamy melt and richness pre-shredded works great but shredding from a block gives the smoothest melt
- Cheddar cheese: sharpens the flavor and adds color choose a block for freshest taste
- Large eggs: these create a savory custard and hold everything together make sure they’re fresh for the best lift
- Whole milk: brings creaminess and helps the casserole stay fluffy whole milk adds richness but you can use two percent in a pinch
- All-purpose flour: adds gentle structure to the egg mixture choose unbleached for better flavor
- Baking powder: gives a gentle rise to the custard so it puffs up tender and golden
- Salt: enhances all the flavors use fine sea salt for good distribution
- Black pepper: fresh cracked if possible for gentle warmth
- Garlic powder: for depth and savory notes choose the freshest container for bold taste
- Cooking spray or soft butter for greasing: ensures easy release from the baking dish
Instructions
- Prep the Oven and Dish:
- Preheat your oven to 375 degrees Fahrenheit or 190 degrees Celsius and generously grease a nine by thirteen inch baking dish with spray or softened butter taking care to coat all corners so the casserole does not stick
- Layer the Chiles:
- Drain canned whole green chiles and pat dry using paper towels to remove any excess moisture. Arrange half the chiles in a single layer across the bottom of your baking dish making sure gaps are filled for an even base
- Add the Cheese:
- Sprinkle half the shredded Monterey Jack and half the cheddar cheese evenly over the chiles covering from edge to edge so each slice has a big cheesy pull
- Second Layer:
- Arrange the remaining green chiles on top of the cheese layer pressing gently to create a neat second layer. Top with the remaining Monterey Jack and cheddar for double cheese flavor throughout
- Make the Egg Mixture:
- In a large bowl whisk together the eggs whole milk flour baking powder salt black pepper and garlic powder. Whisk until the mixture is completely smooth and no flour lumps remain. Pour slowly over the layered chiles and cheese making sure to distribute evenly for a custardy bake
- Bake the Casserole:
- Bake the dish uncovered for forty to forty five minutes. The top should puff up and turn a deep golden brown and the edges will set with a slight jiggle in the center
- Rest and Serve:
- Remove the casserole from the oven and allow it to rest for about ten minutes before slicing. This helps the custard set making cutting and serving neat squares so much easier
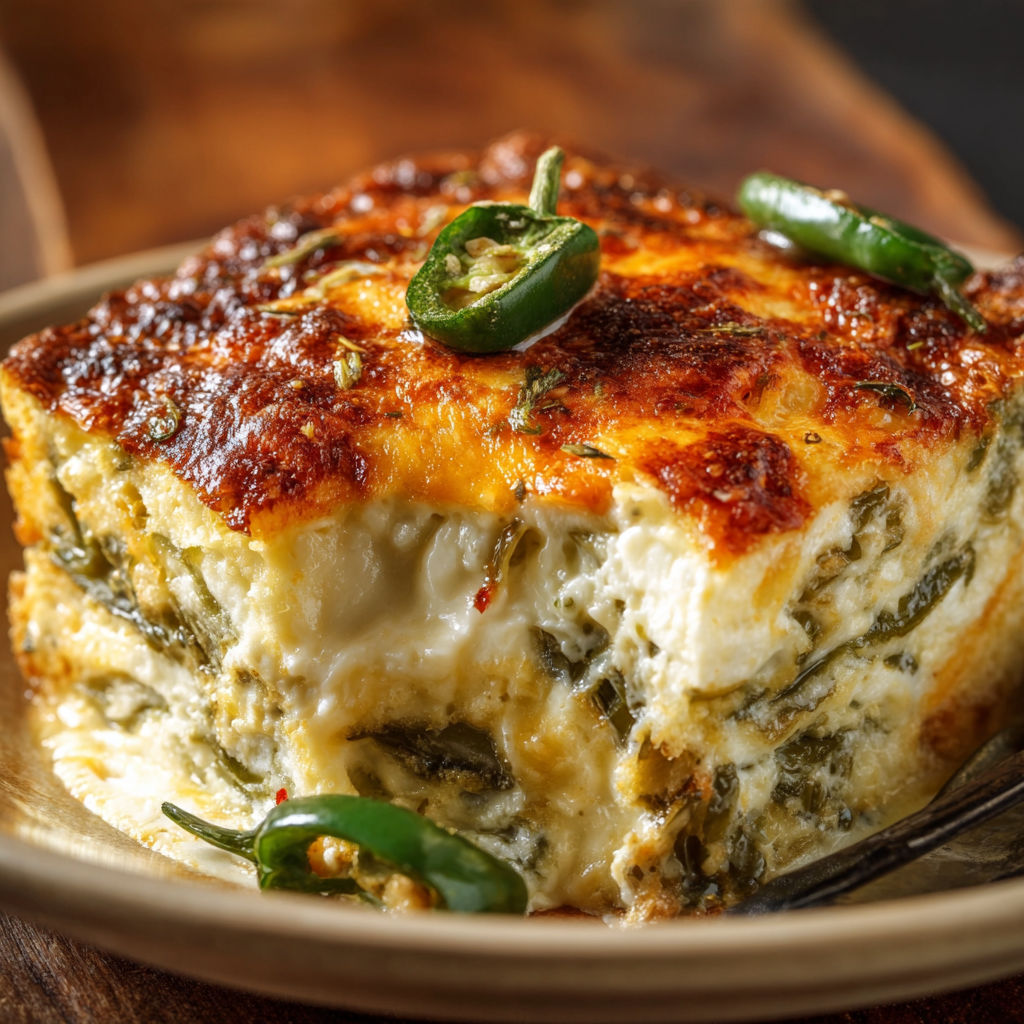
I am always amazed at how the Monterey Jack melts so beautifully making those creamy pockets between the layers. Years ago we all gathered around the table for Sunday brunch and this casserole was the first dish to vanish everyone wanted the recipe to make it for their own families.
Storage Tips
Keep leftover casserole covered tightly in the fridge up to four days. Reheat slices in the microwave or a 300 degree Fahrenheit oven until warmed through. For best texture avoid freezing as custards can separate but if you do freeze wrap individual slices tightly and thaw overnight before reheating
Ingredient Substitutions
Try roasted poblano chiles or a mix of canned and fresh chiles for an extra punch. You can swap Monterey Jack with Oaxaca cheese or even a combination of mozzarella and pepper jack. Non dairy milk will work for those avoiding lactose though the casserole may be less rich
Serving Suggestions
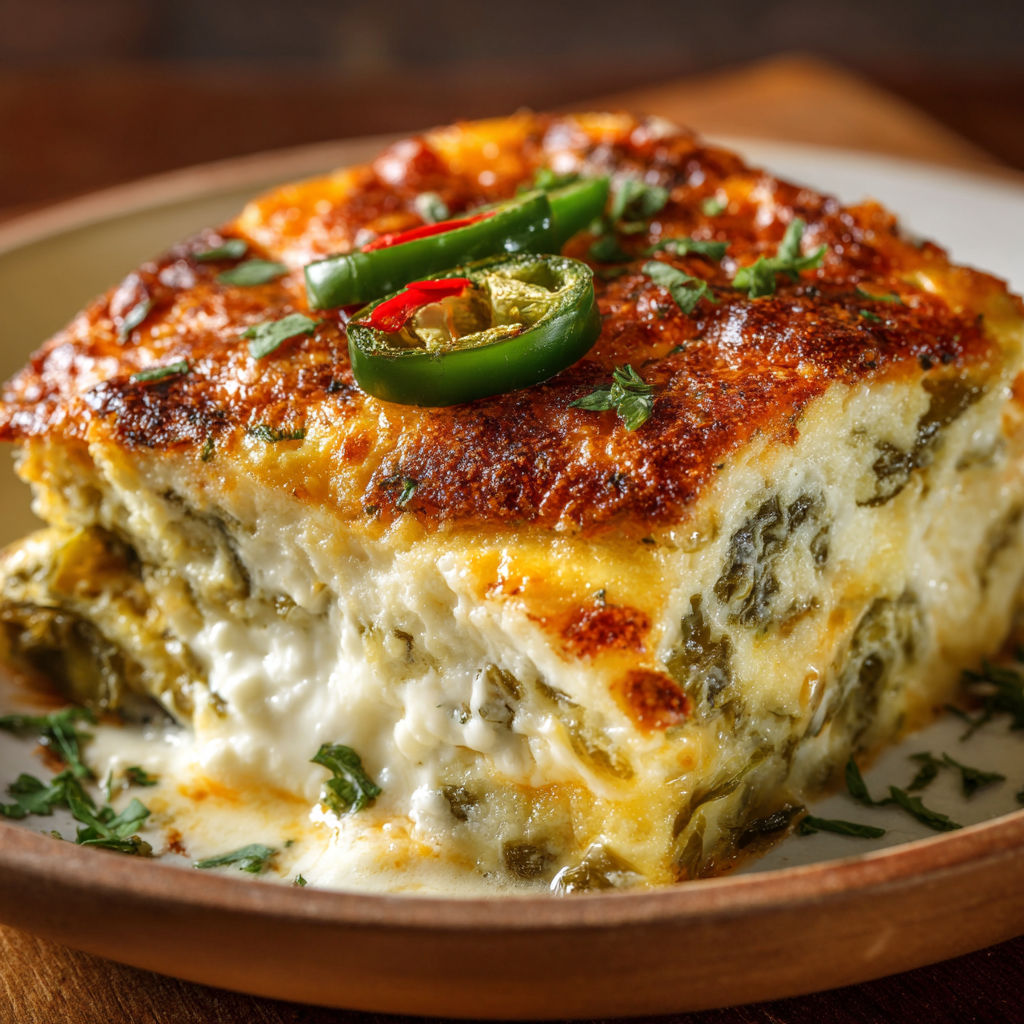
Serve hot with a dollop of sour cream chopped cilantro and a spoon of salsa on the side. For a heartier plate add black beans or Spanish rice. At brunch it shines paired with crispy roasted potatoes
Cultural Roots
Chile rellenos are a classic dish in Mexican cuisine where fresh chiles are stuffed and fried. This casserole captures that spirit in a weeknight form trading frying for easy baking. The spirit of sharing and satisfaction remains just as strong
Seasonal Adaptations
Use fresh roasted green chiles when in season for the most vibrant flavor Add sweet corn kernels or diced zucchini in late summer for color and crunch For a fall twist mix in roasted butternut squash or diced sweet potatoes
Success Stories
This recipe has become a tradition at my friend Marisela’s holiday gatherings everyone chips in to make it and someone always calls dibs on the crispy corner pieces. It is also fantastic for potlucks since it travels well and is always a crowd pleaser
Freezer Meal Conversion
If you want to meal prep assemble and bake the casserole fully then cool and freeze as whole or in single servings. To reheat cover tightly and bake from frozen at 325 degrees Fahrenheit until hot throughout
Chile Relleno casserole is the perfect make ahead comfort meal for any season. Enjoy the cheesy layers and celebrate new family food traditions.
Recipe FAQs
- → What type of green chiles are best for this casserole?
Canned whole green chiles work well for convenience, but you can use freshly roasted poblano or Anaheim chiles for more flavor.
- → Can I use different cheeses?
Yes, try pepper jack, mozzarella, or Mexican cheese blend to suit your preference or add more spice.
- → How do I store leftovers?
Cool the casserole, cover, and refrigerate for up to three days. Reheat portions in the oven or microwave.
- → Can I make this casserole ahead?
Yes, assemble and refrigerate overnight before baking, or bake and reheat before serving.
- → Is it possible to make it gluten-free?
Substitute the all-purpose flour with a gluten-free blend. The casserole will bake up well either way.