
 Pin it
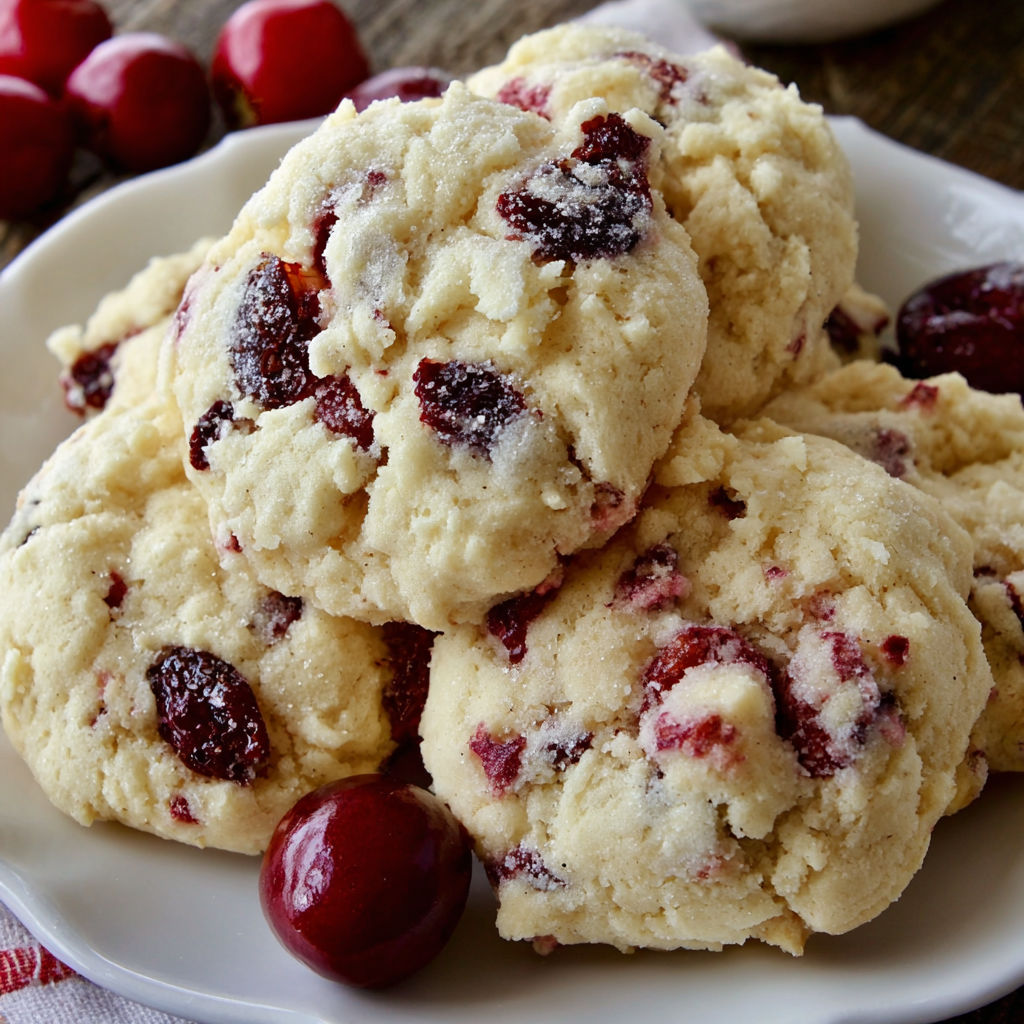
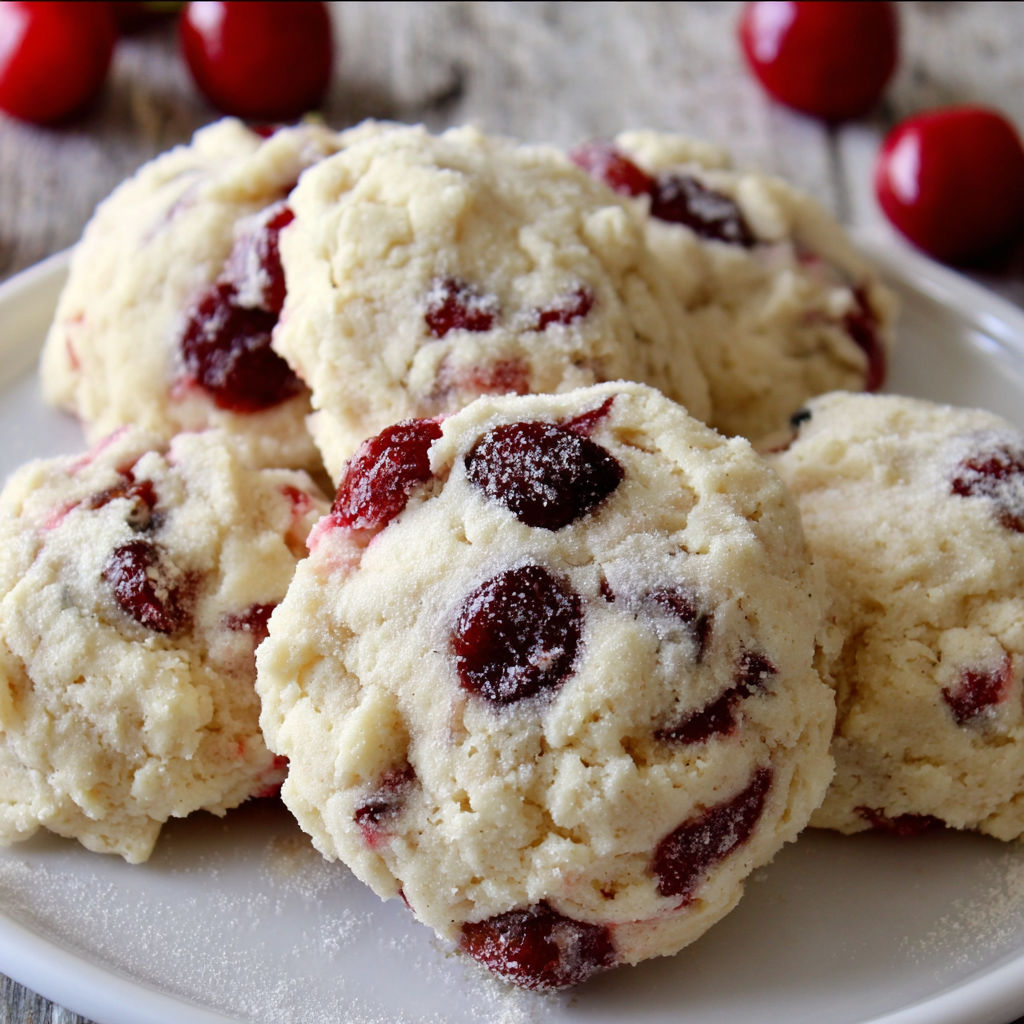
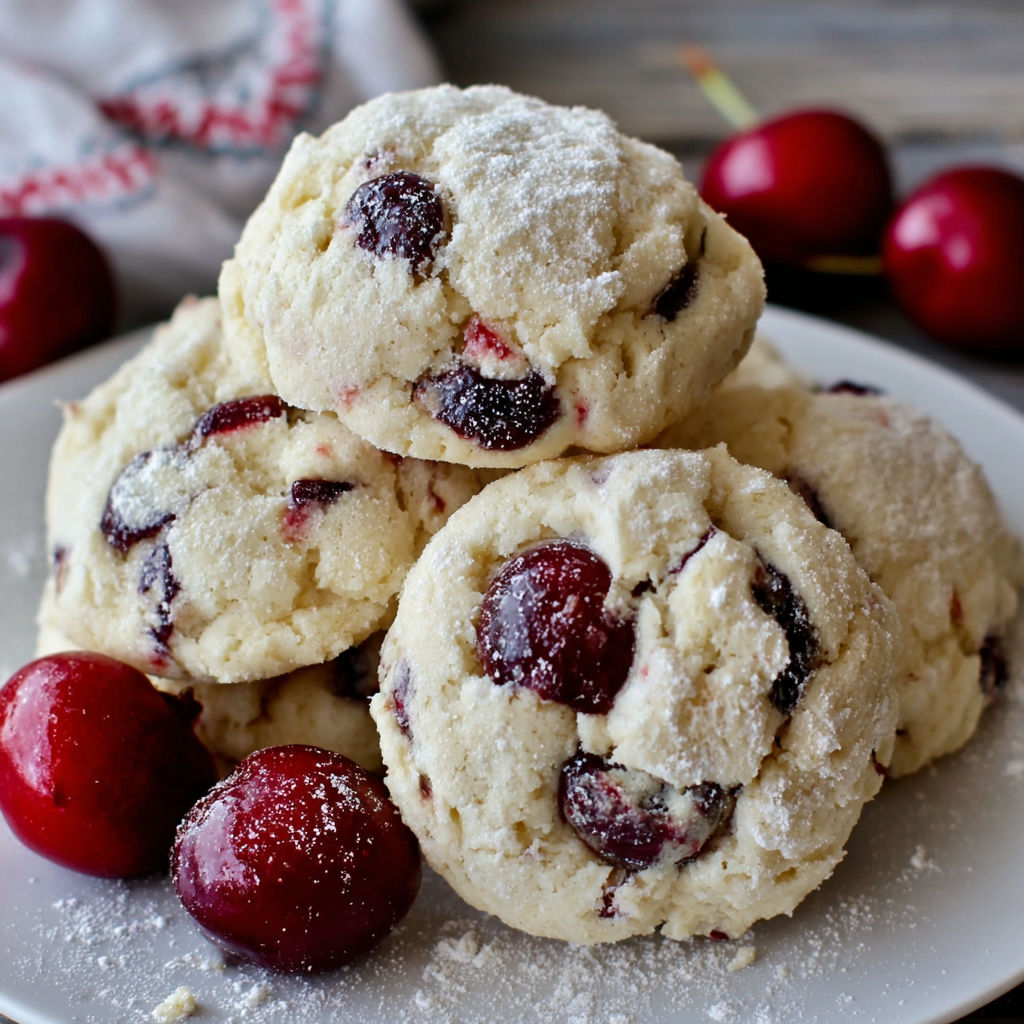
Cherry cookies make any season brighter with their soft crumb and juicy fruit pockets If you want a treat guaranteed to impress but comes together quickly these cookies never disappoint The combination of tart cherries and buttery dough is one of those bakery secrets at home I return to this recipe whenever cherry season hits or nostalgia for something sweet and simple strikes
I learned about these cookies from my grandmother who baked them for all our summer picnics The first time I made them myself I realized how well cherries and vanilla can transform a humble dough
Ingredients
- Granulated sugar: adds sweetness and helps with crisp edges
- Powdered sugar: gives the cookies a tender melt-in-your-mouth crumb
- Unsalted butter: brings a rich flavor and soft texture always use fresh high-quality butter for best results
- Canola or vegetable oil: keeps the dough extra moist and tender pick a mild oil to let cherry flavor shine
- Vanilla extract: ties it all together go with pure vanilla for deeper aroma
- Large egg: binds the dough and helps cookies puff slightly opt for the freshest large egg possible
- Sea salt: balances sweetness and enhances other flavors
- Cream of tartar: aids in leavening and prevents sugar crystallization
- Baking soda: lifts the cookie making it light and slightly chewy
- Unbleached all-purpose flour: provides structure and a subtle nutty note
- Cherries: starred ingredient brightens each bite pat them as dry as possible after dicing for best texture and color
- Choose firm ripe cherries for max flavor: avoid canned or overly soft cherries for a fresher taste
Instructions
- Prepare the Cherries:
- Pit and dice your cherries using a sharp knife or cherry pitter If cherries are especially juicy lay them out on paper towels to absorb excess moisture This keeps the dough from getting soggy
- Soften and Cream Butter:
- Place the softened butter in a large mixing bowl Beat with an electric mixer until creamy and smooth This step gives cookies a fluffy start
- Mix Wet Ingredients and Sugar:
- Add the oil granulated sugar powdered sugar vanilla extract egg sea salt cream of tartar and baking soda to the butter Beat thoroughly until the mixture is pale and smooth Scraping down the bowl is key so everything combines evenly
- Incorporate Flour and Cherries:
- Add the flour followed by the diced cherries Gently stir this in by hand with a wooden spoon to keep cherries intact If dough seems very sticky a little extra flour can help but do not overmix
- Portion Dough and Prep Pans:
- Spray cookie sheets lightly or line with parchment Using a quarter cup scoop drop dough mounds several inches apart as cookies will spread slightly Try to keep cherries tucked inside the dough to prevent sticking
- Bake with Care:
- Place trays in a preheated 350 degree oven Bake for 18 to 20 minutes The cookies should be slightly golden around edges and set in the center For consistency rotate sheets after seven minutes on different oven racks
- Cool and Enjoy:
- Remove cookies from oven and allow to cool completely on the baking sheet their soft delicate crumb will firm up as they rest Once cool transfer with a spatula to a rack or platter Ready to eat or store
Cherries are always the ingredient that makes me smile For summer birthdays we used to hide an extra cherry chunk in a few cookies as a secret treat
Storage Tips
Store cookies in an airtight container at room temperature for up to three days If you want to enjoy them longer place in the refrigerator and bring to room temp before serving Layer with parchment to prevent sticking
Ingredient Substitutions
If fresh cherries are not available try unsweetened dried cherries for a more intense flavor Just chop and soak in a bit of warm water to plump before adding If you need a dairy free version swap butter for plant based sticks
Serving Suggestions
Pair these cookies with lemon tea for an elegant afternoon pick me up They also go beautifully with vanilla ice cream or tucked into lunchboxes The texture is perfect for dunking in coffee
Cultural and Seasonal Notes
While these cookies shine with cherries in late spring and summer midwinter versions with cranberries work nicely too My grandmother adapted her recipe from a classic sugar cookie base When cherries ripened our family would gather to pit fruit by hand each summer turning the task into stories and laughter
Seasonal Adaptations
Use apricots or peaches in place of cherries during late summer Add a handful of chopped toasted almonds for nutty crunch Sprinkle coarse sugar on top before baking for sparkle and texture
Success Stories
These cookies have been shared at bake sales and potlucks and always disappear fast My kids love helping pit the cherries and sneaking bits of dough The recipe is simple enough for beginner bakers and never fails to turn out beautifully
Freezer Meal Conversion
Scoop dough onto lined baking sheets and freeze until solid Once frozen transfer to storage bags Bake directly from frozen adding two to three extra minutes to the baking time This method lets you enjoy cherry cookies anytime the craving hits
I always tuck a few reserved cherries into the tops of each dough mound for a bakery style look and extra fruit in every bite With their light crumb and vivid cherry pops these cookies are both special and easy enough for everyday moments Whether for friends or a quiet weekend treat you will love coming back to this recipe
Recipe FAQs
- → Can I use frozen cherries instead of fresh?
Yes, just thaw and drain frozen cherries well before dicing to avoid excess moisture in the dough.
- → Is almond extract a good substitute for vanilla?
Almond extract offers a different, nutty note that pairs nicely with cherries, so it’s an excellent alternative.
- → What type of flour works best?
Unbleached all-purpose flour is preferred for a softer texture, but regular all-purpose flour may also be used.
- → How do I achieve evenly baked cookies?
Rotate baking sheets halfway through and bake until lightly golden at the edges for even results.
- → Can I make the dough ahead of time?
Yes, you can refrigerate the dough for up to 24 hours before baking for added convenience and flavor development.