
 Pin it
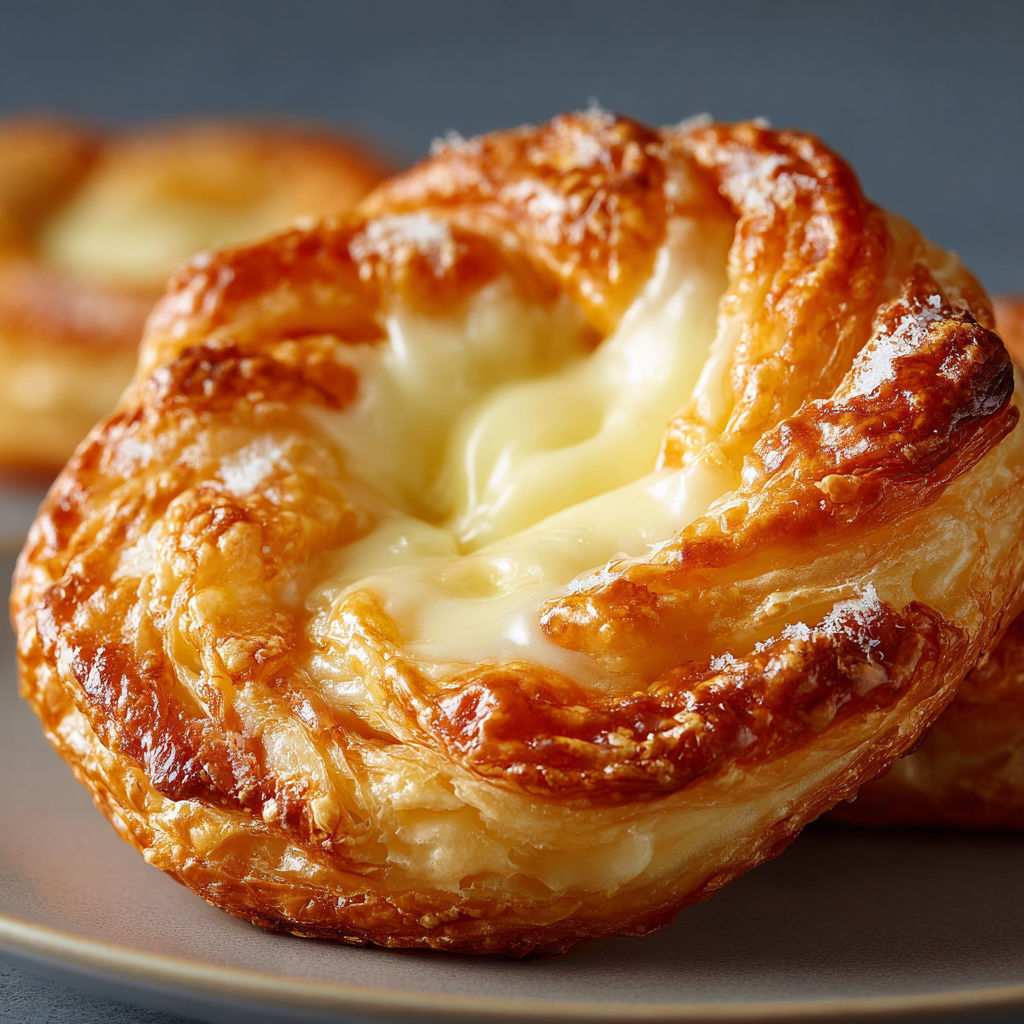
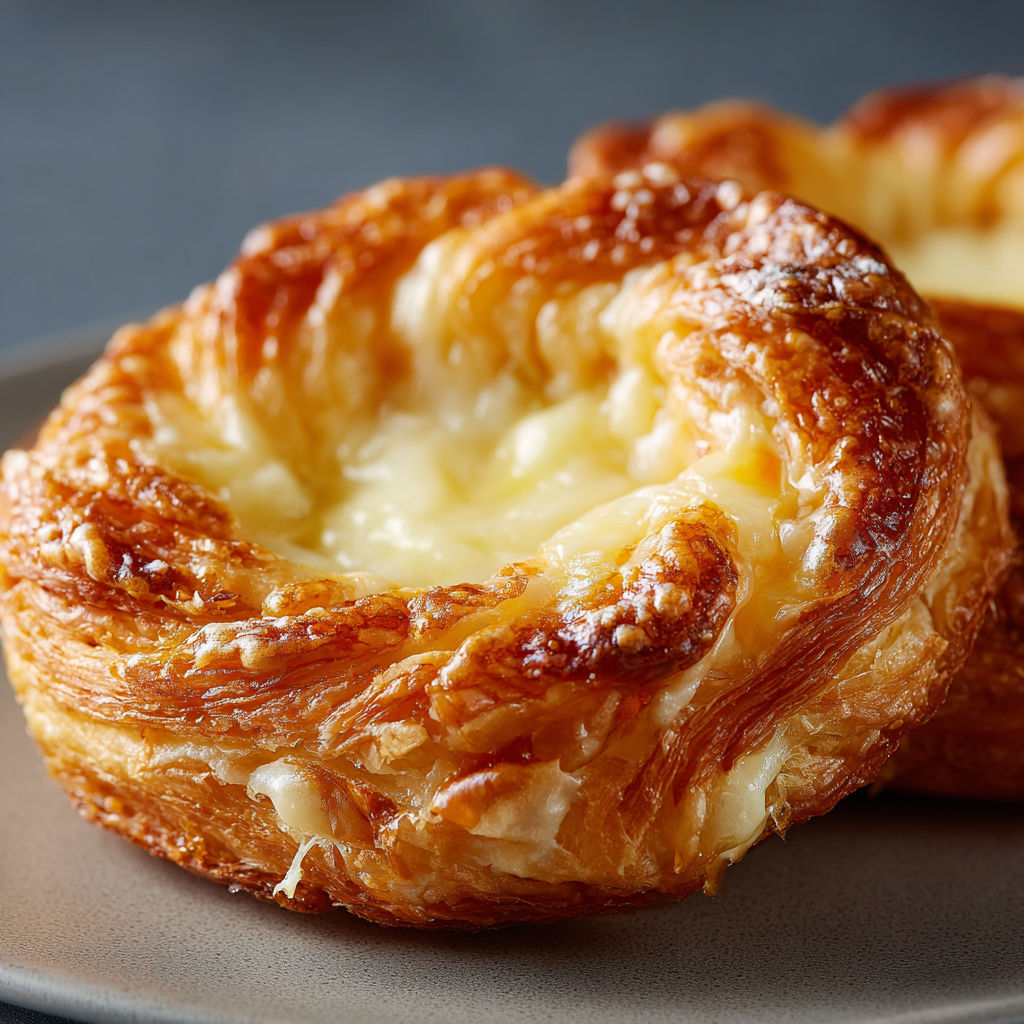
When I want to make a morning feel extra special or treat my family on a cozy weekend, I turn to this Cheese Danish Delight. Flaky pastry with a creamy filling that is just sweet enough, these delights always bring smiles and disappear fast from the plate.
When I first baked these for my neighbors’ brunch, they were gone in minutes. Now they ask for them every gathering, and it has become my secret show-stopper recipe.
Ingredients
- All purpose flour: gives the danish its tender structure look for unbleached if you can
- Granulated sugar: brings a balanced sweetness and lovely crust
- Salt: enhances flavor use fine sea salt for even distribution
- Unsalted butter: makes the pastry rich and flaky be sure it is very cold for best texture
- Cream cheese: gives the filling a tangy creaminess choose full fat for smoother results
- Powdered sugar: sweetens the filling sift it for extra smoothness
- Vanilla extract: adds cozy aroma pick pure vanilla for depth
- Large egg: helps with browning and sealing use fresh and beat well
- Milk: for the egg wash encourages golden color choose whole milk for richness
Instructions
- Mix the Dry Ingredients:
- Combine flour granulated sugar and salt in a large bowl whisk thoroughly so the ingredients blend into an even base
- Cut in the Butter:
- Add cold cubed butter use a pastry cutter or your fingertips to break butter into the flour mixture aim for a mix that looks like coarse meal with pea sized bits for flakiness
- Make and Chill the Dough:
- Gradually drizzle in cold water mixing just until a dough forms press gently into a disk wrap it tightly and chill in the fridge for at least one hour for best layers
- Prepare to Bake:
- Heat your oven to four hundred degrees Fahrenheit two hundred Celsius and line a baking sheet with parchment paper to avoid sticking
- Shape the Dough:
- Roll the chilled dough on a lightly floured surface into a rectangle about one quarter inch thick slice into roughly four by four inch squares for optimal baking and filling space
- Make the Cheese Filling:
- Beat the softened cream cheese with powdered sugar and vanilla until velvety smooth be sure there are no lumps for a luscious center
- Fill and Shape:
- Spoon a tablespoon of filling into each dough square center lift each corner toward the middle and pinch or overlap gently to create a neat envelope
- Brush with Egg Wash:
- Combine beaten egg and milk whisk well then brush a light layer over each danish for extra shine and crisp edges
- Bake the Danishes:
- Place in the preheated oven and bake for fifteen to twenty minutes look for golden tops and set pastry allow to cool slightly so the cheese filling sets before serving

Powdered sugar in the filling is one of my favorite parts. It blends perfectly into the cream cheese to avoid any graininess. My kids love to spoon their own filling and try new twisty shapes for the pastries each time we bake together.
Storage Tips
Store leftovers in an airtight container at room temperature for up to two days. For longer storage keep in the fridge but bring to room temperature before enjoying for the best texture. Danish can be gently rewarmed in a low oven.
Ingredient Substitutions
If you only have salted butter simply reduce the added salt. Greek yogurt thick and full fat can be used in place of some cream cheese for a tangier filling. For a lower sugar option decrease powdered sugar and add a touch more vanilla.
Serving Suggestions
Serve these danishes slightly warm with a strong cup of coffee or a fresh berry salad. For a festive touch drizzle with light lemon glaze once cooled. I also love pairing them with fresh fruit for brunch.
Cultural and Historical Context
Cheese danishes have roots in Austrian and Scandinavian baking traditions where pastry and sweet cheese fill the breakfast table. The delicate dough and creamy center celebrate the old world art of baking but are very approachable at home.
Seasonal Adaptations
Add a swipe of berry jam under the cream cheese for spring. Fold in lemon zest with the filling for a summer version. Top with spiced apples or pears when fall arrives.
Success Stories
Once I brought these danishes to a friend’s baby shower and they vanished before the coffee was brewed. Another time my son made a mini version with jam for school bake sale and his class raved about them for weeks. These are always a hit at any event.
Freezer Meal Conversion
Shape and fill your danishes and freeze on a tray before baking. Once solid transfer to a freezer bag. When ready to bake just add a few extra minutes to the time straight from frozen. This makes it easy to have fresh danish anytime.
Baking these danishes is always a highlight at our table. You do not need to be an expert baker to get perfect, delicious results every time.
Recipe FAQs
- → How do I achieve flaky pastry for Danish?
Use cold butter and minimally handle the dough to keep layers distinct. Chill before rolling out.
- → What filling works best with this Danish?
A mixture of softened cream cheese, powdered sugar, and vanilla provides a smooth, sweet center.
- → Can these be prepared ahead of time?
Yes, assemble and refrigerate until ready to bake, or bake and store airtight for up to two days.
- → What egg wash ratio gives the best shine?
One beaten egg mixed with a tablespoon of milk creates a shiny, richly colored crust when baked.
- → How do I prevent the filling from leaking out?
Pinch the corners of the dough well after adding the filling to seal the Danishes securely.