
 Pin it
Banana Split Dump Cake is what I make when I want the nostalgia of a classic banana split without any fuss. It combines all those favorite flavors in a one-pan dessert that is as easy as layering and baking. No fancy mixing or special skills required and you still get gooey fruit, buttery cake, and all the sundae toppings in every scoop.
I first tried this for a last-minute neighborhood gathering and everyone raved. Now I am honestly required to bring it to every block party or cookout.
Ingredients
- Ripe bananas: bring a creamy, sweet base and are best when they have a few speckles on the peel
- Crushed pineapple: adds juiciness and a bright tart note be sure to drain to avoid soggy cake
- Strawberry pie filling: provides that classic sundae fruit syrup feel and deep color
- Yellow cake mix: forms a buttery crust on top of the fruit skip specialty flavors for the most authentic taste
- Unsalted butter: melted and poured over the cake mix bakes into a golden crisp surface use real butter for best results
- Chocolate chips: create melty chocolate puddles choose a high quality brand for richer flavor
- Chopped nuts: such as walnuts or pecans add crunch toast them lightly for extra flavor if you like
- Mini marshmallows: melt into gooey sweetness if you want a fluffier topping
- Vanilla ice cream (for serving): is the traditional sundae scoop go for creamy and rich
- Whipped cream: adds retro diner flair homemade is best but canned works in a pinch
- Maraschino cherries: for a little tang and that picture perfect banana split look
Instructions
- Preheat the Oven:
- Set your oven to 175 degrees Celsius or 350 degrees Fahrenheit and grease a 9x13 inch baking dish so nothing sticks later
- Layer the Fruit:
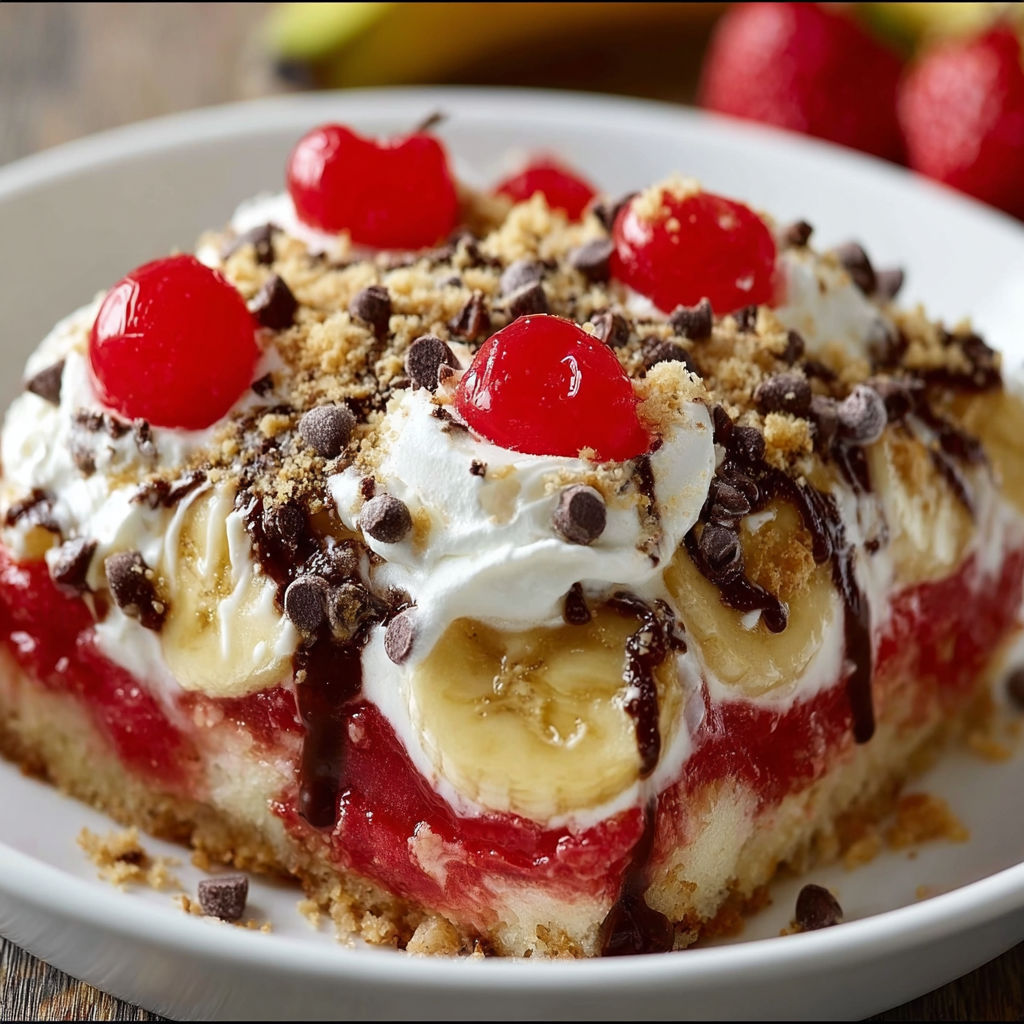
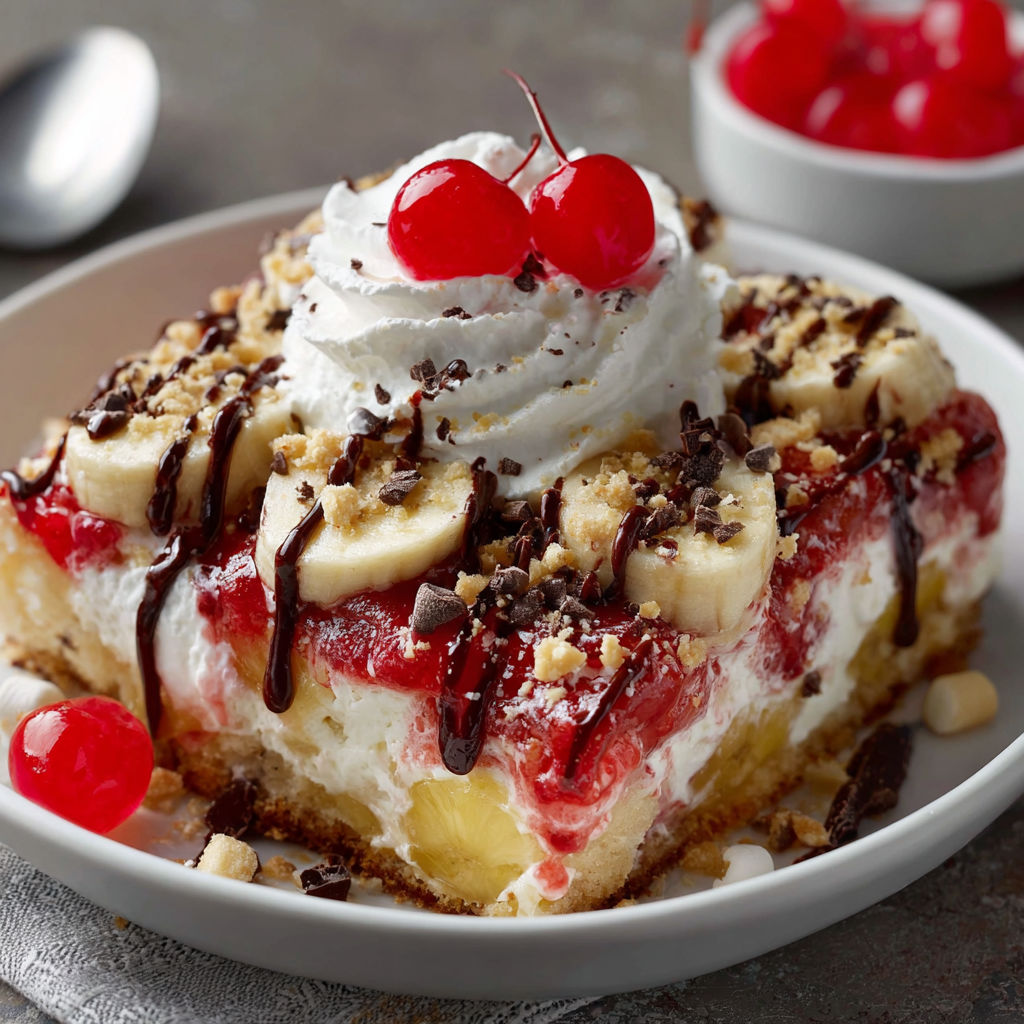
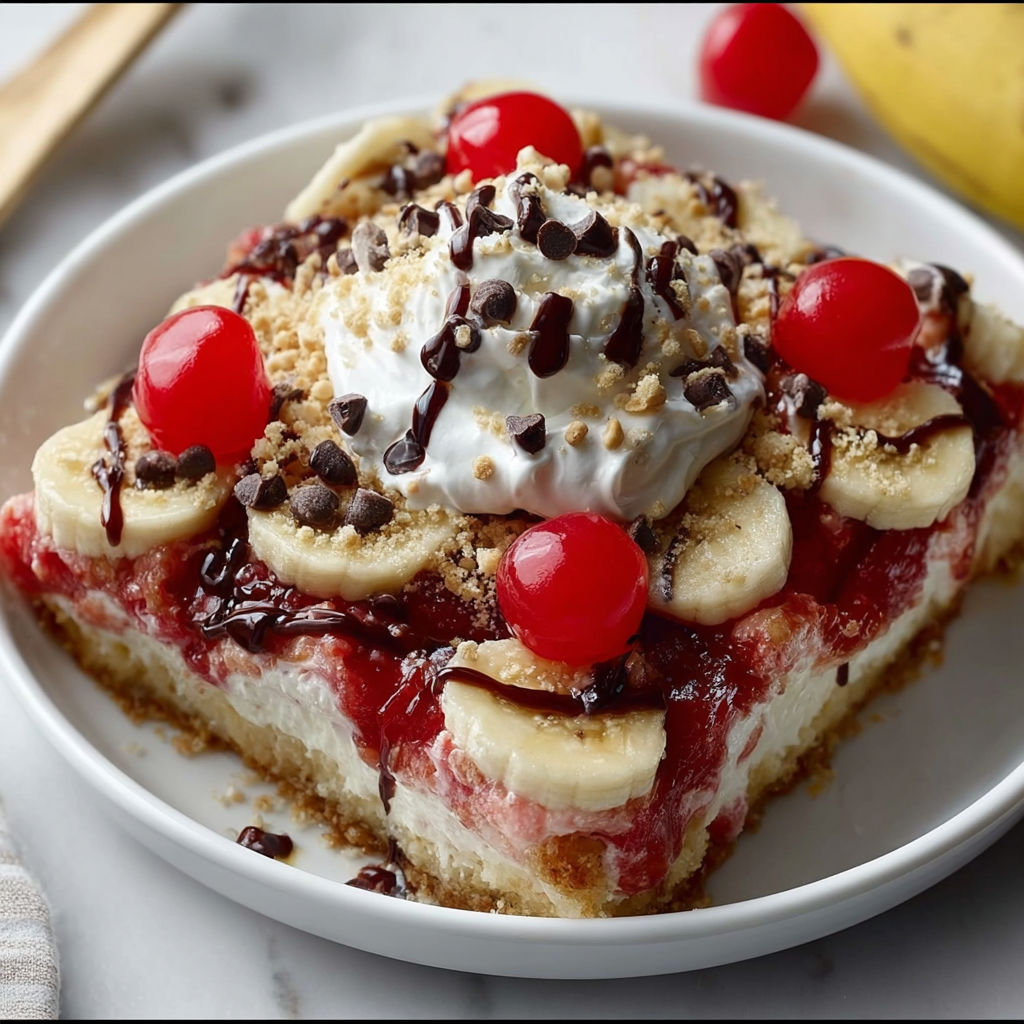
- First lay out banana slices in a completely even layer right on the bottom of your dish for a soft base. Spoon the drained pineapple evenly on top to cover all the banana. Spread strawberry pie filling as the third layer dotting everywhere so no banana or pineapple peeks out. This gives you that stripe of gorgeous red in every serving.
- Add the Cake Mix:
- Take the dry yellow cake mix and sprinkle it evenly over all of the fruit layers. Look for complete coverage since this layer transforms into the golden top as it bakes. Never press it down or stir.
- Add Butter:
- Drizzle the melted butter slowly over the entire surface so most of the cake mix looks moist. For any dry patches just try to pour a little more butter on those spots.
- Add Toppings:
- Scatter chocolate chips over the surface and add the chopped nuts and mini marshmallows if you are including those. Space them out for the best texture and melt.
- Bake:
- Place in the oven uncovered. Bake for forty to forty five minutes. Watch for a deep golden top bubbling around the edges and the center that looks just set. If you see a few dry flour patches after baking drizzle a spoonful or two of extra melted butter.
- Cool Slightly and Serve:
- Allow the cake to cool at least ten to fifteen minutes so the juices can settle and each scoop holds together better. Serve warm and top with a scoop of vanilla ice cream a swirl of whipped cream and a maraschino cherry.
The best thing about this dump cake for me is the moment I scatter the chocolate chips over the batter. My youngest always sneaks the mini marshmallows at this step. We end up making this treat together every summer and those sticky smiles are why it is a staple in our family.
Storage Tips
You can keep leftovers covered and refrigerated for up to four days. The topping stays crisp the first day then softens but still tastes fantastic. Reheat single servings in the microwave in short bursts or enjoy cold straight out of the fridge for a breakfast treat.
Ingredient Substitutions
Feel free to swap the strawberry filling for cherry or blueberry if those are your favorites. Use a white or confetti cake mix for a sweeter twist or try adding a layer of sliced fresh strawberries for extra texture. To skip nuts leave them out or switch for toasted coconut.
Serving Suggestions
Serve this cake in bowls so the hot fruit and chocolate can mingle with melting vanilla ice cream. For a playful touch set up a toppings bar with crushed cookies rainbow sprinkles or even a drizzle of caramel sauce. I also love it cold from the fridge like a pudding.
Cultural Context
Banana splits originated in American soda fountains and this recipe brings those flavors home in a simpler way. Dump cakes are classic community potluck fare for good reason they are satisfying and pretty much foolproof.
Seasonal Adaptations
Use all fresh summer fruit when berries and pineapple are at their peak. Try apple pie filling and fall spices in place of the strawberry filling for a cold weather spin. Swap out the marshmallows for extra nuts and chocolate chips if serving to a grown up crowd.
Success Stories
I brought this cake once for a Fourth of July picnic and it disappeared before dinner even started. My neighbor told me it was her favorite childhood flavor transformed into something even better. Sometimes my kids ask for this as their birthday cake instead of a regular cake.
Freezer Meal Conversion
Assemble the layers but do not bake. Wrap well in foil and freeze for up to one month. Bake straight from the freezer adding a few extra minutes to the bake time. It is an easy way to have dessert ready for a last minute get together.
This banana split dump cake will become your go-to for stress-free celebrations and cozy family treats. A scoop is pure childhood joy in every bite.
Recipe FAQs
- → Can I use fresh strawberries instead of pie filling?
Fresh strawberries can be used, though pie filling offers more sweetness and moisture. Consider adding a bit of sugar if using fresh fruit.
- → What kind of nuts work best for topping?
Chopped walnuts or pecans complement the other flavors best, but you can use any nut variety you enjoy.
- → Do I need to mix the cake mix into the fruit?
No, simply sprinkle the dry cake mix evenly on top of the layered fruit for the best texture.
- → How do I know when it's done baking?
Look for a golden top, set center, and bubbling edges as signs your dessert is ready to come out of the oven.
- → Can I make this ahead of time?
Yes, prepare the dish and bake it ahead. Reheat portions briefly before serving for the best taste and texture.