
 Pin it
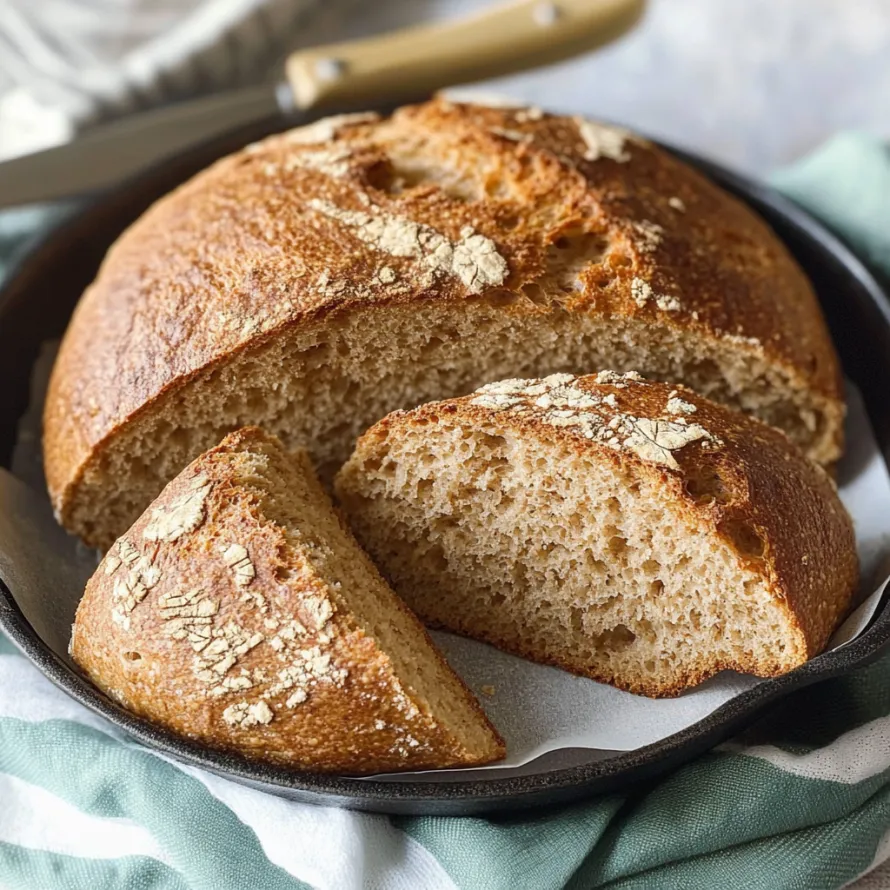
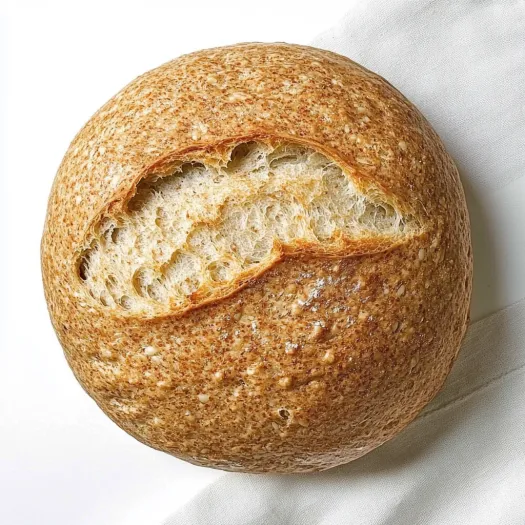
This rustic whole wheat bread recipe transforms just four simple ingredients into an incredible artisanal loaf with almost no effort. The overnight fermentation creates deep flavors while the Dutch oven method gives you that perfect bakery-style crust you'd usually need professional equipment to achieve.
I first discovered this bread-making method during the height of the pandemic when store shelves were bare. Now this has become our Sunday tradition—the kids love watching the dough transform overnight, and the aroma filling our home has become our favorite weekend signal.
Ingredients
- Warm water: Between 100-115°F gives yeast the perfect environment to activate without killing it
- Kosher salt: Enhances flavor and helps control fermentation look for a flaky variety for best results
- Dry active yeast: Provides leavening power make sure yours isn't expired for optimal rise
- Whole wheat flour: Offers nutty flavor and nutritional benefits use a high-quality brand for best texture
Step-by-Step Instructions
- Mix the Dough:
- Combine the flour, yeast, and salt in a large mixing bowl. Using a wooden spoon, gradually add the warm water, stirring until completely incorporated. The dough will look shaggy and somewhat sticky. This takes about 2 minutes and requires minimal effort—just ensure no dry flour remains at the bottom of the bowl.
- Ferment Overnight:
- Cover the bowl with plastic wrap or a clean kitchen towel and place in a draft-free spot at room temperature. Allow the dough to ferment for at least 8 hours or overnight. During this time, complex flavors develop and the gluten structure forms naturally. The dough will double in size and develop bubbles across the surface.
- Shape the Loaf:
- Turn the fermented dough onto a lightly floured surface. With floured hands, gently shape it into a circle by folding the edges toward the center. Avoid pressing out the air bubbles that formed during fermentation. The dough will feel alive and springy under your hands. Let the shaped dough rest while your oven preheats.
- Preheat Dutch Oven:
- Place your Dutch oven with its lid into the cold oven. Heat to 450°F, allowing the Dutch oven to heat thoroughly for about 30 minutes. This creates the intense steam environment that produces that coveted crispy crust.
- Bake Covered:
- Carefully remove the screaming hot Dutch oven from the oven using heavy-duty oven mitts. Gently transfer your shaped dough into the hot pot. Cover with the lid and return to the oven immediately. Bake for 30 minutes. During this phase, the bread steams within the sealed environment, allowing for maximum rise.
- Finish Uncovered:
- Remove the lid to release the steam. Continue baking for another 20 minutes until the crust develops a deep golden brown color. The bread should sound hollow when tapped on the bottom. This final uncovered bake creates that irresistible crusty exterior.
- Cool Completely:
- Remove the bread from the Dutch oven and place on a wire cooling rack. Allow to cool for at least 30-45 minutes before slicing. This resting period is crucial as the interior continues to cook and the structure sets. Cutting too soon will result in a gummy texture.
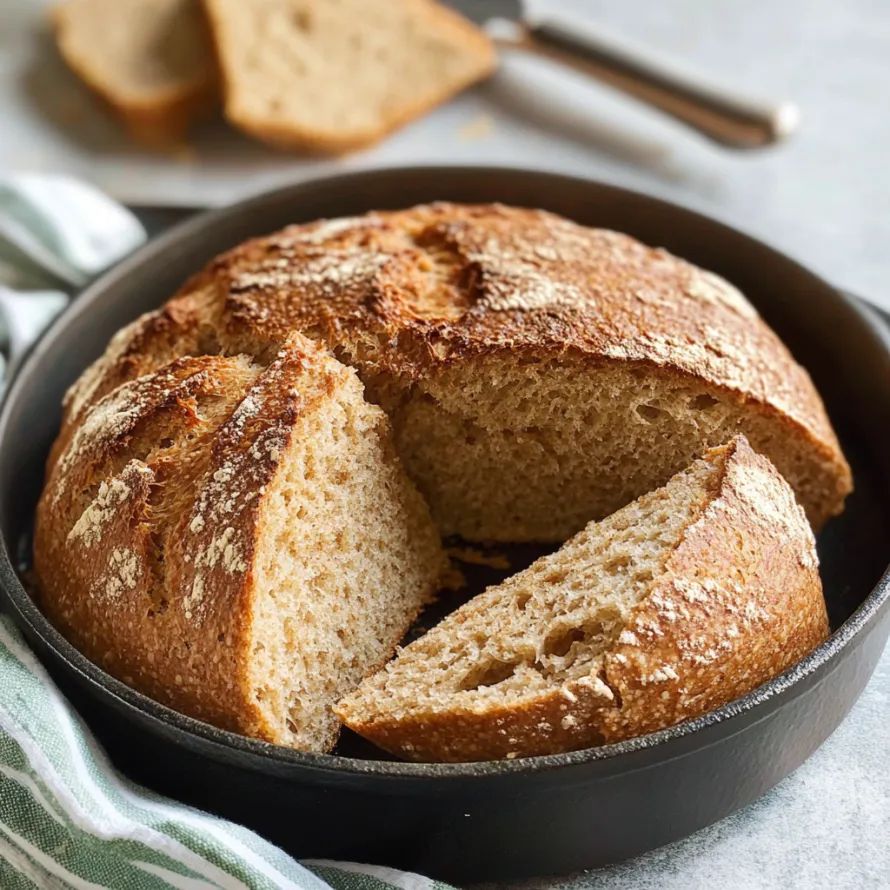
The Dutch oven is truly the magic element in this recipe. I received mine as a wedding gift seven years ago, and it transformed my bread making. That trapped steam creates the professional bakery crust that's nearly impossible to achieve in a regular oven. My grandmother who grew up making bread daily was astounded at how this simple method created better results than her hours of kneading.
Troubleshooting Common Issues
If your bread isn't rising properly, check your yeast's expiration date first. Even slightly old yeast can dramatically affect results. Room temperature also matters greatly—fermentation happens more slowly in cooler environments, so in winter months, you might need closer to 12 hours for proper development.
Make It Your Own
This base recipe welcomes endless variations. My family loves when I add 1/3 cup of seeds (sunflower, pumpkin, flax) to the initial mix. Dried herbs like rosemary and thyme (2 tablespoons) create an aromatic loaf perfect for serving with soups. For a sweeter variation, add 1/4 cup honey and a handful of dried cranberries to the initial mix.
Serving Suggestions
This bread recipe proves that simple ingredients and techniques can deliver world-class results. Make this a part of your family's weekend tradition and enjoy every delicious moment.
Recipe FAQs
- → Can I use all-purpose flour instead of whole wheat?
Yes, you can substitute all-purpose flour for a lighter loaf. Use the same amount (3-¾ cups or 460g), though all-purpose flour may require slightly less water. For a blend of textures, try using half whole wheat and half all-purpose flour.
- → Why does the bread need to rise overnight?
The long fermentation allows enzymes to break down complex carbohydrates, developing deeper flavor and improving digestibility. This slow rise also creates the airy texture without kneading, as gluten forms naturally during the extended rest period.
- → Do I need to preheat the Dutch oven?
Yes, preheating the Dutch oven is crucial. The hot environment creates immediate steam when the dough is added, which develops the crispy crust. The preheated heavy pot also provides consistent, intense heat that helps the bread rise properly.
- → Can I add seeds or other ingredients to the dough?
Absolutely! Add up to ½ cup of mix-ins like sunflower seeds, chopped nuts, dried fruit, or herbs to the dry ingredients before mixing. For toppings, sprinkle seeds on top of the shaped dough before baking.
- → How should I store the bread after baking?
Allow the bread to cool completely before storing. Keep it at room temperature in a paper bag or bread box for 2-3 days. For longer storage, slice the bread and freeze it in an airtight container for up to 3 months, toasting slices as needed.
- → What if I don't have a Dutch oven?
While a Dutch oven produces the best results, you can use any oven-safe pot with a tight-fitting lid. Alternatively, bake on a preheated baking stone or sheet pan with a separate oven-safe container of water to create steam for the crust.