
 Pin it
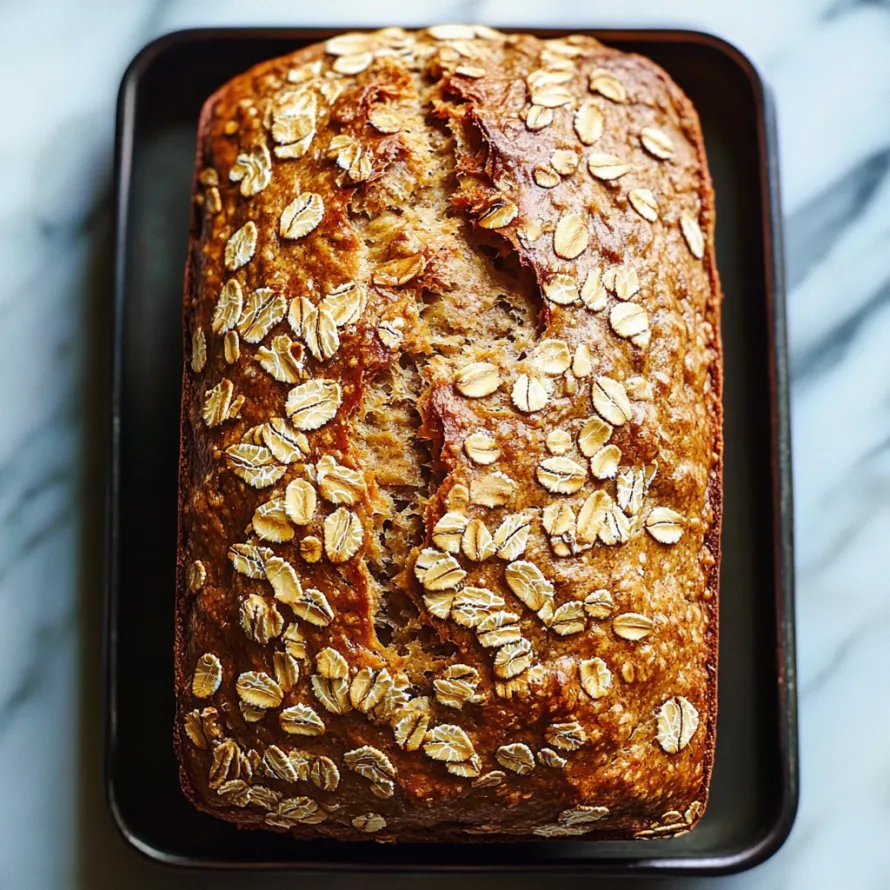
This homemade honey oat bread transforms simple pantry ingredients into a bakery-worthy loaf with minimal effort. The overnight fermentation develops rich flavor while the combination of honey and oats creates a perfectly tender crumb with a subtle sweetness that makes this bread irresistible for everything from morning toast to hearty sandwiches.
I started making this bread during a particularly busy season when I needed something homemade but simple. Now it has become our Sunday night ritual to mix the dough before bed, allowing us to wake up to the promise of fresh bread with minimal morning effort.
Ingredients
- Water: Lukewarm temperature activates the yeast without killing it
- Instant yeast: Provides reliable rise without proofing first look for packages marked instant or rapid rise
- Honey: Natural sweetener that adds moisture and helps with browning try locally sourced for best flavor
- All-purpose flour: Creates the bread structure use unbleached for best results
- Rolled oats: Adds hearty texture and nutty flavor choose thick cut old fashioned rather than quick oats
- Salt: Enhances all flavors and controls yeast activity sea salt or kosher salt work beautifully
- Olive oil: Adds tenderness to the crumb extra virgin provides subtle flavor notes
Step-by-Step Instructions
- Activate the yeast:
- Combine lukewarm water around 100°F with honey and instant yeast in a large measuring jug. Stir gently to dissolve the honey. Allow this mixture to rest for 5 minutes until it becomes foamy and fragrant which confirms your yeast is alive and ready to work.
- Combine dry ingredients:
- In a large mixing bowl or the bowl of your stand mixer fitted with the dough hook whisk together the flour oats and salt ensuring even distribution of all ingredients especially the salt which can kill yeast if it comes into direct contact.
- Mix the dough:
- Pour your frothy yeast mixture along with the olive oil into your dry ingredients. Mix at low speed if using a stand mixer or stir with a wooden spoon until no dry spots remain. The dough will look slightly shaggy but cohesive. Avoid overmixing which can develop too much gluten.
- Cold fermentation:
- Cover your dough bowl tightly with plastic wrap and place in the refrigerator overnight or up to 24 hours. This slow fermentation develops complex flavors and improves texture without requiring any hands on work from you. The cold temperature slows yeast activity allowing for deeper flavor development.
- Bring to room temperature:
- Remove your dough from the refrigerator about one hour before baking. Let it sit covered at room temperature for 45 to 60 minutes. This allows the dough to warm slightly making it easier to shape and giving the yeast a final boost before baking.
- Shape the loaf:
- Turn the dough onto a lightly floured surface and gently shape into a loaf by folding the edges toward the center then rolling into a log shape approximately the length of your loaf pan. Avoid working the dough too much which can cause it to become tough.
- Final rise and preparation:
- Transfer your shaped dough to a greased 9x5 inch loaf pan. Sprinkle additional oats over the top for a beautiful rustic presentation pressing them gently into the surface so they adhere during baking. The loaf will expand slightly during this final rest.
- Bake to perfection:
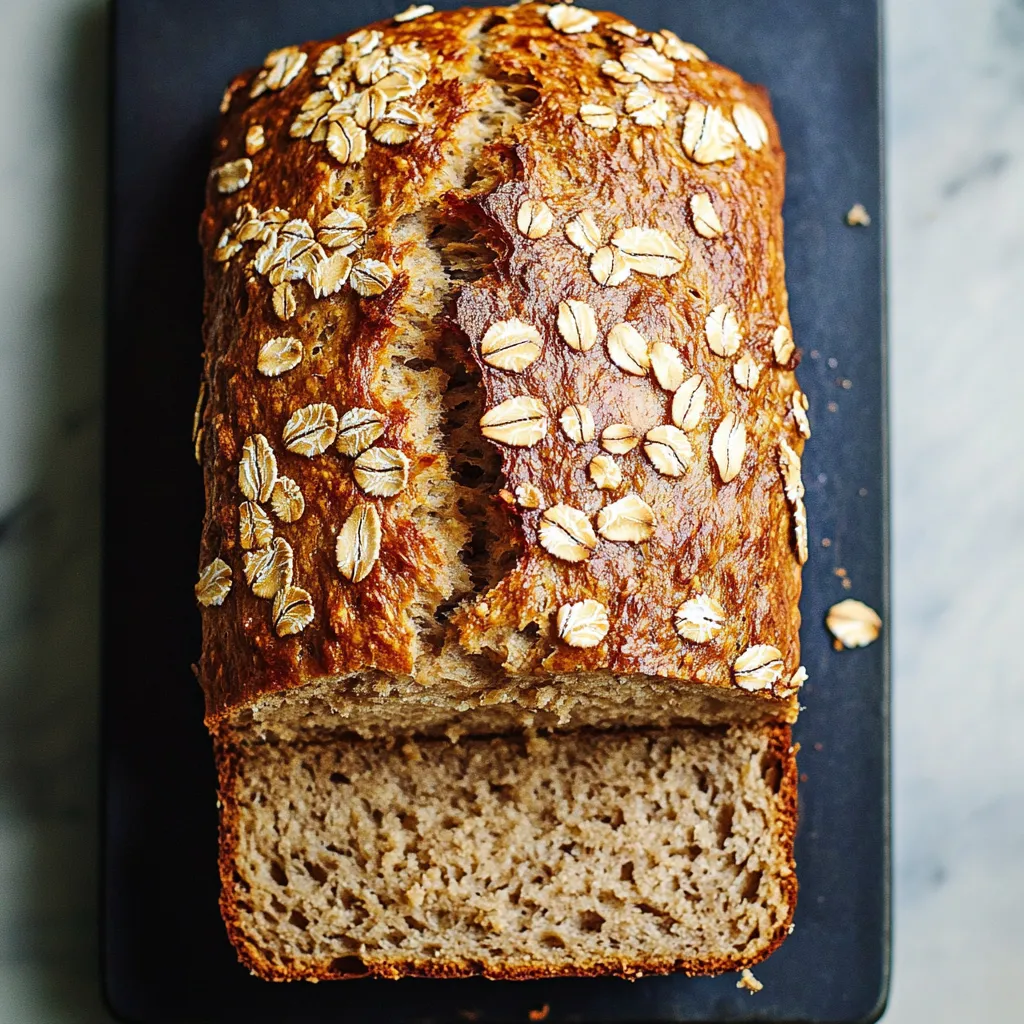
- Bake in a preheated 350°F oven for 45 minutes until the top is golden brown and the internal temperature reaches approximately 190°F. The bread should sound hollow when tapped on the bottom which indicates it is fully baked throughout.
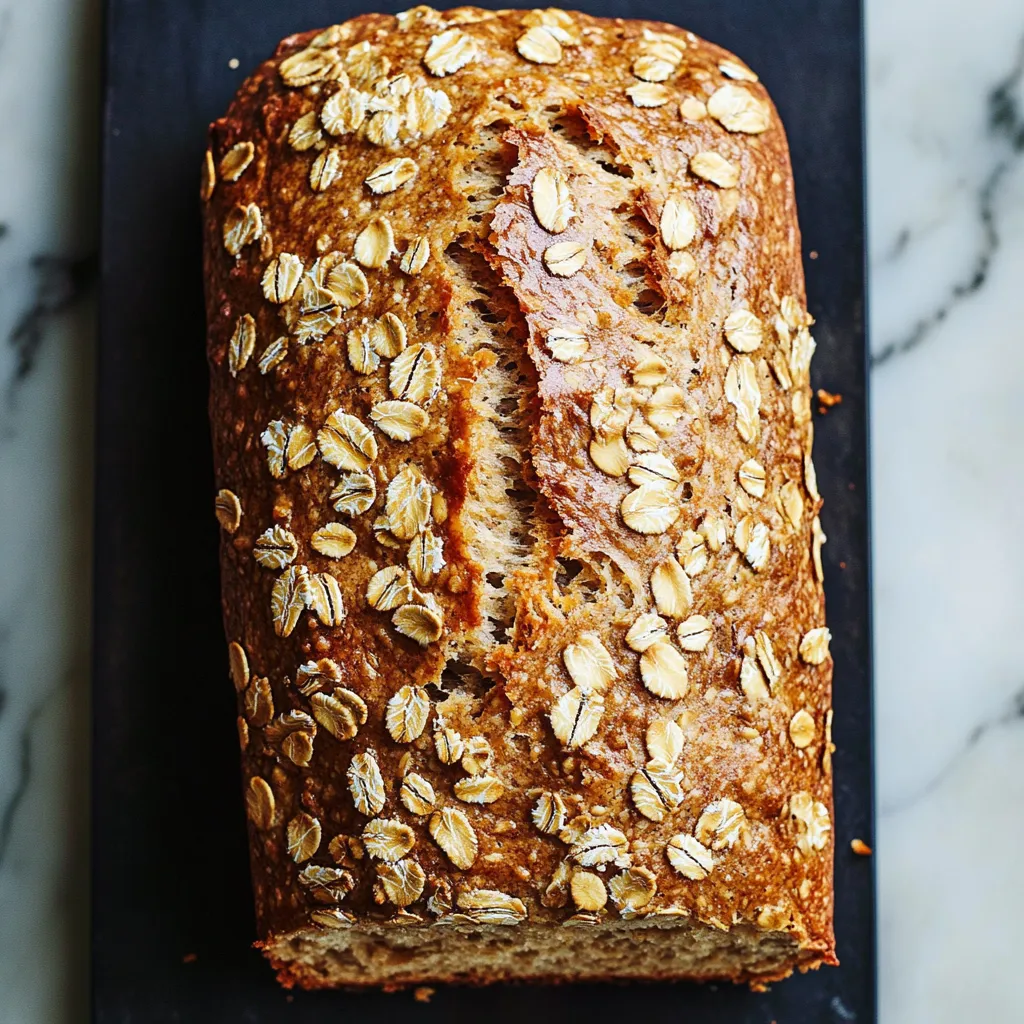
The rolled oats are truly the star ingredient in this recipe. My grandmother always added oats to her bread saying they brought both nutrition and character to a loaf. I remember her teaching me to sprinkle extra oats on top explaining that a beautiful loaf should hint at whats inside. Now whenever I make this bread my kitchen fills with the same comforting aroma that filled her farmhouse kitchen.
Storage Solutions
This honey oat bread stays fresh at room temperature for up to 3 days when stored in an airtight container or bread bag. The olive oil in the recipe helps maintain moisture longer than many homemade breads. For longer storage slice the completely cooled loaf wrap tightly in plastic wrap followed by aluminum foil and freeze for up to 3 months. Thaw slices as needed at room temperature or toast directly from frozen for quick breakfasts.
Delicious Variations
While the classic recipe is perfection try incorporating 1/4 cup of seeds like sunflower pumpkin or flax for added nutrition and texture. For a more complex flavor profile add 1 tablespoon of orange zest and 1/2 teaspoon of cinnamon to the dry ingredients. You can also substitute 1/4 cup of the all-purpose flour with whole wheat or rye flour for a more rustic loaf with deeper flavor notes. During autumn I love adding 1/3 cup of chopped dried cranberries for a seasonal twist.
Serving Suggestions
This versatile bread truly shines when served slightly warm with a spread of salted butter allowing the honey notes to come forward. It makes exceptional grilled cheese sandwiches the slight sweetness balancing perfectly with sharp cheddar. Toast thick slices and top with avocado and a poached egg for a hearty breakfast. The sturdy texture also makes it perfect for french toast simply soak slices in a mixture of eggs milk vanilla and a pinch of cinnamon before pan frying in butter until golden.
This bread is worth every step—it’s the perfect way to enjoy bakery-quality results at home.
Recipe FAQs
- → Why does this bread need to rise overnight in the refrigerator?
The overnight refrigeration allows for slow fermentation, which significantly improves the bread's flavor complexity and texture. This cold proofing process gives the yeast time to develop deeper flavors while making the preparation more convenient as most of the work happens while you sleep.
- → Can I use active dry yeast instead of instant yeast?
Yes, you can substitute active dry yeast for instant yeast. However, you'll need to activate it first by dissolving it in the lukewarm water for about 5-10 minutes until foamy before adding the honey and continuing with the recipe.
- → How should I store this bread to keep it fresh?
Once completely cooled, store the bread in an airtight container or wrapped tightly in plastic wrap at room temperature for up to 3 days. For longer storage, slice the bread and freeze it in a freezer-safe bag for up to 3 months, allowing you to thaw individual slices as needed.
- → Can I add seeds or nuts to this bread?
Absolutely! This bread is very adaptable. Consider adding 1/4 cup of sunflower seeds, pumpkin seeds, chopped walnuts, or flaxseeds to the dry ingredients for extra texture and nutritional benefits. You can also sprinkle these on top along with the oats before baking.
- → How do I know when the bread is fully baked?
The bread should be golden brown on top and sound hollow when tapped on the bottom. If you have an instant-read thermometer, the internal temperature should reach about 190°F (88°C). If the top is browning too quickly but the bread isn't done, cover it loosely with aluminum foil for the remaining baking time.
- → Can I make this bread without a stand mixer?
Yes, you can easily make this bread by hand. Combine the ingredients in a large bowl and mix with a wooden spoon until incorporated, then knead by hand on a floured surface for about 8-10 minutes until smooth and elastic before the overnight fermentation.