
 Pin it
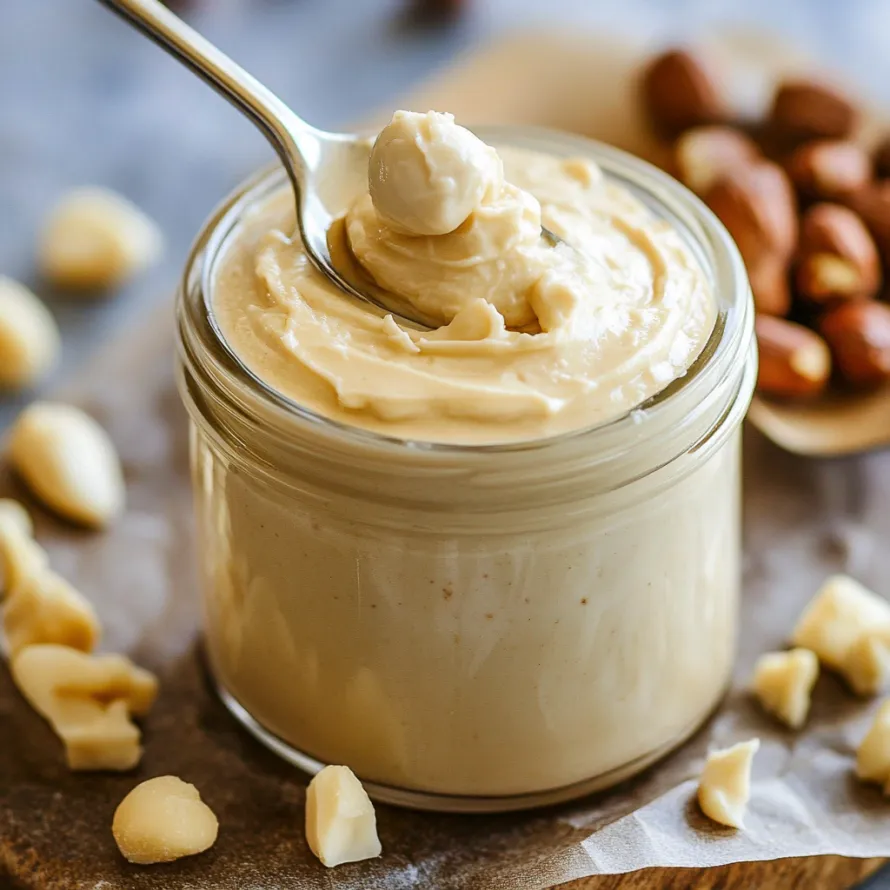
This white chocolate hazelnut spread is the ultimate homemade luxury you never knew you needed in your life. Silky smooth, perfectly sweet, and loaded with real hazelnuts, it transforms simple toast into a decadent treat that will make you wonder why you ever bought store-bought spreads.
I created this recipe after my daughter became obsessed with traditional chocolate-hazelnut spreads but wanted something different. The moment she tried this white chocolate version, it became our special weekend breakfast ritual, with everyone fighting over who gets to lick the spoon!
Ingredients
- White chocolate: Quality matters here as it forms the base flavor. Look for bars with cocoa butter listed in the ingredients rather than cheaper hydrogenated oils.
- Roasted hazelnuts: The fresher the better for the most pronounced flavor. Look for hazelnuts with their skins already removed, or roast and remove skins yourself for maximum flavor.
- Salt: Just a pinch enhances the sweetness and brings depth to the spread. Flaky sea salt works beautifully here.
- Neutral oil: Canola or vegetable oil helps achieve that silky smooth texture. Choose a high-quality refined oil that won't compete with the delicate flavors.
- Vanilla extract: Use pure vanilla extract rather than artificial for the best flavor profile. The vanilla beautifully enhances the white chocolate.
Step-by-Step Instructions
- Prepare The Chocolate:
- Chop white chocolate into small pieces to ensure even melting. Melt in the microwave at half power, stirring every 30 seconds, until completely smooth with no remaining chunks. The chocolate should be warm but not hot enough to burn your finger when touched.
- Process The Hazelnuts:
- Place hazelnuts and salt in a food processor with the S-blade attachment. Process until the nuts break down into a coarse meal texture, about 1-2 minutes. The nuts will release their oils and start to clump together slightly, but won't form a butter yet.
- Create The Base:
- Add vanilla extract and oil to the ground hazelnuts. Continue processing until the mixture forms a paste, about 3-4 minutes. You may need to stop and scrape down the sides a few times. The consistency should be somewhat smooth but will still have some texture.
- Combine With Chocolate:
- With the food processor running on low, slowly pour in the warm melted white chocolate. Continue processing until fully incorporated and silky smooth, about 2-3 minutes. The mixture will be quite runny at this point, which is exactly what you want.
- Set The Spread:
- Transfer the mixture to a clean jar and let it sit at room temperature for 6-8 hours to firm up. During this resting period, the spread will transform from a pourable consistency to a perfectly spreadable texture similar to commercial chocolate spreads.
The roasted hazelnuts are truly the heart of this recipe. I discovered that toasting them until they become fragrant and their skins crack makes all the difference in developing that rich, nutty flavor that complements the creamy white chocolate perfectly. My husband, who claims to dislike white chocolate, has been caught eating this straight from the jar on multiple occasions!
Storage And Shelf Life
Store your white chocolate hazelnut spread in an airtight container or jar at room temperature for up to 1 week. For longer storage, refrigerate for up to 2 weeks. The spread will firm up considerably when refrigerated, so let it sit at room temperature for about 30 minutes before serving for the best spreadable consistency. If you notice any oil separation over time, simply stir it back in before using.
Vegan And Paleo Adaptation
The vegan and paleo version is just as delicious as the traditional recipe. Cocoa butter creates that signature white chocolate flavor while keeping it dairy free. When working with the vegan version, the stirring every 30 minutes during the setting period is crucial to prevent separation. The maple syrup adds a lovely depth that complements the nutty flavor brilliantly. You can adjust the sweetness by adding more or less maple syrup to taste.
Perfect Pairings
This white chocolate hazelnut spread elevates nearly anything it touches. Spread it on warm toast, croissants, or English muffins for breakfast. Use it as a dip for fresh strawberries or apple slices. Drizzle it over vanilla ice cream or fold it into whipped cream for an easy mousse like dessert. My personal favorite is using it as a filling between two butter cookies or as a decadent layer in crepes with fresh berries.
This spread is a simple way to elevate breakfast or dessert while offering room for creativity. You'll never look at store-bought spreads the same way again!
Recipe FAQs
- → How long does homemade white chocolate hazelnut spread last?
When stored in an airtight container in the refrigerator, this homemade spread typically lasts 2-3 weeks. For longer storage, you can freeze portions for up to 3 months.
- → Can I use other nuts instead of hazelnuts?
Yes! While hazelnuts provide the classic flavor, you can substitute almonds, cashews, or macadamia nuts for different flavor profiles. The process remains the same regardless of which nut you choose.
- → Why is my spread too runny?
Freshly made spread will initially be very runny while warm. Allow it to cool and set for the recommended 6-8 hours at room temperature or in the refrigerator. If still too runny after setting, you may need to process the hazelnuts longer to release more oils.
- → What's the difference between the regular and vegan versions?
The regular version uses white chocolate and vegetable oil for creaminess, while the vegan version substitutes cocoa butter and maple syrup. The vegan version requires occasional stirring during setting to prevent the cocoa butter from separating.
- → How can I use white chocolate hazelnut spread?
This versatile spread is delicious on toast, pancakes, waffles, and crepes. Use it as a filling for croissants, a topping for ice cream, a dip for strawberries, or an ingredient in baking. It also makes a thoughtful homemade gift.
- → Why do I need to peel the hazelnuts?
Peeling removes the bitter skins, resulting in a smoother, more pleasant-tasting spread. To easily peel hazelnuts, roast them first, then rub them in a clean kitchen towel while still warm.