Thai Sticky Chicken Fingers

Featured in: Simple and Satisfying Meals

Thai Sticky Chicken Fingers combine the best of both worlds: crispy chicken coated in gluten-free Rice Chex and almonds, and a sticky, sweet-spicy Thai-inspired sauce that adds incredible flavor. The chicken is first coated in a three-step breading process, then baked until golden and crispy. Finally, it's dunked in a homemade sauce with sweet chili, tamari, brown sugar, and lime for that perfect balance of sweet, tangy, and spicy flavors. The dish comes together in about an hour, making it perfect for weeknight dinners that still feel special. Serve with a side of steamed rice and vegetables for a complete meal that's guaranteed to please everyone at the table.
sana kitchen chef
Updated on Wed, 05 Mar 2025 02:26:32 GMT
A plate of food with a lemon wedge on it. Pin it
A plate of food with a lemon wedge on it. | recipebyme.com

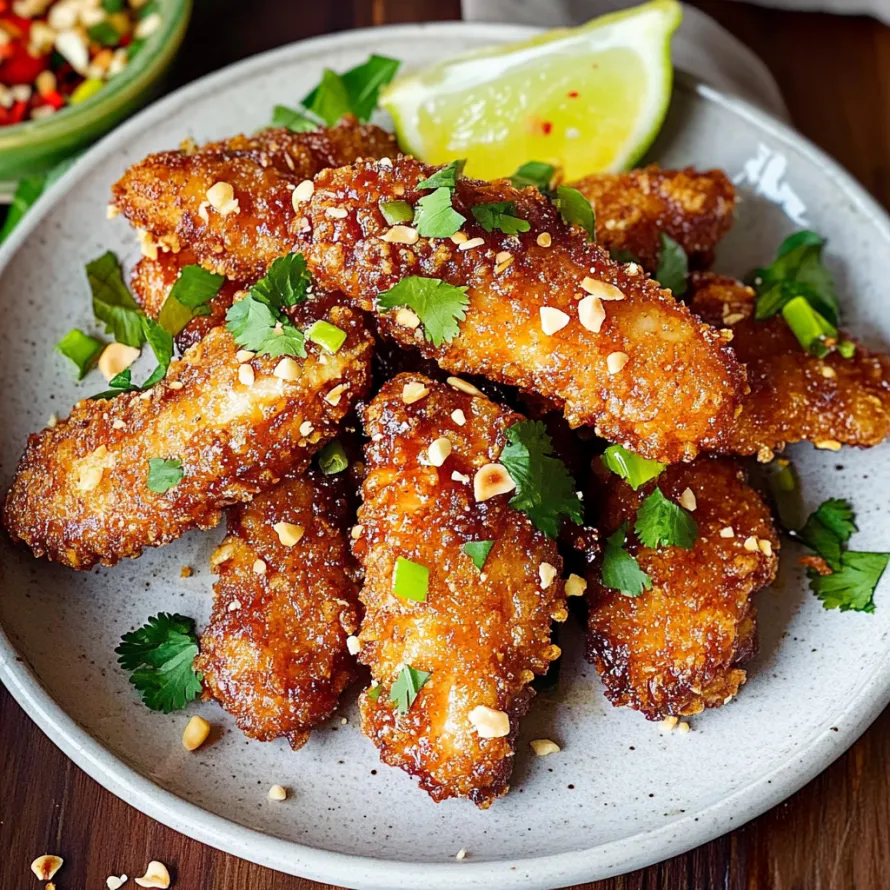
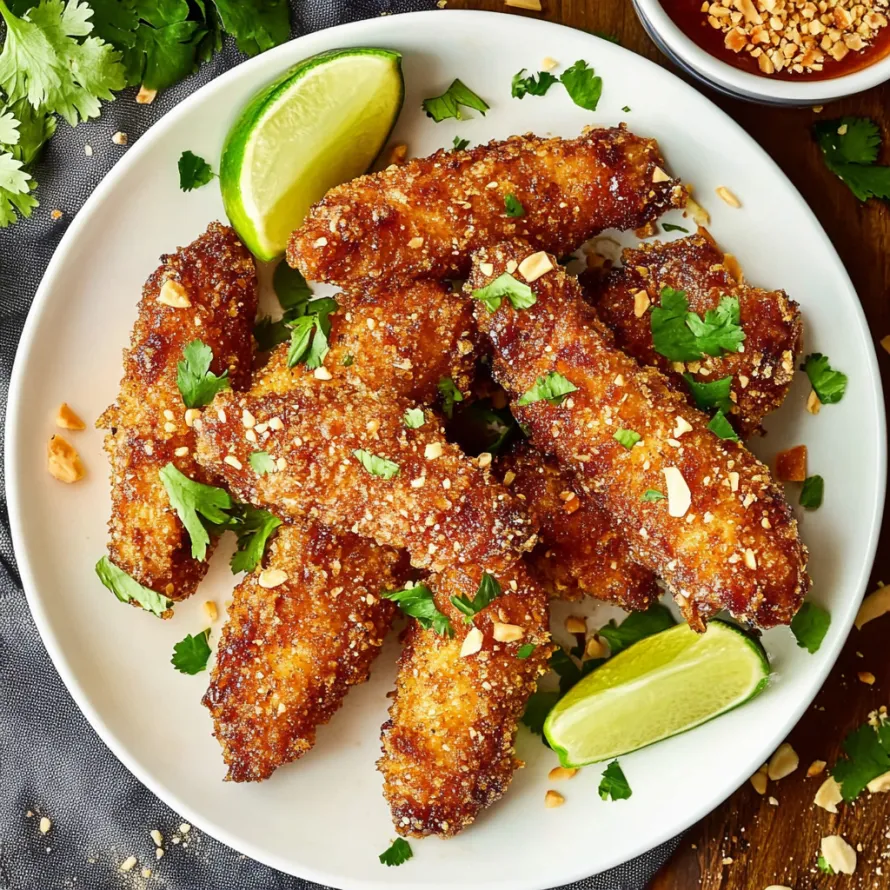
These Thai Sticky Chicken Fingers deliver an explosion of flavor and texture with each bite. Tender chicken strips get coated in a crunchy almond breading before being glazed with a sweet and savory Thai sauce that creates the most irresistible sticky coating. The contrast between the crispy exterior and juicy interior makes these chicken fingers impossible to put down once you start eating them.

I first made these chicken fingers for a neighborhood potluck and ended up answering questions all night about how I achieved that perfect sticky coating without the breading falling off. My children now request these at least twice a month.

Essential Ingredients

  • Boneless chicken breasts: Cut into 1-inch strips for even cooking.
  • Gluten-free flour: Creates the initial coating for adhesion.
  • Eggs and milk: Act as the binding layer for the breading.
  • Sliced almonds: Processed into crumbs for exceptional texture.
  • Rice Chex crumbs: Provide a crispy exterior.
  • Sweet chili sauce: The sticky base for flavor and consistency.
  • Tamari: Adds savory umami balance.
  • Rice vinegar and lime juice: Brighten the dish with acidity.

Preparation Method

Begin With Breading:
Process sliced almonds in a food processor until coarse crumbs form.
Create Crispy Mixture:
Process Rice Chex cereal into fine crumbs, then mix with almond crumbs, salt, and pepper.
Prepare Chicken:
Slice chicken into strips and coat in flour, then transfer to an egg-milk mixture.
Dredging Process:
Roll chicken strips in the almond breadcrumb mixture, pressing firmly for adhesion.
Setting The Coating:
Refrigerate the breaded chicken for 20-30 minutes to help the coating set.
Baking Technique:
Bake at 425°F, flipping halfway through, until golden brown.
Sauce Creation:
Simmer sweet chili sauce, tamari, rice vinegar, lime juice, and seasonings until thickened.
Glazing Method:
Toss baked chicken fingers in the warm sauce, then bake for another 4-5 minutes to set.
A plate of food with lime wedges and nuts. Pin it
A plate of food with lime wedges and nuts. | recipebyme.com

My grandfather was a chef who specialized in Asian cuisine, and he always emphasized balancing sweet, sour, salty, and spicy flavors. This sauce exemplifies that harmony, with each ingredient playing a crucial role.

Perfect Pairing Ideas

Serve with coconut rice to soak up the extra sauce, or pair with a simple cucumber salad for a refreshing contrast. Steamed broccoli or snap peas add color and nutrition.

Customization Options

Adjust the heat by doubling red pepper flakes or adding sriracha. For a peanut version, stir in two tablespoons of peanut butter. Swap almonds for sesame seeds for a nut-free variation.

Keeping Leftovers Fresh

Store leftovers in an airtight container in the refrigerator for up to three days. Reheat in a 350°F oven for 7-10 minutes to restore crispiness. Freeze unbaked breaded chicken for up to two months.

A plate of food with a green garnish. Pin it
A plate of food with a green garnish. | recipebyme.com

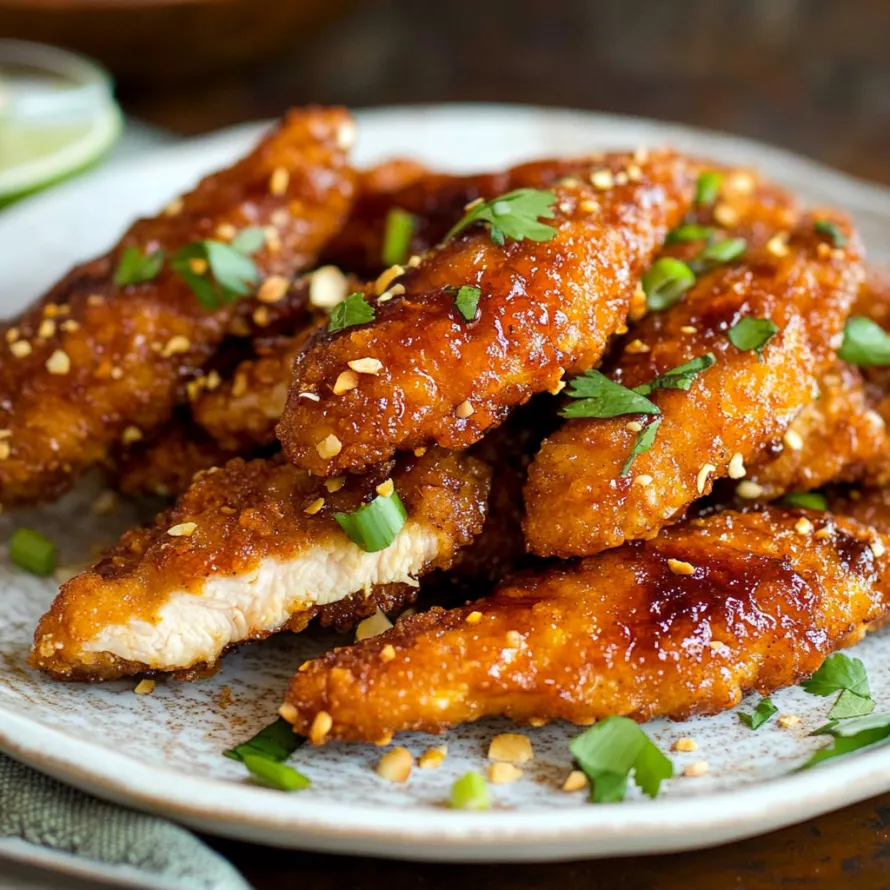
Taking the extra time to refrigerate the breaded chicken before baking transformed my results from good to extraordinary. The almond crunch with the sticky Thai glaze creates something truly special.

Frequently Asked Questions

→ Can I make these Thai Sticky Chicken Fingers ahead of time?
You can prepare the chicken up through coating and refrigerate for up to 4 hours before baking. For best results, the sauce should be made fresh and added just before the final bake. Fully cooked chicken fingers can be reheated in a 350°F oven for 10 minutes, though they're most delicious when freshly made.
→ What can I serve with Thai Sticky Chicken Fingers?
These chicken fingers pair wonderfully with steamed jasmine rice, a simple cucumber salad, or stir-fried vegetables. For a more casual meal, serve them as finger food with extra sauce on the side for dipping.
→ Can I make these without almonds if I have a nut allergy?
Absolutely! You can substitute the almonds with additional Rice Chex crumbs, crushed corn flakes, or panko breadcrumbs if not gluten-free. The texture will be slightly different but still delicious.
→ How spicy are these Thai Sticky Chicken Fingers?
With 1/4 teaspoon of red chili flakes, these have a mild to medium heat. You can easily adjust by increasing the chili flakes for more heat or reducing/eliminating them for a milder version that's more kid-friendly.
→ Can I use chicken thighs instead of chicken breasts?
Yes, boneless skinless chicken thighs work great in this recipe. Cut them into strips similar to the breast size. They may need an extra minute or two of cooking time but will give you even juicier chicken fingers.
→ Why do you need to refrigerate the coated chicken before baking?
This 20-30 minute chilling time helps the coating adhere better to the chicken. The cool temperature allows the egg mixture to set, which means less coating falls off during baking, giving you perfectly crispy chicken fingers.

Thai Sticky Chicken Fingers

These Thai Sticky Chicken Fingers are coated in crunchy almonds and Rice Chex crumbs, then glazed with a sweet-spicy sauce for an unforgettable dinner.

Prep Time
30 Minutes
Cook Time
30 Minutes
Total Time
60 Minutes
By: Sana

Category: Easy Dinner Ideas

Difficulty: Intermediate

Cuisine: Asian-Fusion

Yield: 6 Servings

Dietary: Gluten-Free, Dairy-Free

Ingredients

→ Chicken & Coating

01 1-3/4 lbs chicken breasts, sliced into 1-inch thick strips
02 1/2 cup gluten-free flour
03 Sea salt and freshly ground black pepper
04 2 large eggs
05 2 tablespoons milk (any kind works fine)
06 4 cups gluten-free Rice Chex (crushed into 2 cups of crumbs)
07 3/4 cup sliced almonds, divided
08 1/4 cup fresh cilantro, roughly chopped

→ Sticky Sauce

09 1/2 cup sweet chili sauce
10 1/2 cup water
11 1/4 cup brown sugar
12 1/4 cup gluten-free reduced-sodium tamari
13 2 tablespoons rice vinegar
14 2 tablespoons fresh lime juice
15 1/2 teaspoon ground ginger
16 1 clove garlic, minced or pressed
17 1/4 teaspoon red chili flakes (adjust to taste)

Instructions

Step 01

Line two half sheet pans with parchment paper or foil, then give them a good spray with nonstick cooking spray. Set these aside while you prepare the chicken.

Step 02

Whisk the eggs and milk together in a shallow dish. In a food processor, pulse 1/2 cup of the almonds until they form mostly fine crumbs, then pour into another shallow dish. Add the Rice Chex to your food processor and pulse until they become fine crumbs, then mix them with the almond crumbs. Season this mixture with a pinch of salt and pepper.

Step 03

Add the flour, 3/4 teaspoon salt, and 1/2 teaspoon pepper to a large ziplock bag, then toss in the chicken strips until they're well coated. Working in batches, shake off any excess flour from the chicken, dip each piece into the egg mixture, then roll in the almond-breadcrumb mixture, pressing gently to make sure the coating sticks. Place the coated strips onto your prepared baking sheets.

Step 04

Pop the coated chicken into the refrigerator for 20-30 minutes. This helps the breading stick better - don't skip this step or you'll lose that delicious crunchy coating!

Step 05

Preheat your oven to 425°F. Spray the tops of the chicken fingers with olive oil or cooking spray, then bake for 10 minutes. Flip the pieces over, spray the other side, rotate your baking sheets, and bake for another 7-9 minutes until the chicken is golden brown and cooked through.

Step 06

While the chicken bakes, combine all the sauce ingredients in a small saucepan and bring to a simmer over medium-high heat. Reduce the heat to medium and let it simmer until the sauce thickens slightly, about 5-6 minutes.

Step 07

Pour the sauce into a wide bowl. Using tongs, dunk each baked chicken finger into the sauce, then place them back onto the baking sheets. Return to the oven for 4-5 more minutes, watching closely to prevent burning.

Step 08

Sprinkle the finished chicken fingers with the remaining 1/4 cup of sliced almonds and the chopped cilantro before serving. Enjoy while they're hot and sticky!

Notes

  1. These Thai-inspired sticky chicken fingers are perfect for family dinners or entertaining guests - everyone loves finger food!
  2. The combination of crunchy coating and sweet-spicy sauce makes these irresistible.
  3. You can adjust the heat level by adding more or less chili flakes to suit your preference.

Tools You'll Need

  • 2 half sheet baking pans
  • Parchment paper or aluminum foil
  • Food processor
  • Shallow dishes for breading station
  • Small saucepan
  • Tongs

Allergy Information

Please check ingredients for potential allergens and consult a health professional if in doubt.
  • Contains eggs
  • Contains tree nuts (almonds)
  • May contain soy (depending on tamari/soy sauce used)

Nutrition Facts (Per Serving)

It is important to consider this information as approximate and not to use it as definitive health advice.
  • Calories: 435
  • Total Fat: 11 g
  • Total Carbohydrate: 47 g
  • Protein: 36 g