
 Pin it
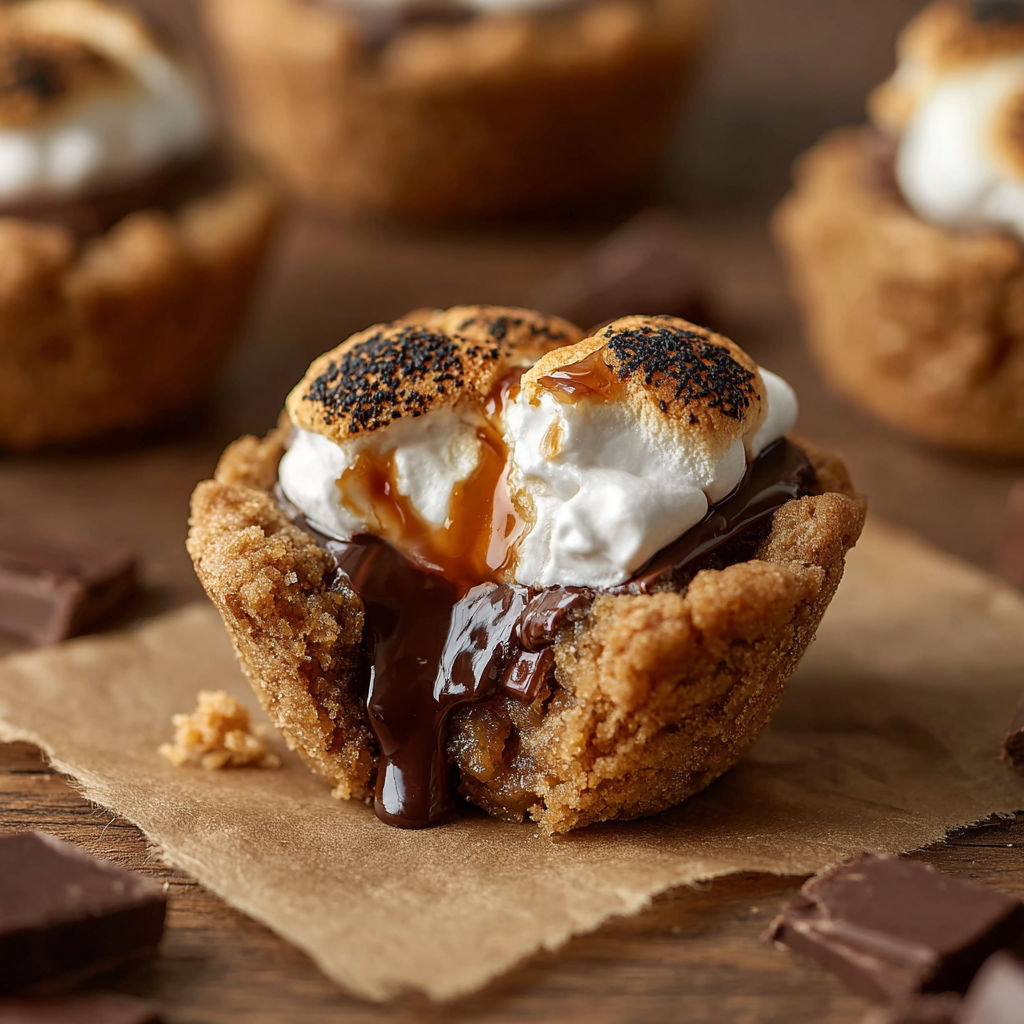
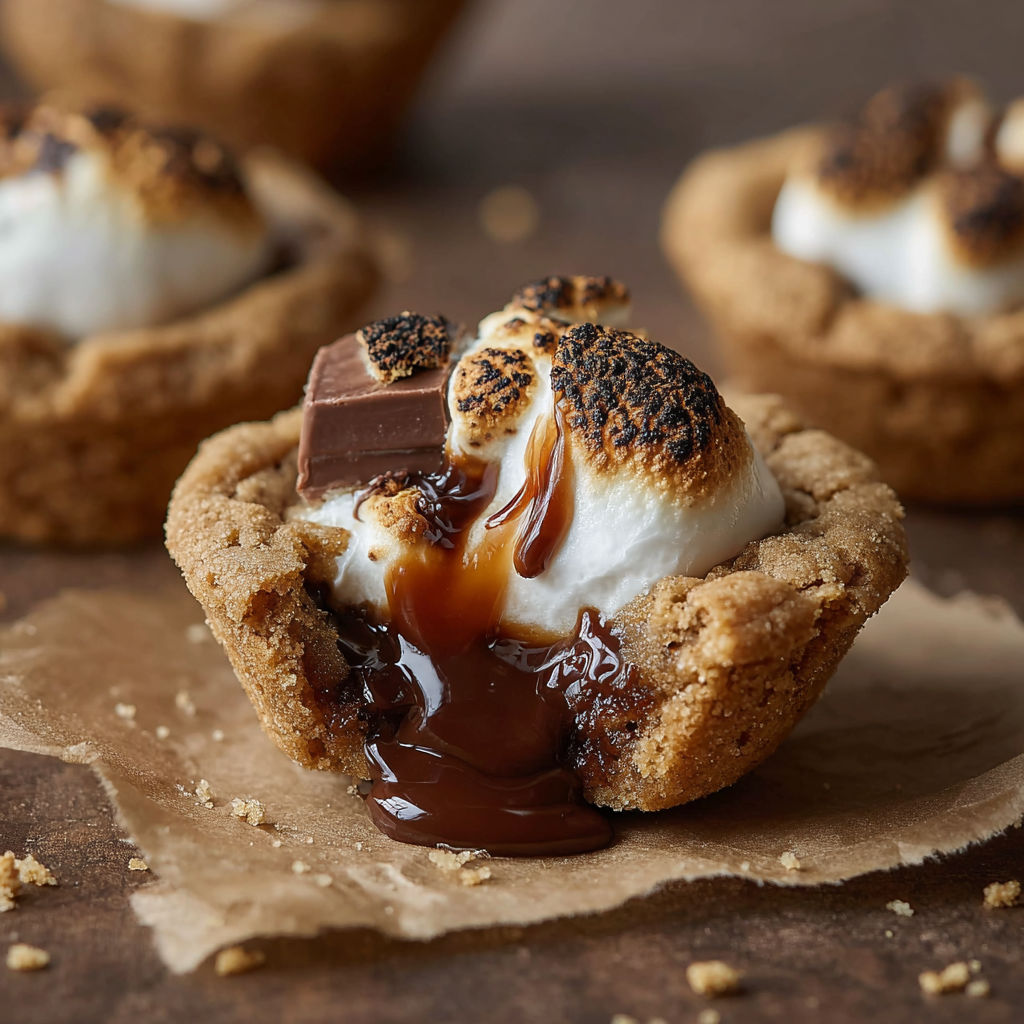
When you want gooey chocolate marshmallow goodness without a campfire these s’mores cookie cups come to the rescue The chewy cookie base combined with a molten center tastes like summer no matter the season
It is the ultimate get your s’mores fix dessert for potlucks or late night cravings My kids ask for these on rainy days when we cannot get outside
Ingredients
- Graham cracker crumbs: These give that signature s’mores flavor Choose ones with a toasted aroma and golden color
- All-purpose flour: For structure Use unbleached for a more tender crumb
- Unsalted butter: Softened butter blends smoothly and gives a rich cookie taste Look for butter that is pale and not oily
- Brown sugar: Adds depth from molasses Light or dark both work
- Granulated sugar: For crispness around the edges Go for fine sugar that dissolves easily
- Large egg: Binds everything and adds richness Use farm fresh if you can
- Vanilla extract: Brightens up every bite Real vanilla makes a difference here
- Baking powder: Lifts the cookie and keeps it soft Make sure yours is fresh for best results
- Salt: Balances the sweetness Fine sea salt works best
- Chocolate bars: Broken for the classic look Choose high quality milk chocolate so it melts smoothly
- Marshmallow fluff: For gooey centers Try to get one with no artificial flavors for best texture
Instructions
- Preheat and Prep:
- Set your oven to 350 degrees Fahrenheit or 175 degrees Celsius Grease a standard muffin tin really well so the cookie cups slip out easily later
- Cream the Butter and Sugars:
- Beat the softened butter with the brown sugar and granulated sugar Together this should look pale and feel fluffy This creates a tender base
- Add Egg and Vanilla:
- Mix in the egg and vanilla to the creamed mixture until fully incorporated The dough should be light and creamy with no streaks
- Combine Dry Ingredients:
- Whisk together the graham cracker crumbs all-purpose flour baking powder and salt in a separate bowl This ensures the leavening is even
- Mix to Form Dough:
- Slowly add the dry mixture to the wet mixture and beat until combined Do not overmix or the cookie may go tough
- Create Cookie Cup Bases:
- Scoop a spoonful of dough into each muffin cup Press down to create a firm base This provides that chewy graham crust
- Layer the Chocolate:
- Place one piece of chocolate directly onto the dough base It should be slightly pressed down but not sunken
- Add Marshmallow Fluff:
- Drop a spoonful of marshmallow fluff over the chocolate Avoid overfilling or it may ooze out when baking
- Top with More Dough:
- Take additional dough and gently flatten it between your palms Lay over the marshmallow to seal making sure the edges touch the tin
- Bake to Perfection:
- Slide the tin into the preheated oven Bake for 12 to 15 minutes until the tops are golden and set If the edges look dark the centers stay gooey
- Cool and Unmold:
- Let the cookie cups cool in the tin for about 10 minutes Run a knife gently around the edges and lift out carefully for best shape
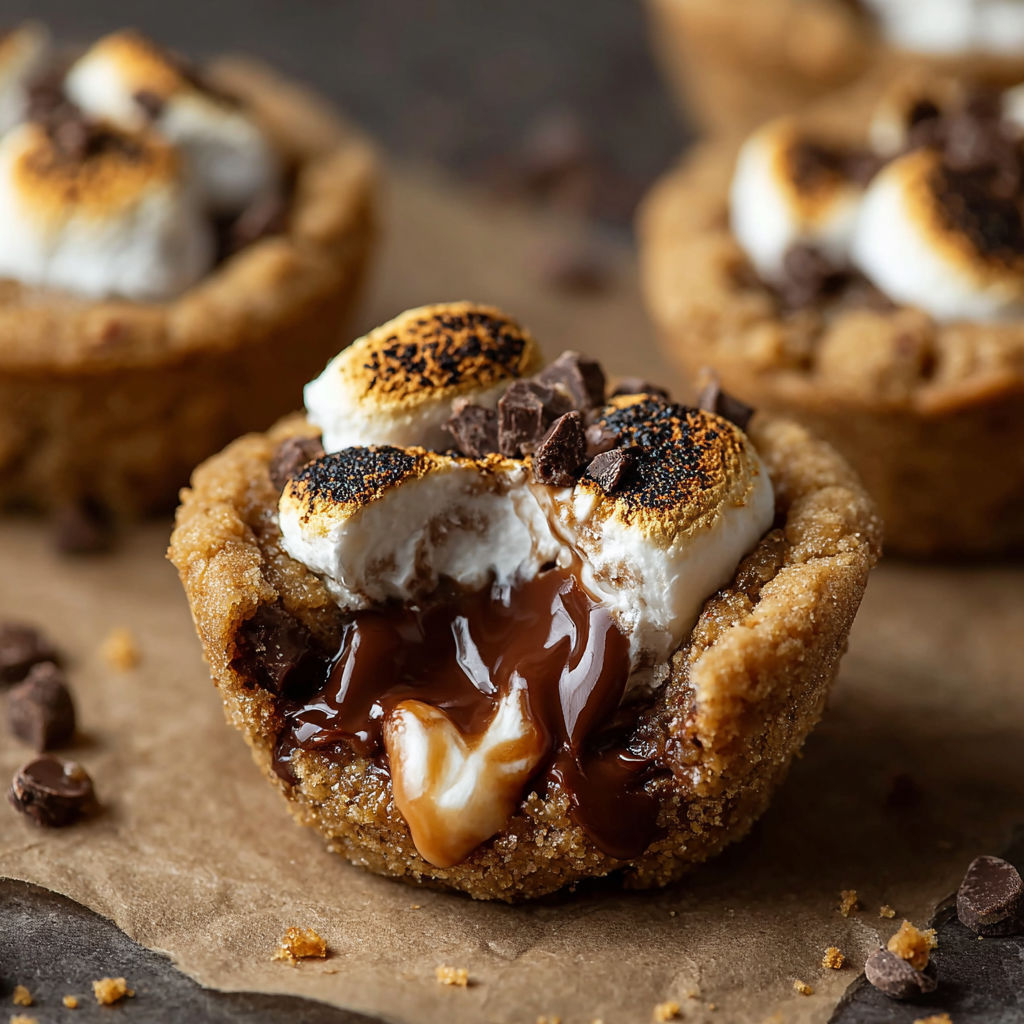
The way the marshmallow fluff peeks out after baking never fails to make my kids smile My favorite part is breaking one open and watching the chocolate stretch just like by the fire
Storage Tips
Let the cookie cups cool completely before storing Place in an airtight container at room temperature for up to three days For longer storage refrigerate and bring to room temperature to enjoy the texture again These also freeze beautifully Pop them in a freezer bag then warm gently in a low oven before serving for that gooey center
Ingredient Substitutions
Swap the chocolate bars for chocolate chips or use dark chocolate for a richer taste If you are out of marshmallow fluff try mini marshmallows pressed in firmly For gluten free guests choose a gluten free flour blend and certified gluten free graham crackers
Serving Suggestions
Best served slightly warm with a scoop of vanilla ice cream For parties set up a toppings bar with extra chocolate drizzle or crushed nuts These also pack well for picnics
S’mores Cookie Cups in History
S’mores date back to campfire cookouts but the cookie cup version first appeared in home baking magazines as a clever no fire required twist The idea caught on with parents who wanted the flavor without the mess Now it is a bake sale favorite everywhere
Seasonal Adaptations
Use pastel chocolate bars or colored marshmallows in spring Try a sprinkle of cinnamon or a touch of pumpkin spice in the dough for autumn Make a holiday version by topping finished cups with peppermint pieces
Success Stories
Many who tried this recipe say that picky eaters finally get involved in the baking and have fun pressing dough into cups One friend brings them to every school event because there is never a single one left
Freezer Meal Conversion
Once baked and cooled wrap each cookie cup individually and freeze Place in a bag or airtight container Defrost on the counter or reheat gently in a microwave or oven Wrapped like this they last two months so you always have a treat ready
With these cookie cups you can bring a campfire treat to any celebration or rainy day It is always just one quick batch away from gooey perfection
Recipe FAQs
- → How do you keep cookie cups from sticking to the muffin tin?
Grease the muffin tin thoroughly or use paper liners. Allow cups to cool before removing for neater edges.
- → Can I substitute mini marshmallows for marshmallow fluff?
Yes, mini marshmallows work as a substitute, though the texture may vary as they melt differently than fluff.
- → What type of chocolate is best to use?
Milk chocolate bars provide classic s’mores flavor, but you can use dark or semisweet chocolate for a richer taste.
- → Can the dough be made ahead of time?
Absolutely. Prepare and chill the dough up to 24 hours ahead for easy assembly and baking later.
- → Do cookie cups need to cool before serving?
It’s best to let them cool slightly so they firm up, making them easier to remove and enjoy warm.