
 Pin it
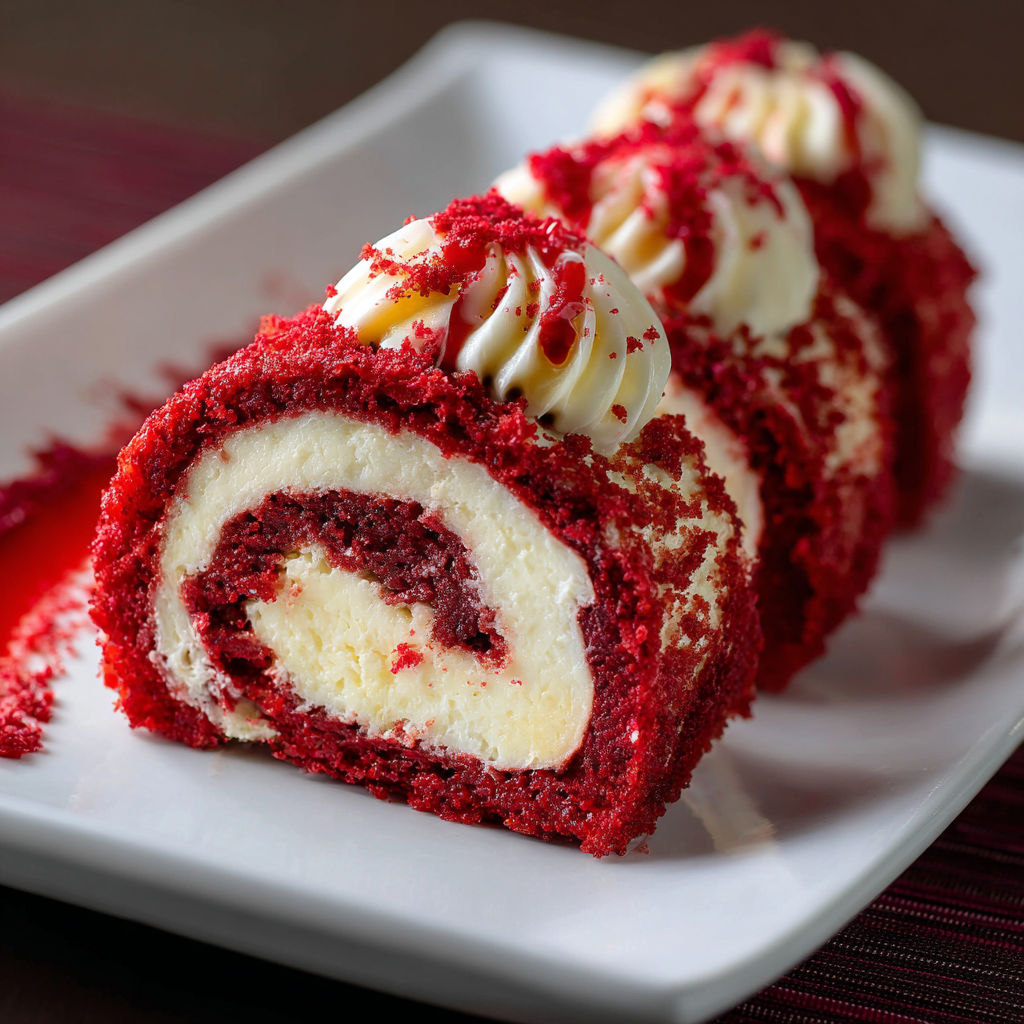
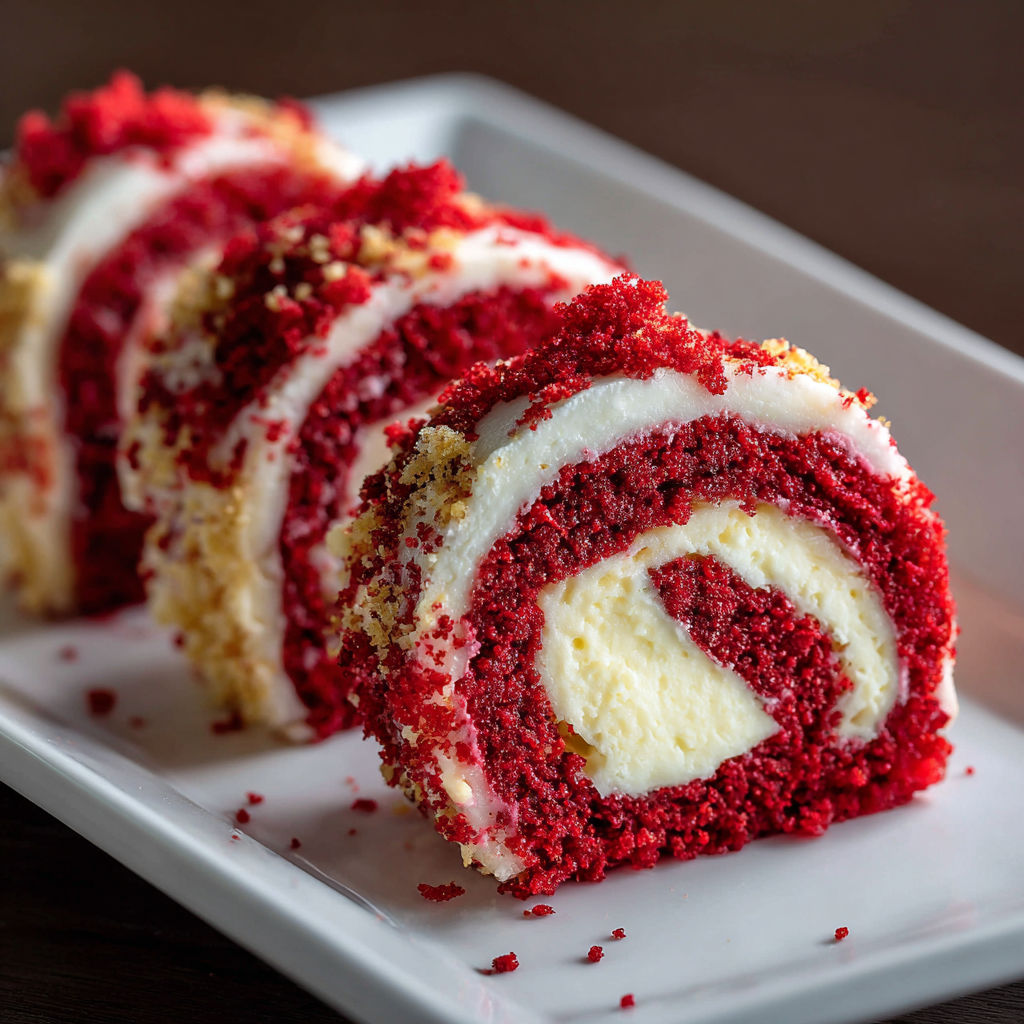
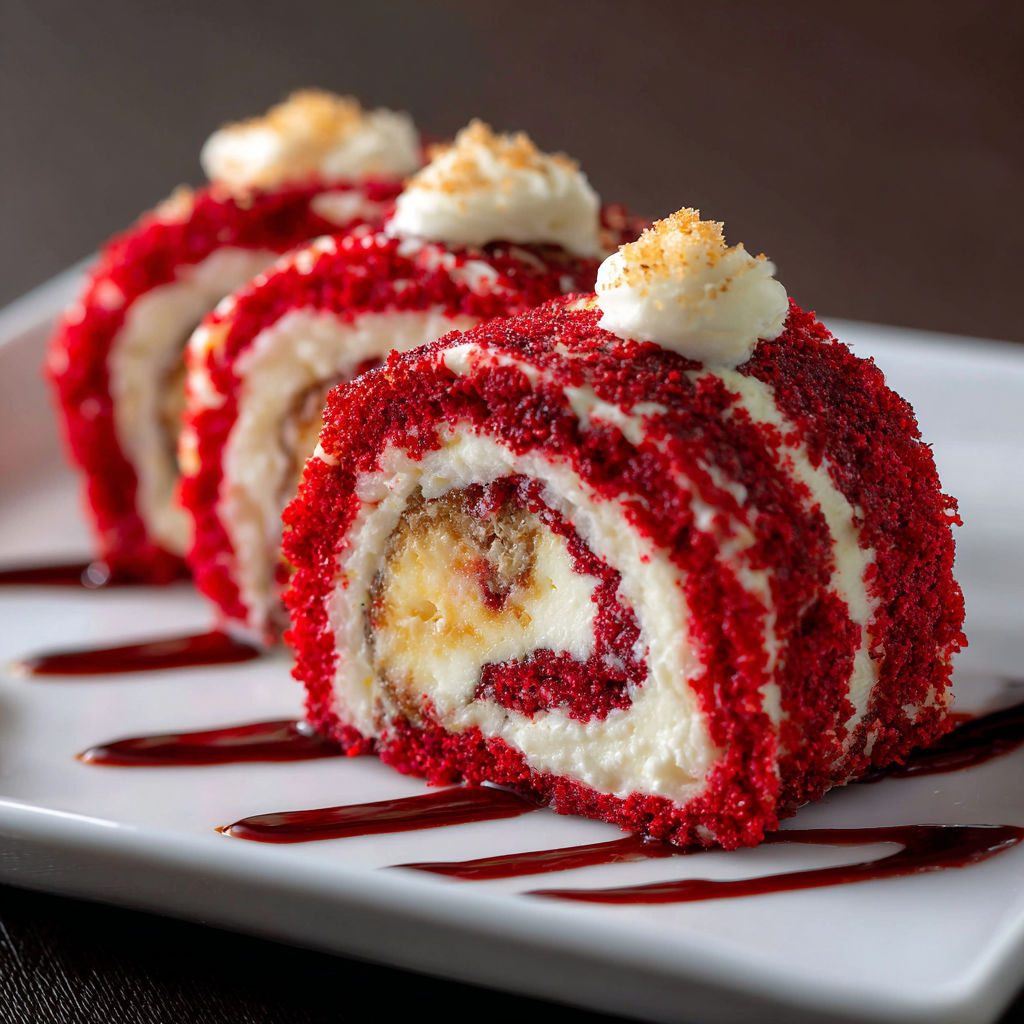
Red Velvet Cheesecake Sushi Roll is the showstopper dessert I surprise guests with anytime I want to serve something playful yet truly decadent. Fluffy red velvet cake hugs a tangy cream cheese filling, all rolled up and drizzled with white chocolate. Each slice resembles classic sushi but tastes like pure bakery delight. Whether you need a stunning holiday centerpiece or a fun treat for girls’ night, this dessert always impresses.
My family could never pick between cheesecake or velvet cake so they cheer every time I show up with a tray of these sushi rolls at family gatherings. The surprise swirls and creamy filling steal the spotlight on any dessert table.
Ingredients
- Red velvet cake mix: gives the roll structure and a rich cocoa flavor with that iconic color, use a trusted brand for best flavor
- Eggs: help bind the cake and make it fluffy, choose large eggs for reliable results
- Vegetable oil: keeps the texture soft and tender, pick a light oil for a neutral flavor
- Water: brings the batter together, make sure it is room temperature to avoid shocking the eggs
- Vanilla extract: deepens the cake’s flavor, pure vanilla is ideal for best taste
- Cream cheese: anchors the filling with tang and richness, let it come to room temp for smooth mixing
- Unsalted butter: adds silkiness and helps the filling set, be sure it is soft to blend smoothly
- Powdered sugar: sweetens and stabilizes the filling, sift it for lump free texture
- Chopped pecans: bring crunch and contrast to the creamy center, toast lightly for extra flavor or skip if there are nut allergies
- White chocolate: creates a beautiful finish and ties the flavors together, use high quality for best melting
- Raspberry or strawberry sauce: offers a little fruity tang, totally optional but a pop of color and freshness
- Powdered sugar (for dusting): finishes the look with a classic snowy effect, a fine mesh sieve makes dusting effortless
Instructions
- Bake the Cake Layer:
- Preheat your oven to 350 degrees Fahrenheit. Line a 9 by 13 inch baking sheet with parchment paper so the short side faces you and lightly grease the surface. In a large bowl whisk together the red velvet cake mix, eggs, vegetable oil, water and vanilla until the batter is smooth and glossy with no lumps. Pour the batter into the pan, spreading with an offset spatula to reach every corner for even baking. Bake about fourteen to sixteen minutes. You want the cake to spring back when touched in the middle but not dry out. Let it cool for five minutes only, do not walk away at this stage.
- Roll the Cake:
- While the cake is still warm, carefully lift the parchment with the cake out of the pan. Use the parchment to help roll the cake tightly from the shorter side into a spiral. The rolling at this stage sets the memory of the shape so it will not crack later. Let the rolled cake cool completely inside the parchment on a rack.
- Make the Cheesecake Filling:
- In the bowl of a stand mixer beat the softened cream cheese and unsalted butter at medium speed until smooth and combined. Scrape down the bowl to avoid any lumps. Gradually add the powdered sugar and vanilla, beating until the filling becomes fluffy and spreadable. Finally fold in the chopped pecans if you are adding them for crunch.
- Fill and Roll the Cake:
- Unroll the cooled cake gently removing the parchment but leave it underneath for stability. Spread the cream cheese filling evenly all the way to the edges using a small offset spatula to avoid tearing the sponge. Roll up the cake again as tightly as possible, using the parchment or plastic wrap to guide a snug spiral. Carefully wrap the roll fully and transfer to the refrigerator. Chill for at least one hour to set the swirl and make slicing easier.
- Slice and Decorate:
- Remove the chilled roll and cut into one inch slices with a long serrated knife, wiping clean between cuts for neat edges. Arrange the sushi rolls on a platter. Drizzle each with melted white chocolate and a little raspberry or strawberry sauce for a sushi inspired look. Dust lightly with powdered sugar just before serving. Serve straight from the fridge for best texture.
My favorite part of this dessert is adding the swirl of white chocolate on top. A few sprinkles and fruit sauce make every slice look like a miniature work of art. Last Valentine’s Day my niece and I decorated them with edible gold dust and everyone thought I had bought them from a fancy bakery.
Storage Tips
Store the assembled roll wrapped well in plastic wrap in the refrigerator for up to four days. Slices can be kept airtight in a covered container. If stacking sliced sushi rolls line with parchment so the toppings do not smudge. For maximum freshness serve within two days of filling and do any decorative drizzle right before guests arrive.
Ingredient Substitutions
Try swapping the red velvet cake mix for chocolate cake mix if you want a deeper cocoa flavor and a new color twist. Neufchâtel cheese works just as well as regular cream cheese for a slightly lighter filling. Pecans can be switched out for walnuts or completely omitted. If you need a nut free version the roll still holds together perfectly.
Serving Suggestions
Arrange slices like real sushi on a wooden board and garnish with berries or a mint sprig for color. For dessert buffets pair with chocolate dipped strawberries or a simple raspberry coulis on the side. During hot weather these sushi rolls are perfect unbaked treats served directly from the fridge.
Cultural and Historical Context
Red velvet cake has been a beloved American classic since the early twentieth century so this creative sushi roll spin brings a modern playful twist to a time honored dessert. The concept mimics the elegant rolls of Japanese cuisine while keeping every bite familiar and nostalgic with cream cheese and chocolate.
Seasonal Adaptations
In spring swap the raspberry sauce for fresh strawberries During fall add a pinch of pumpkin spice to the filling for warmth For holidays roll in red and green sprinkles before chilling
Success Stories
Friends who usually shy away from making rolled cakes are shocked by how easy this is. My book club raved when they saw the swirl and by the end not one slice was left. Even for beginner bakers this is almost foolproof thanks to starting with a reliable boxed cake mix.
Freezer Meal Conversion
Slice the chilled roll and lay the pieces in a single layer on a lined baking sheet. Freeze until solid then transfer to a ziptop bag or airtight container. Thaw in the refrigerator before serving or eat straight from frozen for a delicious cool treat in summer.
The first time I made this for a family birthday everyone huddled around watching as I sliced the roll to reveal the surprise swirl. This recipe encourages fun creativity and brings out the childlike joy in both bakers and eaters. Once you try it you will always want a backup roll chilling in the fridge.
Recipe FAQs
- → How do I prevent the cake from cracking while rolling?
Roll the cake while it's still slightly warm using parchment, then allow it to cool in shape. This keeps it flexible and reduces cracking.
- → Can I use homemade red velvet cake batter?
Yes, you can prepare your own red velvet batter if you prefer. Be sure to bake in a thin sheet for easy rolling.
- → What can I substitute for pecans in the filling?
You may omit nuts altogether or use alternatives such as walnuts or toasted almonds for a different texture.
- → How long should I chill the roll before slicing?
Chill the filled roll for at least 1 hour to set the filling and achieve clean slices when serving.
- → Is it necessary to add berry sauce on top?
The berry sauce is optional but adds a tangy contrast and vibrant color. You can skip it or swap for other fruit sauces.