
 Pin it
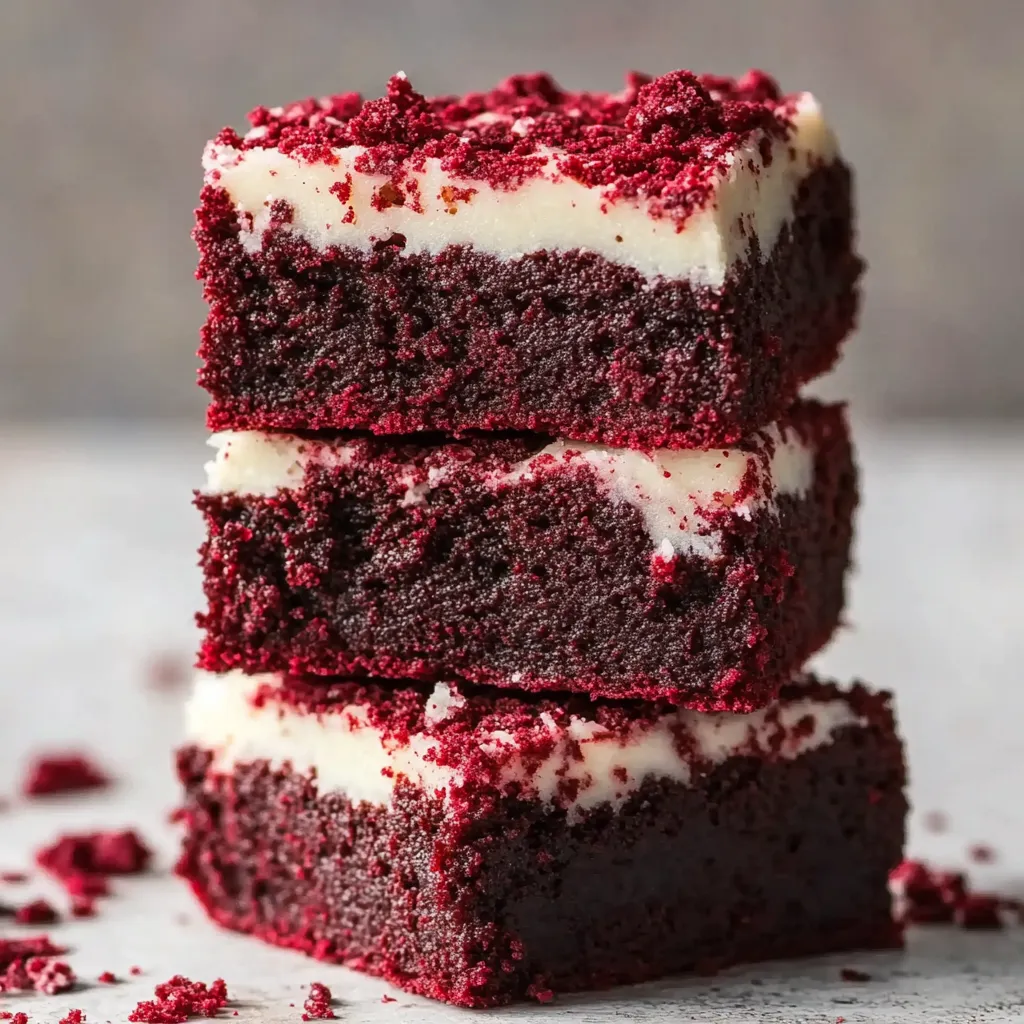
The perfect marriage of fudgy chocolate brownies and classic red velvet cake comes together in these irresistible Red Velvet Brownies. The deep crimson batter transforms into luxuriously rich squares, crowned with silky cream cheese frosting that balances every sweet, chocolatey bite. These brownies capture the essence of red velvet in a portable, hand-held treat that works beautifully for special occasions or an elevated everyday dessert.
I've made these brownies countless times for family gatherings, and they never fail to spark joy around the table. My niece particularly loves helping to swirl the red food coloring into the batter, watching the transformation happen before her eyes.
Essential Ingredients Guide
- Unsalted butter: Creates a rich, tender foundation and allows precise control over saltiness
- Light brown sugar: Introduces subtle caramel notes and helps maintain moisture
- Dutch process cocoa powder: Provides deeper chocolate flavor and enhances the red color
- Cornstarch: Crucial for achieving that perfectly chewy texture
- White vinegar: Activates the red color and adds classic red velvet tang
- Red gel food coloring: Delivers vibrant color without affecting the texture
- Cream cheese: Should be full-fat for the creamiest, most stable frosting
Growing up, my grandmother always emphasized the importance of room temperature ingredients, especially for the cream cheese frosting. Her wisdom rings true every time I make these brownies.
Creating Your Red Velvet Masterpiece
- Batter Preparation:
- Position your oven rack centerstage and preheat to 350°F.
- Pan Lining:
- Carefully line your pan with parchment, creating handles for easy removal.
- Mixing Base:
- Combine melted butter with both sugars until glossy and well integrated.
- Incorporating Eggs:
- Incorporate eggs and yolk one at a time, ensuring proper emulsion.
- Smooth Blending:
- Blend in vanilla and oil until the mixture becomes silky smooth.
- Adding Cocoa:
- Sift cocoa powder directly into the bowl and mix thoroughly.
- Coloring Process:
- Create a vibrant red paste with food coloring and a portion of batter.
- Folding Ingredients:
- Fold in remaining dry ingredients with gentle, purposeful strokes.
- Finishing Touch:
- Finish with vinegar, stirring just until incorporated.
Understanding Temperature and Timing
When baking these brownies, achieving the ideal level of doneness requires careful attention. Watch for a slight jiggle in the center while the edges start pulling away from the pan. This ensures the coveted fudgy texture that makes these brownies exceptional. Learning to read these visual cues takes practice, but the results are worth every moment of patience.
Perfect Pairing Ideas
Create an elegant dessert board by serving these brownies alongside fresh berries and mint sprigs. The bright fruits complement the rich chocolate notes beautifully. For special occasions, warm individual squares slightly and top with vanilla bean ice cream. During holiday gatherings, I love arranging them on a tiered stand with other red velvet treats for a themed display.
Customization Corner
- Transform these brownies by incorporating white chocolate chunks into the batter before baking
- For a nutty twist, fold in toasted pecans or walnuts
- Create a marbled effect by reserving some cream cheese mixture to swirl through the batter
- My family particularly enjoys them with a sprinkle of sea salt on the frosting for a sophisticated sweet-salty balance
Freshness Secrets
Store these divine squares in an airtight container, separating layers with parchment paper to preserve the frosting's appearance. They'll maintain peak freshness in the refrigerator for up to five days. Before serving, let them stand at room temperature for 15 minutes to achieve the perfect texture. For make-ahead convenience, unfrosted brownies can be frozen for up to three months when properly wrapped.
These brownies have become my signature contribution to family gatherings and celebrations. The recipe strikes that perfect balance between classic comfort and elegant presentation, making it versatile enough for any occasion. Whether served at a casual afternoon tea or an upscale dinner party, they never fail to draw appreciative smiles and recipe requests. The combination of rich chocolate, subtle tang, and creamy frosting creates an experience that lingers in memory long after the last crumb disappears.
Recipe FAQs
- → Can I make these red velvet brownies without food coloring?
- Yes, you can skip the food coloring. The brownies will still taste delicious but won't have the classic red velvet appearance.
- → How do I know when the brownies are done baking?
- Insert a skewer into the center - it should come out with just a few moist crumbs. If it's completely clean, they're overbaked.
- → Can I freeze these red velvet brownies?
- Yes, they freeze well for up to 3 months. Wrap them tightly without frosting and add the frosting after thawing.
- → Why did my cream cheese frosting turn out runny?
- This usually happens if the cream cheese or butter was too warm. Make sure they're at cool room temperature, not softened.
- → How should I store red velvet brownies?
- Store frosted brownies in an airtight container in the fridge for up to 5 days. Let them come to room temperature before serving.