
 Pin it
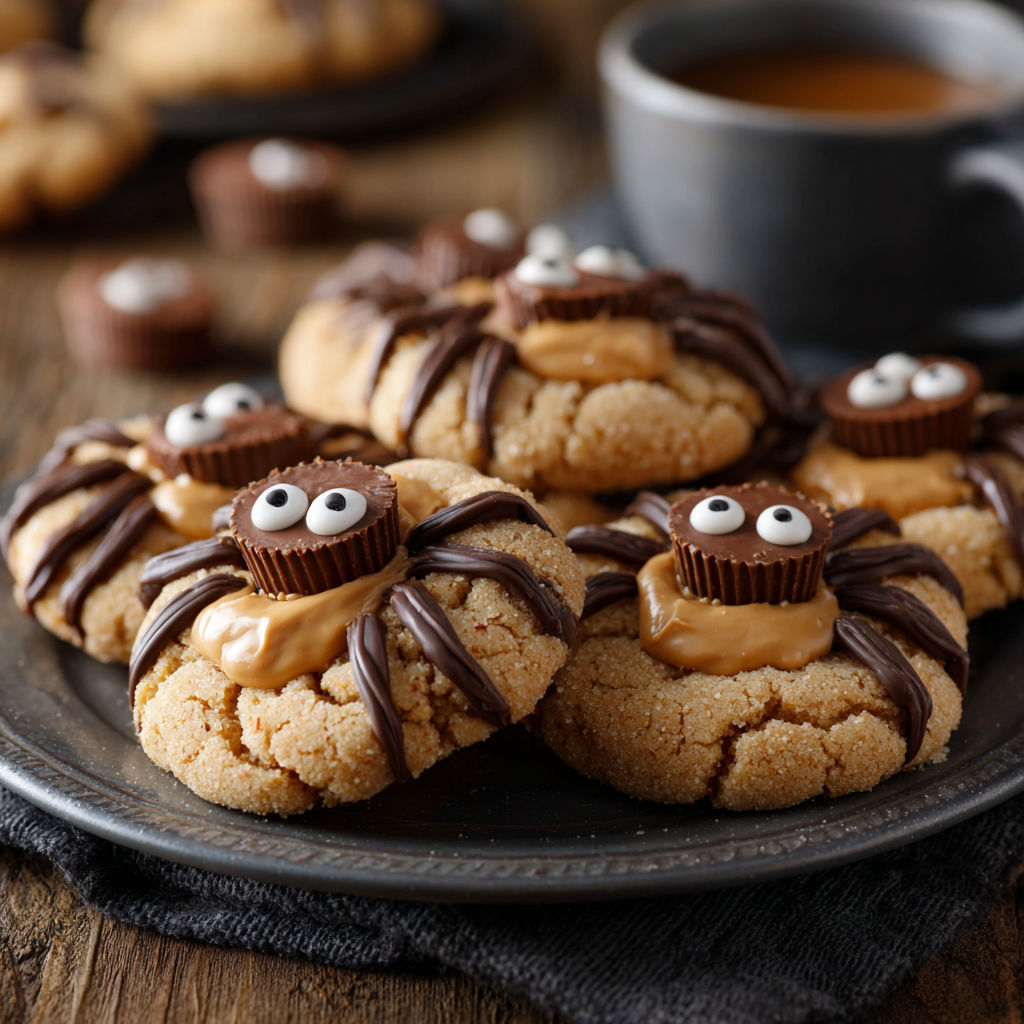
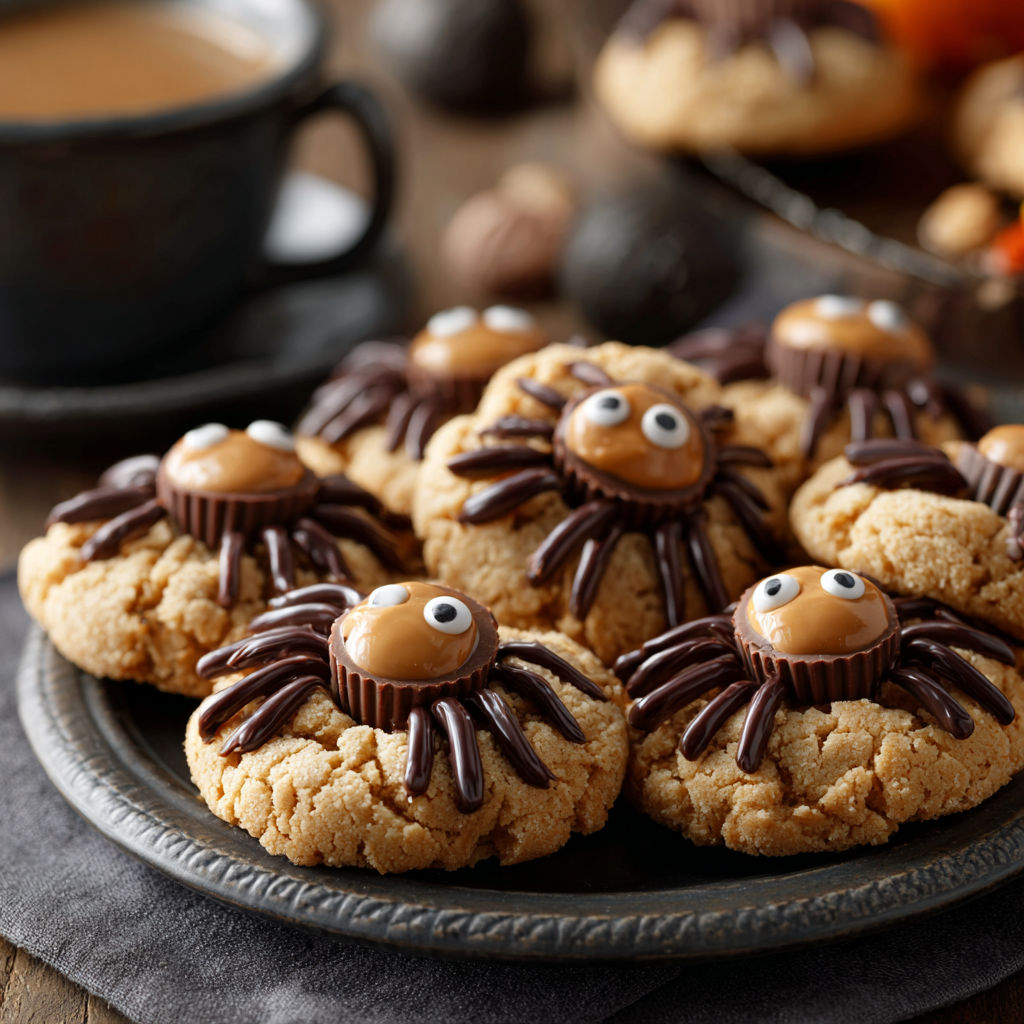
Turning cookies into cute peanut butter spiders is such a fun way to make your classic peanut butter cookie recipe a showstopper at Halloween or any kids’ party. These playful treats are soft and sweet with a creamy peanut butter base and a surprise mini Reese’s Peanut Butter Cup on top. Decorating them is honestly half the fun.
I have made these with my niece every year since she could hold a spoon and she even brings them to her school bake sale because all her friends special request them. I first made these for a neighborhood Halloween party and now everyone asks when the spiders will appear each October. The recipe is playful and no one is able to resist their charm or flavor.
Ingredients
- Unsalted butter at room temperature: gives a soft fluffy base use good quality
- Brown sugar: adds a warm molasses note and moisture choose one that feels soft
- Granulated sugar: brings the right sweetness and a crisp sugary finish make sure it is fresh and lump free
- Creamy peanut butter: gives classic peanut flavor avoid natural types so the texture stays perfect
- Large egg: for richness and structure always use fresh eggs
- Vanilla extract: for warmth and balance pure vanilla makes a difference
- All purpose flour: for structure and chew measure carefully and use a scoop and level method
- Baking soda and baking powder: for perfect lift make sure they are not expired
- Salt: enhances all flavors use fine sea salt for best distribution
- Granulated sugar for rolling: gives a sparkly edge to each cookie
- Mini Reese’s Peanut Butter Cups: for the “body” freeze them before using so they stay neat
- Semi-sweet chocolate chips: for drawing legs you want good melting chocolate
- Candy eyeballs: for the fun spider detail find them in the baking aisle or craft store
Instructions
- Prep Mini Chocolates:
- Unwrap about twenty four mini peanut butter cups and chill them in the freezer This keeps them firm once they go on the warm cookies
- Make Cookie Dough:
- In a mixing bowl beat room temperature butter brown sugar and granulated sugar with an electric mixer for about one minute until light and fluffy
- Add Peanut Butter Egg and Vanilla:
- Mix in the creamy peanut butter large egg and vanilla extract blending just until everything looks smooth
- Add Dry Ingredients:
- Add flour baking soda baking powder and salt Gently stir or mix on low until just combined Stop as soon as you do not see streaks so your cookies stay tender
- Shape and Roll Cookies:
- Scoop out tablespoon sized portions of dough Roll each into a ball between your hands and coat them in granulated sugar for crunch and shine
- Bake:
- Arrange dough balls on a lined baking sheet spaced well apart Bake at three hundred fifty degrees Fahrenheit for eight to eleven minutes The edges will crack and cookies will be lightly golden when ready
- Add Spider Body:
- While cookies are warm press a frozen mini peanut butter cup into the center Let cookies cool on the tray for fifteen to twenty minutes so the chocolate keeps its shape
- Melt Chocolate and Decorate:
- Melt chocolate chips gently in the microwave at fifty percent power stirring every minute until smooth Transfer to a squeeze bottle or bag with corner snipped off Pipe eight legs for each spider around the Reese’s cup body
- Attach Candy Eyes:
- Dab a little melted chocolate on the back of each candy eye and press onto the Reese’s cup Let the chocolate set before moving cookies
For me the best part is always pressing the Reese’s cup into the warm cookie and seeing it go glossy I have to hide a few or they disappear before the eyes are even attached My niece calls these her “famous” cookies and always steals one for the ride home
Storage Tips
Let decorated cookies set completely before storing so chocolate legs and eyes do not smear Keep in a single layer or with parchment between layers in an airtight container They stay fresh for up to five days
Ingredient Substitutions
If you need to skip peanut butter try sunflower seed butter for nut free The Reese’s cup can be replaced with any round chocolate For a gluten free version choose a one for one gluten free flour blend
Serving Suggestions
Great as lunchbox surprises or as a party plate centerpiece Put them in clear treat bags with orange ribbon for the perfect Halloween party favor Adults love them with coffee or tea and they look especially cute displayed on a cake stand
Cultural and Seasonal Context
These cookies have become a Halloween tradition at many tables I used to only make them in October but now kids in the family request them other times too They are inspired by classic American peanut butter blossoms only with a playful twist
Seasonal Adaptations
Add a dash of pumpkin spice to the dough for a fall flavor Use dark chocolate cups for a richer look Sprinkle black sanding sugar before baking for extra sparkle
Success Stories
One year my niece brought these for her school’s bake sale and they sold out in minutes Her teacher even emailed me asking for the recipe Several friends now make these as their own October tradition which makes me so proud of our silly spider cookie legacy
Freezer Meal Conversion
Bake cookies as directed leaving off the decorations After cooling freeze in layers with parchment For parties just thaw them then decorate with chocolate legs and eyes before serving Easy make ahead magic
You will love seeing these spooky cookies disappear from the plate! Happy Halloween baking and have fun decorating with your family.
Recipe FAQs
- → How do I keep the peanut butter cups from melting?
Freeze the mini peanut butter cups beforehand to help maintain their shape when placed on hot cookies.
- → What type of peanut butter works best?
Use creamy, shelf-stable peanut butter rather than natural varieties for better texture and consistent results.
- → How do I make spider legs look neat?
Use a squeeze bottle or a sandwich bag with a corner snipped to pipe thin, even chocolate legs onto each cookie.
- → Can I replace the candy eyes?
If you can't find candy eyes, use small dots of white and dark chocolate for a similar effect.
- → Why let cookies cool before moving them?
Cooling ensures the chocolate and decorations set up properly and the peanut butter cups retain their shape.