
 Pin it
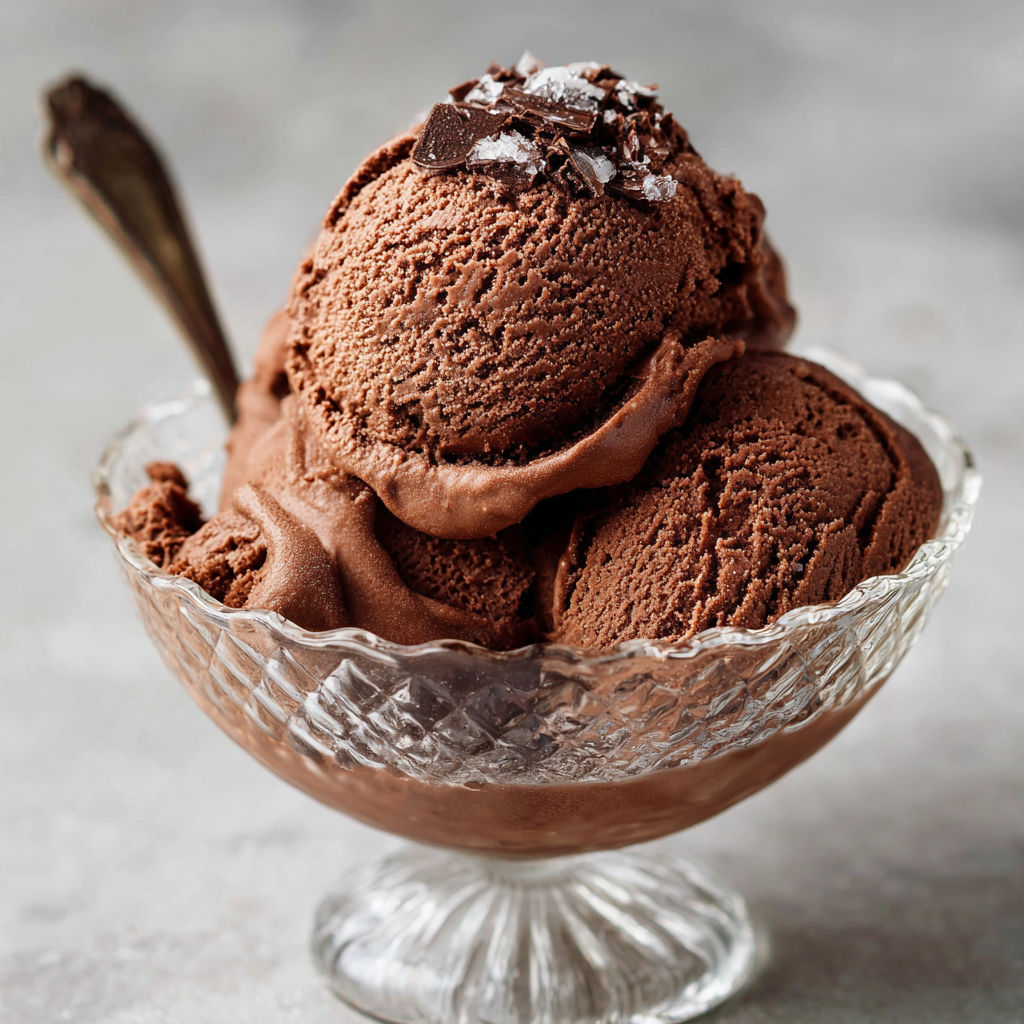
This no-churn chocolate ice cream is what chocolate dreams are made of rich creamy and a breeze to make—no special equipment required. The first hot summer I made this my friends thought I had a secret ice cream machine hidden in the garage but really it’s all about good ingredients and a simple folding technique.
I first threw this together for a birthday party and it disappeared in a flash—the fudge swirls were a massive hit and now my niece asks for it every holiday.
Ingredients
- Heavy whipping cream (chilled): listen for a fresh sweet smell and check for a thick creamy consistency this forms the dreamy base
- Sweetened condensed milk: gives creamy body and perfect sweetness look for a thick and milky brand
- Unsweetened cocoa powder: deep chocolate flavor Dutch-processed works best for richness
- Pure vanilla extract: rounds out the flavor opt for real vanilla for depth
- Salt: balances the sweetness and intensifies the chocolate
- Semi-sweet or dark chocolate (melted): the secret to a deep cocoa finish choose good quality chocolate for best melt
- Optional chocolate chips or chunks: for bites of extra chocolate melt-in-your-mouth texture
- Optional crushed cookies: for crunch choose classics like Oreos or biscoff
- Optional chopped nuts: for nutty flavor fresh crunchy nuts are best
- Optional swirl-ins (fudge peanut butter caramel): swirl in just before freezing
Instructions
- Whip the Cream:
- Pour the chilled heavy cream into a large mixing bowl. Using a hand mixer or stand mixer whip the cream on medium-high speed until stiff peaks form usually about five minutes. Watch carefully so you do not overwhip or it can turn grainy or to butter.
- Prepare the Chocolate Base:
- In a separate bowl whisk together the sweetened condensed milk cocoa powder vanilla and salt. Keep whisking until your cocoa is fully dissolved and the base is smooth. Pour in the melted chocolate and mix until the chocolate is completely incorporated and the mixture is glossy.
- Fold Everything Together:
- Add a scoop of whipped cream to the chocolate bowl and gently fold with a spatula. Add the rest of the whipped cream in two batches folding lightly each time. Make sure to keep the mixture airy. Stop folding once no white streaks remain and it looks fluffy.
- Add Mix-Ins:
- If you want to add chocolate chips nuts or cookies sprinkle them over the mixture and gently fold them in. For swirls of fudge or caramel drizzle over the top and gently swirl with a spoon or knife.
- Freeze:
- Transfer your ice cream base into a loaf pan or freezer container. Smooth the top using a spatula and cover tightly with plastic wrap or a well-fitting lid. Place in the freezer for at least six hours or overnight until completely firm.
- Serve:
- Let the ice cream sit at room temp for about five minutes to soften before scooping. Using a warm ice cream scoop makes serving easier and yields perfect creamy scoops for cones or bowls.
I am always amazed by how the melted chocolate deepens the flavor—it was my secret weapon the first time I made this and now I keep an emergency bar in my pantry just for this purpose. My family still talks about the time my little brother tried to sneak extra caramel in but ended up swirling half the pan and it was the best batch we ever had.
Storage tips
Store in a well-sealed freezer container to prevent freezer burn. A loaf pan covered in plastic wrap is classic but I also love using old gelato tubs for easier scooping. Press a piece of parchment onto the surface before sealing if you want to keep it super fresh. For best texture serve within ten to fourteen days—the flavor is best in the first week.
Ingredient substitutions
Coconut cream can replace the heavy cream for a dairy-free version although the texture may be a bit lighter. Use a dairy-free condensed milk substitute if avoiding lactose. For the chocolate base natural cocoa powder can work in a pinch but Dutch-process brings bolder flavor.
Serving suggestions
This ice cream is a total superstar in a cone but also shines sandwiched between chocolate cookies. I love scooping it over warm brownies for dessert or using it as the base for an epic ice cream sundae with salty peanuts and fudge sauce. Small chunks of toffee or berries add a twist for special occasions.
Cultural and historical context
No-churn ice cream is actually an old trick popularized before home freezers and churn machines became common. Sweetened condensed milk’s history in home desserts dates back to the 1800s simplifying ice cream for kitchens without machines. Modern versions celebrate creativity—every family seems to have their own secret swirl.
Seasonal Adaptations
Swirl in raspberry jam for a summery twist Try peppermint extract for a festive winter version Mix in toasted pecans for cozy fall flavor
Success Stories
A neighbor once brought this ice cream to the community picnic and ended up sharing the recipe with half the block. The second you mention homemade people expect hours of work but after one taste they are usually asking for seconds. Even family members who say they are not big on chocolate come back for more especially with extra chopped nuts.
Freezer Meal Conversion
Double the batch and freeze in smaller containers for single-serve treats ready whenever the craving strikes. To make ice cream sandwiches freeze scoops between cookies then wrap tightly and store in the freezer.
You do not need an ice cream maker to create this show-stopping dessert. Try it once—and you may never want store-bought again.
Recipe FAQs
- → How do I ensure the ice cream stays creamy without churning?
Using whipped cream folded into the chocolate mixture creates a light, airy texture that stays smooth after freezing.
- → Can I substitute milk or half-and-half for heavy cream?
Heavy cream is essential for thickness and creaminess. Milk or half-and-half won't yield the same smooth texture.
- → Is it necessary to add melted chocolate?
The melted chocolate adds depth, but you can skip it for a lighter flavor. Cocoa powder alone provides classic chocolate notes.
- → What types of mix-ins work best?
Chocolate chips, crushed cookies, or your favorite nuts blend well into the base. Swirls of fudge or caramel also add richness.
- → How long should it freeze before serving?
At least 6 hours or overnight ensures a firm, scoopable texture. Let stand a few minutes before serving for easier scooping.