
 Pin it
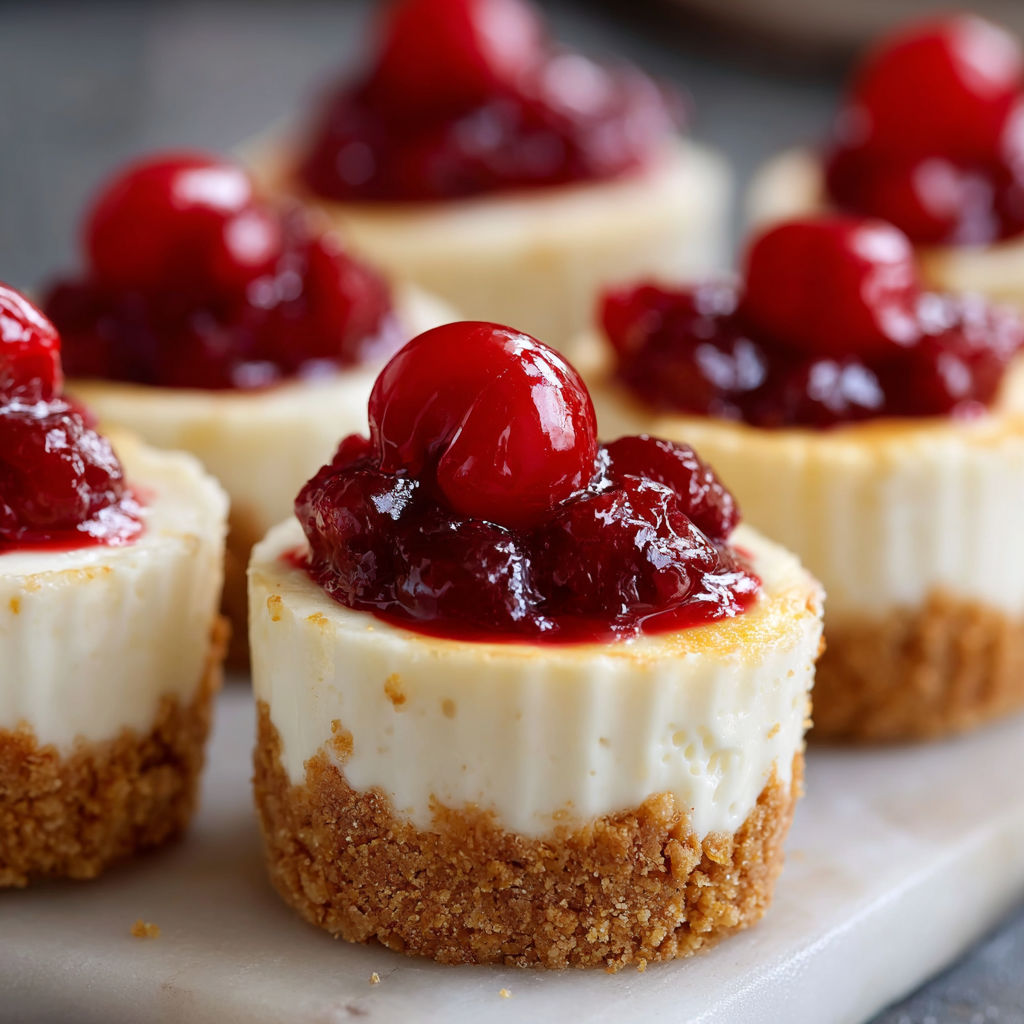
Mini cherry cheesecakes have saved me more times than I can count when a last minute dessert is needed. They look adorable on any table and always disappear fast. With a creamy filling and bright fruit topping these little treats guarantee big smiles at gatherings from birthdays to holidays or just a regular Wednesday night.
I remember making these mini cheesecakes with my daughter for her first bake sale. Watching her spoon the cherries on top was a proud mom moment and now she requests them every year for her birthday.
Ingredients
- Vanilla wafer cookies: for the crust use fresh crisp ones for the best grind and crunch
- Melted butter: this binds the crust and helps it hold its shape choose unsalted for better control over the flavor
- Cream cheese: softened to room temperature makes the filling ultra smooth always check for freshness
- Sugar: balances the tang of the cream cheese and creates that classic cheesecake taste use fine granulated sugar
- Vanilla extract: adds warmth and depth pure vanilla is worth it here
- Egg and egg yolk: provide structure and richness using an extra yolk makes the filling especially creamy
- Sour cream: lends moisture and a subtle tang for a classic cheesecake note pick a full fat variety for the best results
- Cherry pie filling: the final touch brings a pop of color and sweet tart fruitiness you can choose homemade or store bought
Instructions
- Make the Crust:
- Crush vanilla wafers into fine crumbs then stir in melted butter until the texture is like wet sand. Scoop a generous tablespoon into each lined muffin cup. Press gently with a spoon or your fingers to make an even tight crust base.
- Bake and Cool the Crusts:
- Preheat your oven to 325 degrees Fahrenheit. Bake the crusts for about six minutes until just golden at the edges. Remove the pan from the oven and let the crusts cool while you prepare the filling.
- Prepare the Filling:
- In a large mixing bowl beat softened cream cheese and sugar until creamy and no lumps remain. Scrape the bowl as needed for full blending. Add vanilla egg egg yolk and sour cream mix until everything is fully incorporated and the filling is silky.
- Fill the Cups:
- Pour or scoop the cheesecake filling over the crusts in each muffin liner leaving just a tiny bit of space at the top. The batter will smooth out as it bakes.
- Bake the Mini Cheesecakes:
- Return the pan to your oven and bake for about twenty to twenty five minutes. Check for doneness by gently jiggling a cup the centers should be mostly set with a slight wobble.
- Cool and Chill:
- Take the cheesecakes out and let them cool in the pan on a wire rack. Once room temperature pop the whole pan in the fridge and let them chill for at least two hours. These taste best when completely cold.
- Add the Topping:
- Just before serving spoon a generous amount of cherry pie filling over each mini cheesecake letting the juices cascade down the sides for extra appeal.

My favorite part is the splash of tangy sour cream in the filling. It reminds me of family gatherings at my grandma’s where she always swore by that secret ingredient no matter the cheesecake style. Watching my own kids dive in with cherry stained smiles makes this dessert even more special in our home.
Storage Tips
Keep mini cheesecakes chilled in an airtight container. They stay delicious for up to five days in the fridge and can be frozen for up to two months. To serve from frozen thaw overnight in the fridge for best texture.
Ingredient Substitutions
You can swap vanilla wafers with graham crackers or chocolate cookies if you like a deeper flavor twist. If you need a dairy free option experiment with plant based cream cheese and coconut yogurt as a stand in for sour cream. For fruit toppings blueberry or strawberry pie filling work just as well.
Serving Suggestions
Mini cheesecakes are perfect for potlucks picnics and dessert trays. I love displaying them with a handful of fresh mint leaves or a dusting of powdered sugar before serving. If you want to get creative offer an assortment of toppings and let guests customize their own.
Cultural and Historical Context
Cheesecake has ancient roots tracing back to Greece but American style cream cheese cheesecakes started gaining fame in New York. Mini versions like these became popular for their easy serving and playful twist on the classic large cake making them a favorite in home kitchens and bake sales alike.
Seasonal Adaptations
Top with fresh berries in summer for a farmers market feel Try caramel or apple topping in fall for a cozy change Use lemon zest in the filling for a springtime upgrade
Success Stories
A friend made these for her wedding dessert table and guests raved all night. Another time we packed them for a family road trip and they survived the cooler perfectly with no mess. Kids always love decorating their own mini cheesecake with fruit or sprinkles.
Freezer Meal Conversion
These cheesecakes are an A plus treat for make ahead freezing. Bake as directed cool completely and store in a freezer container. Add the cherry topping after thawing for the best texture and look. You can even bake a double batch to save time for future celebrations.

Mini cherry cheesecakes bring so much joy to any gathering. Bake a batch and you will see them vanish in no time—they are always a crowd favorite.
Recipe FAQs
- → Can I use graham crackers instead of vanilla wafers for the crust?
Yes, you can substitute graham crackers for vanilla wafers. Just crush them finely and proceed as directed for the crust.
- → How do I know the cheesecakes are baked through?
The centers should be just set and slightly jiggly. They will continue to set as they cool.
- → Can these be made ahead?
Absolutely. Prepare and chill them a day in advance, then top with cherries just before serving for best texture.
- → Are there alternative toppings I can use?
Try blueberry or strawberry pie filling, fresh fruit, chocolate sauce, or lemon curd for variety.
- → How should I store leftover cheesecakes?
Keep them refrigerated in an airtight container for up to 3 days for optimal freshness.