
 Pin it
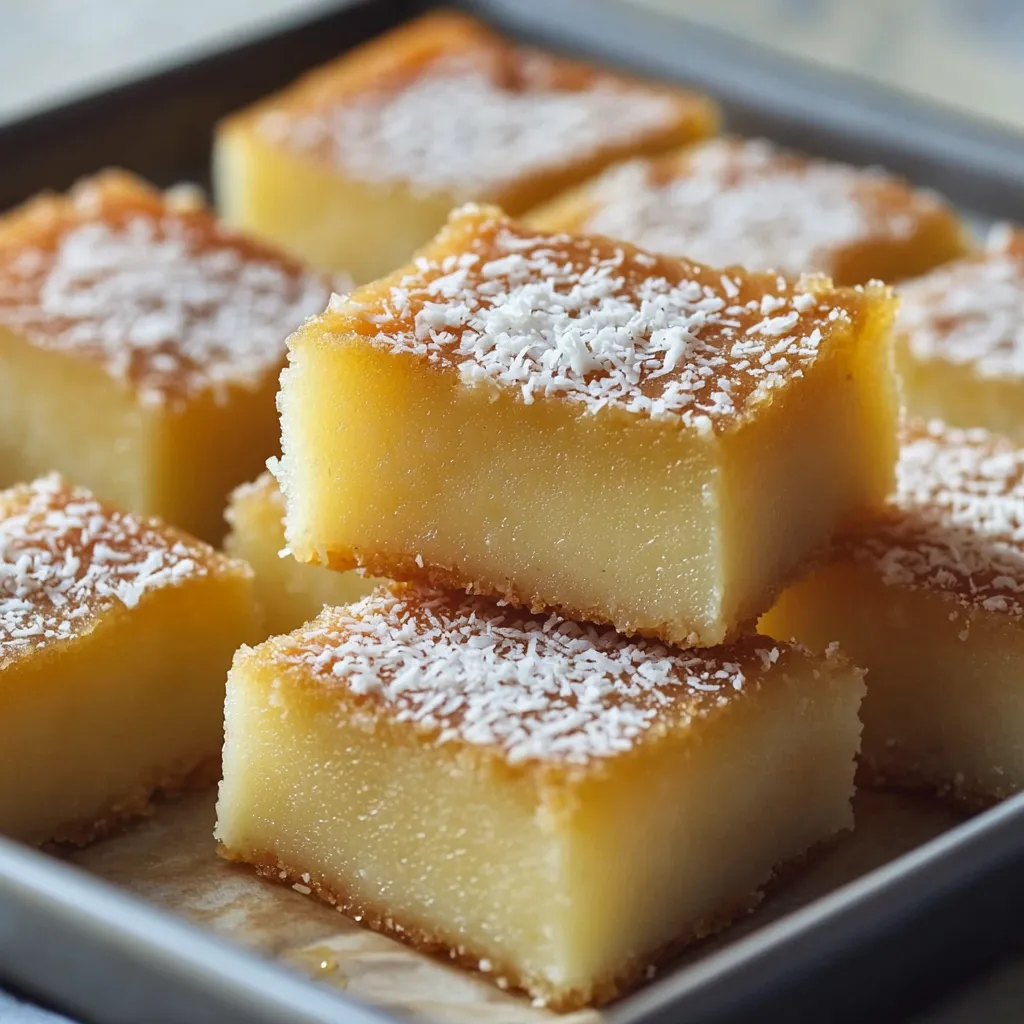
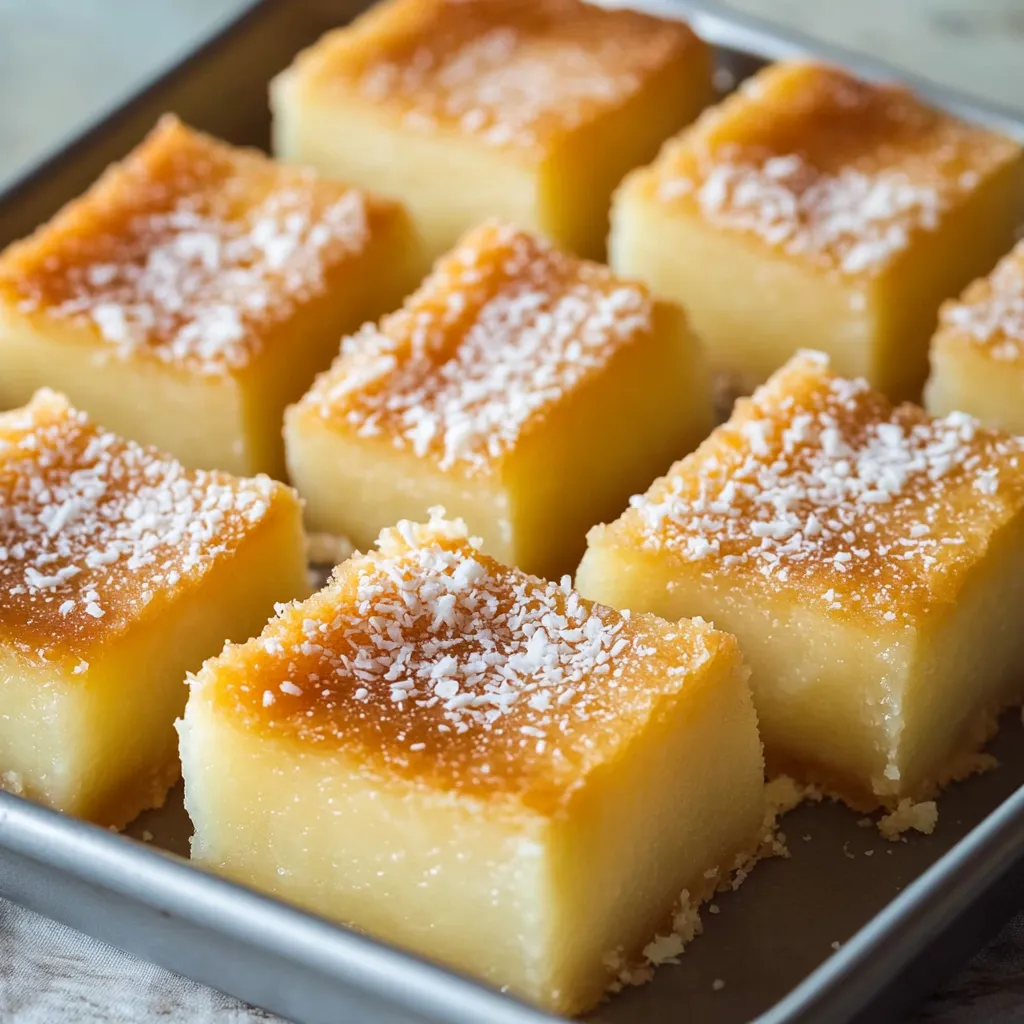
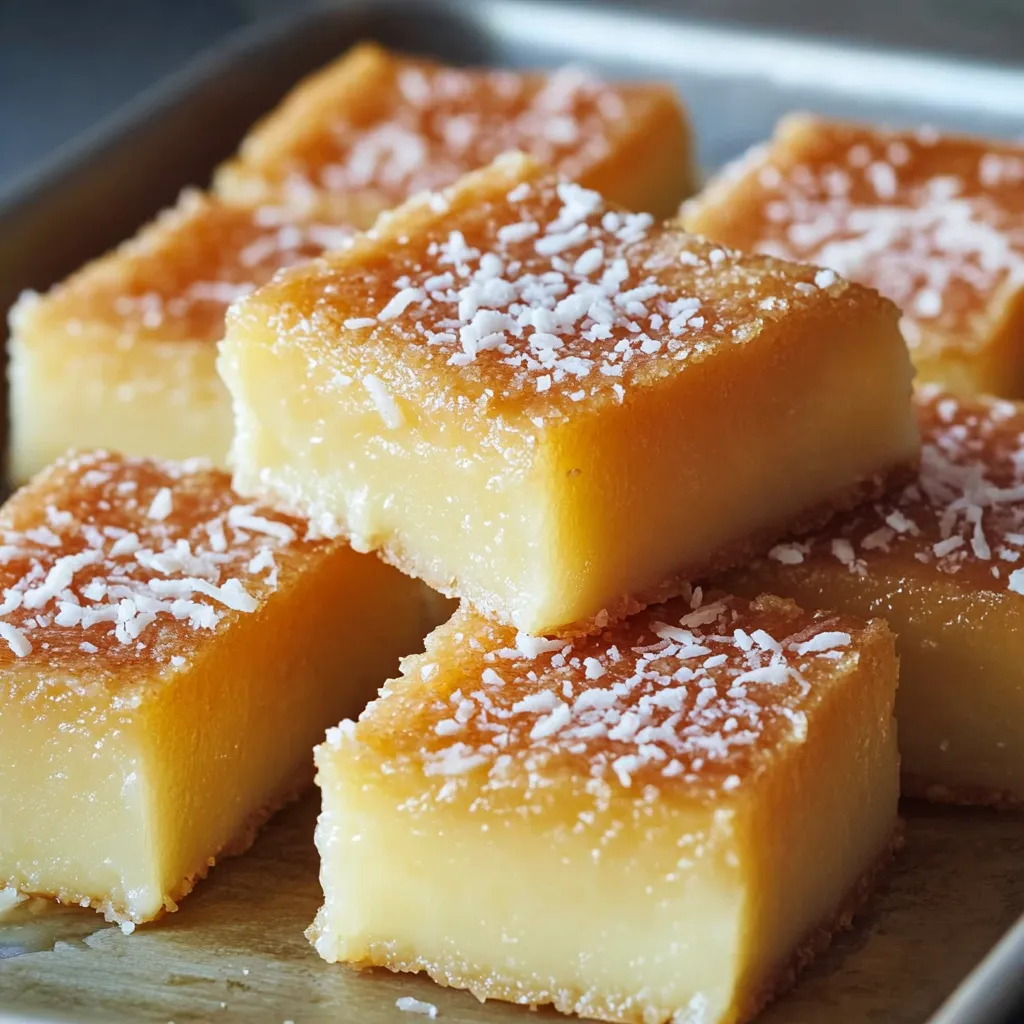
Butter mochi embodies the heart of Hawaiian comfort desserts, delivering an irresistible combination of chewy, sweet, and coconutty goodness in every bite. This beloved dessert graces every local gathering in Hawaii, carrying the perfect balance of vanilla sweetness and tropical coconut, wrapped in a texture that brings pure joy with each mouthful.
My family has treasured this recipe for generations. I remember standing beside my grandmother as she taught me her special technique of tapping the pan to create that perfect, bubble-free texture. Each time I make this, the aroma of vanilla and coconut takes me right back to those cherished moments in her kitchen.
Essential Recipe Components
- Mochiko sweet rice flour: Creates that signature chewy texture unique to butter mochi, look for the blue star branded package for authentic results
- Full fat coconut milk: Adds richness and authentic tropical flavor, choose brands without additives for the purest taste
- Quality unsalted butter: Contributes the rich, satisfying mouthfeel, bring it to room temperature for best incorporation
- Large fresh eggs: Provide structure and richness, ensure they're at room temperature
- Pure vanilla extract: Enhances all other flavors, avoid imitation for the best taste
- Granulated sugar: Balances the richness and creates the perfect crust
- Unsweetened shredded coconut: Adds wonderful texture contrast
Creating Your Butter Mochi
- Preparation:
- Preheat oven to 350°F (175°C), positioning rack in the center. Generously coat a 9x13 inch metal baking pan with butter, ensuring every corner is covered.
- Mix Dry Ingredients:
- Combine mochiko flour, sugar, and baking powder in a large bowl until perfectly blended.
- Prepare Wet Mixture:
- Whisk together room temperature eggs, vanilla, and milk until completely smooth.
- Combine Everything:
- Pour wet ingredients into dry mixture, stirring until fully incorporated. Add melted butter and coconut milk, mixing until silky smooth. Transfer to prepared pan, tap gently to remove air bubbles, and sprinkle coconut topping evenly across surface.
- Baking Magic:
- Bake in preheated oven until golden brown edges appear and the center feels set when gently touched. Allow to cool completely before cutting into perfect squares.
In my household, butter mochi has become our signature celebration dessert. My children particularly love helping with the mixing process, and watching their faces light up when they taste the final product makes every batch special. This recipe has brought so much joy to our family gatherings.
Perfect Serving Ideas
Transform your butter mochi experience by pairing it with fresh tropical fruits like mango or pineapple. Serve alongside Hawaiian coffee for an authentic island breakfast experience. Consider creating a dessert platter with different variations for parties and gatherings, allowing guests to sample multiple flavors.
Customization Possibilities
Create unique flavor profiles by incorporating matcha powder for an earthy Japanese twist. Replace vanilla extract with coconut extract for an intensified tropical taste. Add purple sweet potato paste for a stunning ube variation that maintains the classic chewy texture while introducing beautiful color and flavor.
Storage Success Guide
Keep your butter mochi fresh by storing in an airtight container at room temperature for up to three days. Avoid refrigeration as it can alter the signature chewy texture. For longer storage, wrap individual pieces in plastic wrap and freeze for up to one month, thawing at room temperature when ready to enjoy.
My journey with butter mochi began in my grandmother's kitchen, where she taught me that patience and attention to detail create the perfect texture. Today, I still use her wooden spoon to mix the batter, believing it carries years of loving energy that makes each batch special. This recipe represents more than just a dessert. It embodies the spirit of Hawaiian hospitality, family tradition, and the joy of sharing something truly special with loved ones.
Recipe FAQs
- → Can I store Hawaiian Butter Mochi at room temperature?
- Yes, you can store it in an airtight container at room temperature for up to 3 days. For longer storage, keep it in the fridge for up to a week.
- → Why is my mochi still sticky after baking?
- If your mochi is too sticky, it might need more baking time. The top should be golden brown and slightly firm to the touch when done.
- → What is mochiko flour and where can I find it?
- Mochiko is sweet rice flour made from glutinous rice. You can find it in Asian grocery stores or in the international aisle of many supermarkets.
- → Can I freeze Hawaiian Butter Mochi?
- Yes, you can freeze it for up to 3 months. Cut into pieces, wrap individually, and store in a freezer bag. Thaw at room temperature before eating.
- → Why does the recipe recommend using a plastic knife for cutting?
- A plastic knife prevents sticking when cutting the mochi. The mochi is quite sticky, and a plastic knife helps make clean cuts without tearing.