
 Pin it
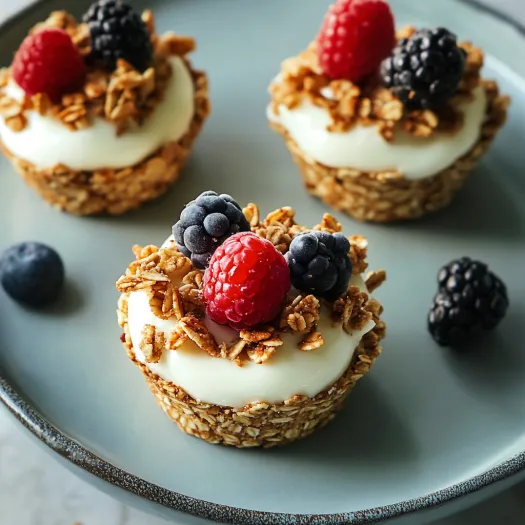
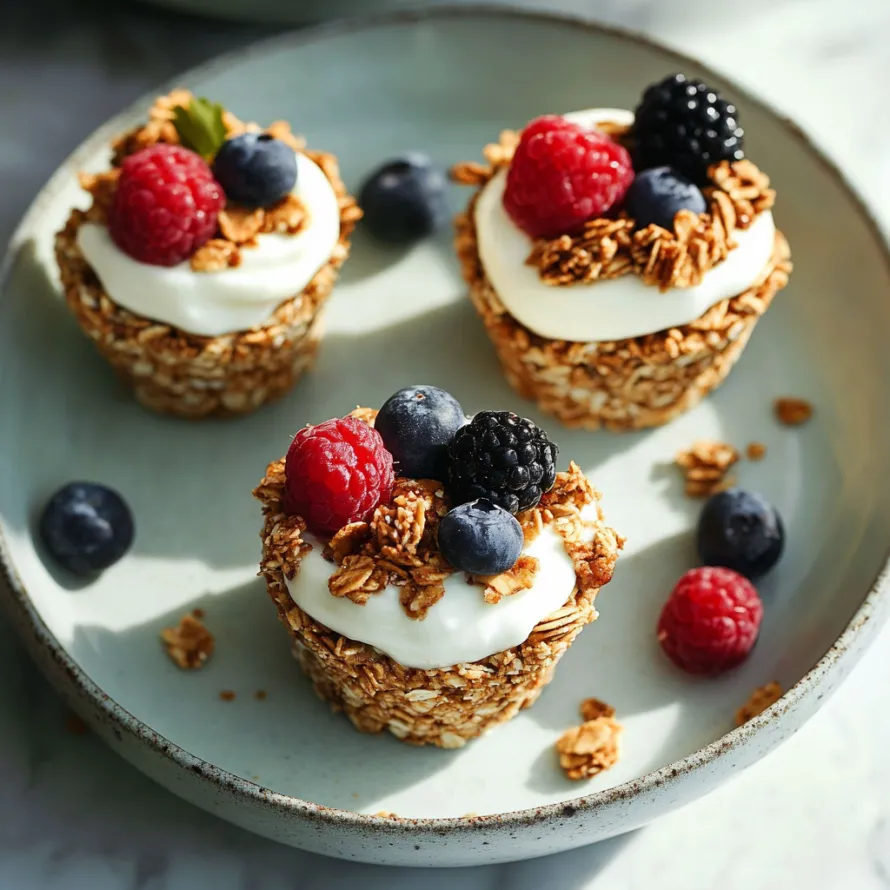
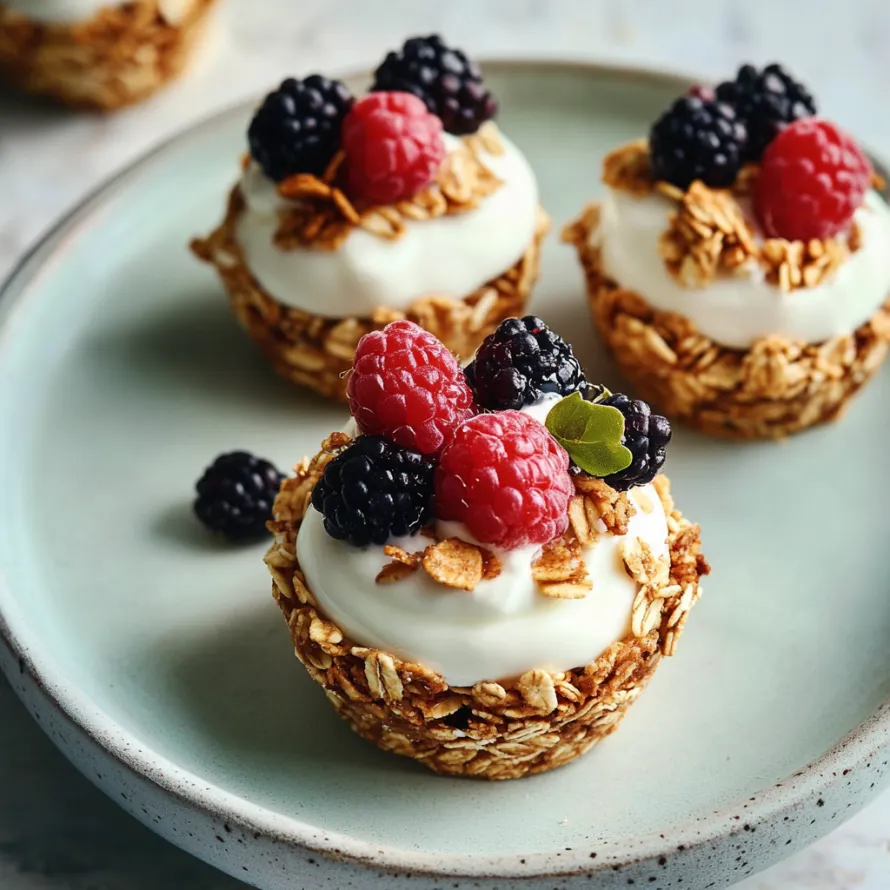
Reimagine your morning routine with these delightful edible granola cups that transform ordinary yogurt into an exciting, portable meal. These clever breakfast vessels combine wholesome oats and natural nut butter into crispy, handheld cups perfect for holding creamy yogurt and vibrant fresh fruit. Unlike store-bought granola bars loaded with preservatives and excess sugar, these homemade cups contain just a handful of nutritious ingredients you can feel good about eating regularly.
I discovered this recipe during a particularly hectic week when I needed wholesome breakfasts but lacked time for morning food preparation. After experimenting with ratios until achieving the perfect balance between sturdiness and flavor, these granola cups became my solution for nutritious meals without morning stress.
Simple Core Ingredients
- Rolled oats: Forms the hearty foundation that provides structure and significant fiber content.
- Peanut butter: Acts as the perfect binding agent while adding protein and healthy fats.
- Maple syrup: Provides natural sweetness with rich flavor notes.
- Vanilla extract: Enhances all flavors while adding aromatic warmth.
- Cinnamon: Adds gentle warmth and complexity.
Filling Components
- Yogurt: Creates the creamy center that transforms granola cups into a complete breakfast.
- Fresh fruit: Adds vibrant color, natural sweetness, and crucial vitamins.
Perfect Preparation
- Preparing Your Base:
- Preheat your oven to 350°F (175°C) and grease a standard muffin tin.
- Crafting Perfect Cups:
- Divide the oat mixture evenly among six muffin cups and press firmly to create a cup shape.
- Baking To Perfection:
- Bake for 12-15 minutes until lightly golden brown.
- Cooling Strategy:
- Let cool in the pan for five minutes, then transfer to a wire rack.
- Assembly Excellence:
- Fill cooled cups with yogurt and fresh fruit before serving.
Creative Variations
Create chocolate lovers cups by adding cocoa powder and using chocolate hazelnut butter. Develop apple cinnamon cups by incorporating diced dried apples and extra cinnamon. Transform them into tropical treats by using coconut butter and coconut yogurt.
Special Occasion Serving
Create a granola cup bar with various yogurt options and toppings. Arrange filled cups on a tiered serving platter garnished with fresh mint. Make mini versions using a mini muffin tin for adorable two-bite treats.
Storage Intelligence
Store unfilled granola cups in an airtight container at room temperature for up to five days. Freeze baked cups by wrapping individually in parchment paper for up to one month. Revive softened cups by reheating in a 325°F oven for 3-5 minutes.
Filling Inspiration
Create berry cheesecake cups by mixing yogurt with cream cheese and lemon zest. Develop apple pie parfaits by using maple-sweetened yogurt with cinnamon-spiced apples. Craft tropical sunrise cups with layers of mango yogurt topped with passion fruit.
I learned the importance of proper cooling while preparing these cups for a morning meeting. Rushing the process resulted in yogurt melting and creating soggy bottoms. Now I always prepare them the evening before, ensuring perfect texture and presentation.
Final Thoughts
Easy granola yogurt cups provide a simple yet delicious way to enjoy a wholesome breakfast or snack. Whether for a busy morning or a leisurely brunch, these customizable cups bring flavor, nutrition, and convenience to your table.
Recipe FAQs
- → Can I use a different nut butter instead of peanut butter?
- Absolutely! You can substitute the peanut butter with any nut or seed butter of your choice. Almond butter creates a milder flavor, while cashew butter offers a creamier texture. For a nut-free version, sunflower seed butter or tahini work wonderfully. Just make sure whatever you choose has a similar consistency to regular peanut butter for the best binding results.
- → How do I store these granola cups if I'm meal prepping?
- For meal prep, store the baked granola cups (unfilled) in an airtight container at room temperature for up to 5 days or in the freezer for up to 3 months. It's best to add the yogurt and toppings just before serving to prevent the cups from becoming soggy. If you're taking them on the go, pack the yogurt separately in a small container and assemble right before eating.
- → Can I make these granola cups gluten-free?
- Yes, these cups can easily be made gluten-free by using certified gluten-free rolled oats. Regular oats are often processed in facilities that also handle wheat products, so certification ensures no cross-contamination. The rest of the ingredients are naturally gluten-free, making this a simple adaptation for those with gluten sensitivities or celiac disease.
- → What types of yogurt work best in these cups?
- Any yogurt works well in these cups! Greek yogurt offers more protein and a thicker consistency that holds up well. Regular yogurt provides a creamier texture. Plant-based options like coconut, almond, or soy yogurt make these cups vegan-friendly. You can even use flavored yogurts for added sweetness, though plain yogurt with fresh fruit allows you to control the sugar content better.
- → Why did my granola cups fall apart when I removed them from the muffin tin?
- If your cups crumbled, they may have needed more binding agent or additional baking time. Make sure your peanut butter is well mixed and not dry or separated. Also, allowing the cups to cool for the full 5 minutes in the pan is crucial as they firm up during this time. For extra insurance, you can add an additional tablespoon of peanut butter or maple syrup to the mixture if it seems too crumbly before baking.
- → Can I add other ingredients to the granola mixture?
- Definitely! The base recipe is incredibly versatile. Try adding chopped nuts, seeds (like flax or pumpkin), dried fruit, chocolate chips, or coconut flakes to the mixture before baking. Just be careful not to add too many extras, as this might affect how well the cups hold together. Start with about ¼ cup of add-ins and adjust as needed in future batches.