
 Pin it
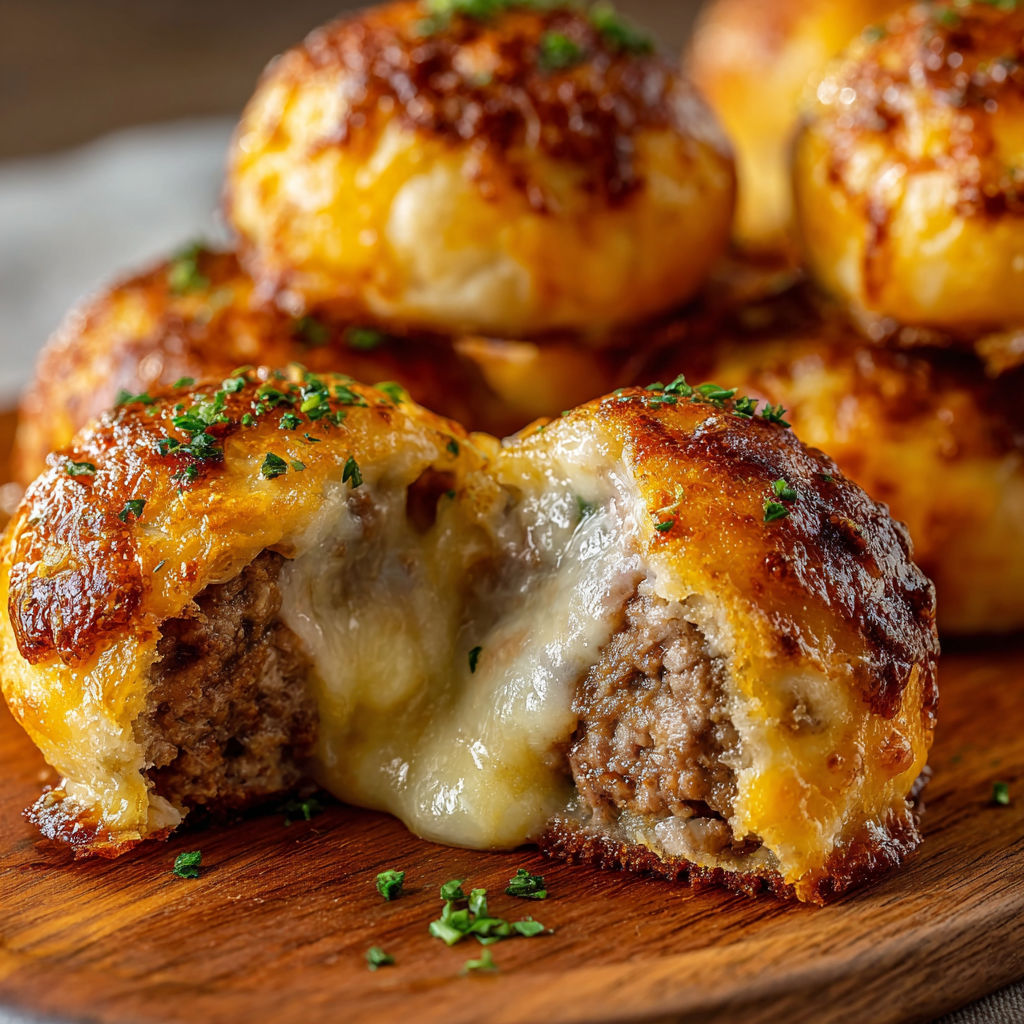
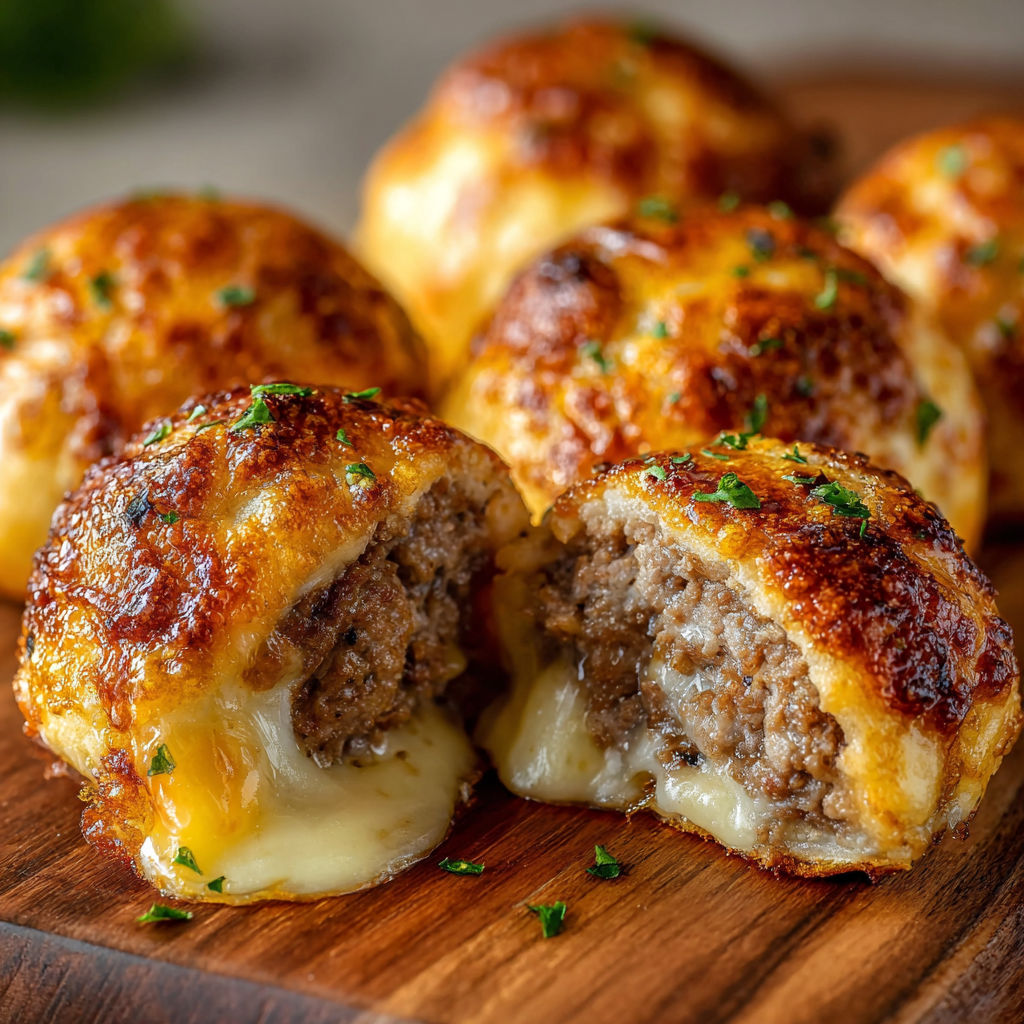
Sometimes I need something cozy and satisfying when we have friends over for game night and these garlic parmesan cheeseburger bombs hit all the right notes They have all the cheeseburger flavors tucked inside warm garlicky bread and you can whip them up with things you probably have on hand
The first time I made these was for a potluck and they disappeared before I could even grab a second one My family always lights up when they see them on the table
Ingredients
- Ground beef: choose lean for less grease and better texture
- Garlic powder: essential for that real cheeseburger flavor
- Onion powder: brings a subtle savory background
- Salt and pepper: season to taste to balance the richness
- Shredded cheddar or mozzarella: use a good quality cheese for best melt factor
- Refrigerated biscuit or pizza dough: saves time and gives perfect layers
- Butter: melted for brushing which creates that golden crust
- Grated Parmesan cheese: brings salty nutty flavor
- Minced garlic or extra garlic powder: for brushing and real pop
- Optional chopped parsley: adds a fresh look for serving
Instructions
- Prep the Oven:
- Preheat oven to three hundred seventy five degrees Fahrenheit one hundred ninety degrees Celsius and line a baking sheet with parchment paper This prevents sticking and ensures even golden browning
- Cook the Beef:
- In a skillet over medium heat brown the ground beef with garlic powder onion powder salt and pepper Use a spatula to break up the beef as it cooks Continue stirring until all the meat is fully cooked and no pink remains Once done drain any excess fat off and let the filling cool in the pan for a few minutes This step keeps the dough from melting before you bake
- Prepare the Dough:
- Open the can of biscuit or pizza dough Separate each piece and use your fingers to gently flatten them into even circles about four inches wide Do not stress about perfect shapes because a little extra thickness keeps the fillings in
- Fill the Bombs:
- Spoon a generous tablespoon or more of cooled beef mixture into the center of each dough round Then add a mound of shredded cheddar or mozzarella right on top Aim for just enough so the bombs are filled but not bursting
- Seal and Shape:
- Pinch up the edges over the filling and make sure to seal them carefully into a ball Shape gently and place each one seam side down on your prepared baking sheet so they hold together during baking
- Garlic Parmesan Butter:
- Mix melted butter with grated parmesan and minced garlic in a small bowl Stir until combined Use a pastry brush to coat each dough ball thoroughly This creates a crispy and flavorful crust that makes people reach for seconds
- Bake:
- Slide the sheet into the oven and bake for about fourteen to eighteen minutes The bombs should be deep golden brown and feel firm to the touch If needed rotate the pan halfway for even color
- Garnish and Serve:
- Once out of the oven transfer to a cooling rack or serving platter Sprinkle with chopped parsley for color Serve warm so the cheese is extra oozy and everyone can pull them apart

One of my favorite memories is seeing my cousin’s skeptical face when she tried one and immediately asked for the recipe She now includes cheeseburger bombs in her weekend family movie night spread
Storage Tips
Store cooled bombs in an airtight container in the fridge for up to three days For best results reheat in the oven at three hundred fifty degrees Fahrenheit so the outside stays crisp The microwave works but the dough softens
Ingredient Substitutions
Swap out ground beef for ground turkey or even plant based crumble if you want veggie bombs You can also use different cheeses for new flavor combos Monterey Jack and pepper jack add a spicy kick
Serving Suggestions
Pile these on a big platter with little cups of ketchup mustard or ranch for dipping They are perfect for parties or alongside a green salad for a quick dinner My favorite move is to serve with pickles tucked on the side for a real burger vibe
Cultural and Historical Context
Stuffed bread snacks like these show up in kitchens around the world from Russian pirozhki to classic American cheeseburger sliders This easy shortcut version brings together the flavors we all crave wrapped in pastry with a cheesy finish It is a playful comfort food that feels a little celebratory without much fuss
Seasonal Adaptations
Add fresh chives or diced tomato in summer Use chopped cooked bacon in the filling for extra comfort when it is cold Sprinkle Italian seasoning in the butter mix for a twist
Freezer Meal Conversion
These freeze beautifully Place cooled bombs in a freezer bag and freeze up to a month When you want to serve just pop straight from freezer to oven at three hundred fifty degrees Fahrenheit for fifteen minutes or until heated through
Make a big batch and watch them disappear fast These are perfect for sharing and taste just as good the next day
Recipe FAQs
- → What type of dough works best for cheeseburger bombs?
Refrigerated biscuit or pizza dough is ideal because it bakes up golden and holds the filling well.
- → Can I use a different cheese for the filling?
Yes, cheddar and mozzarella melt nicely, but you can try Monterey Jack or provolone for different flavor profiles.
- → How do I prevent the bombs from bursting open while baking?
Make sure to seal the dough edges tightly and place them seam-side down on the baking sheet.
- → Is it necessary to brush garlic butter on top?
The garlic-Parmesan butter adds extra flavor and helps the tops turn beautifully golden, but you can skip it if desired.
- → Can these be made ahead and reheated?
Yes, bake and cool them completely, then store in the fridge. Reheat in the oven or air fryer for best results.