
 Pin it
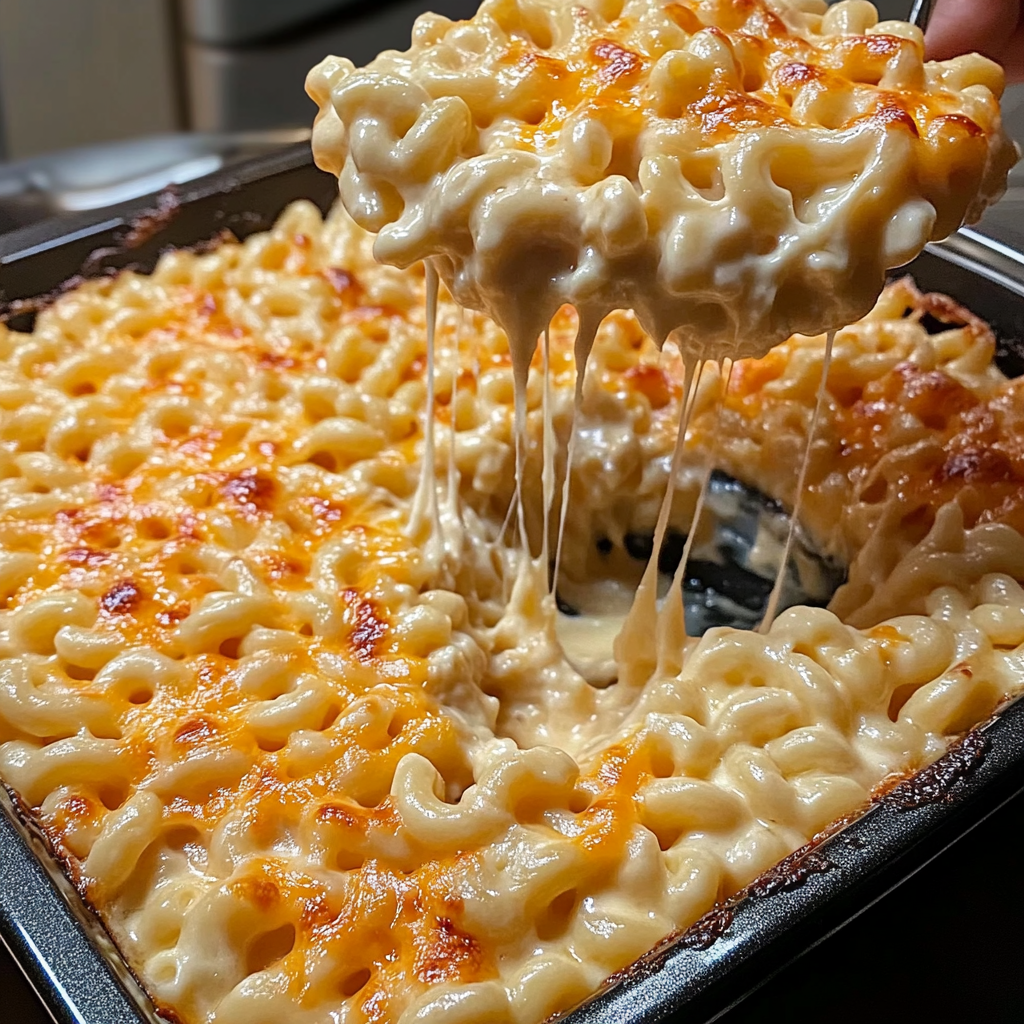
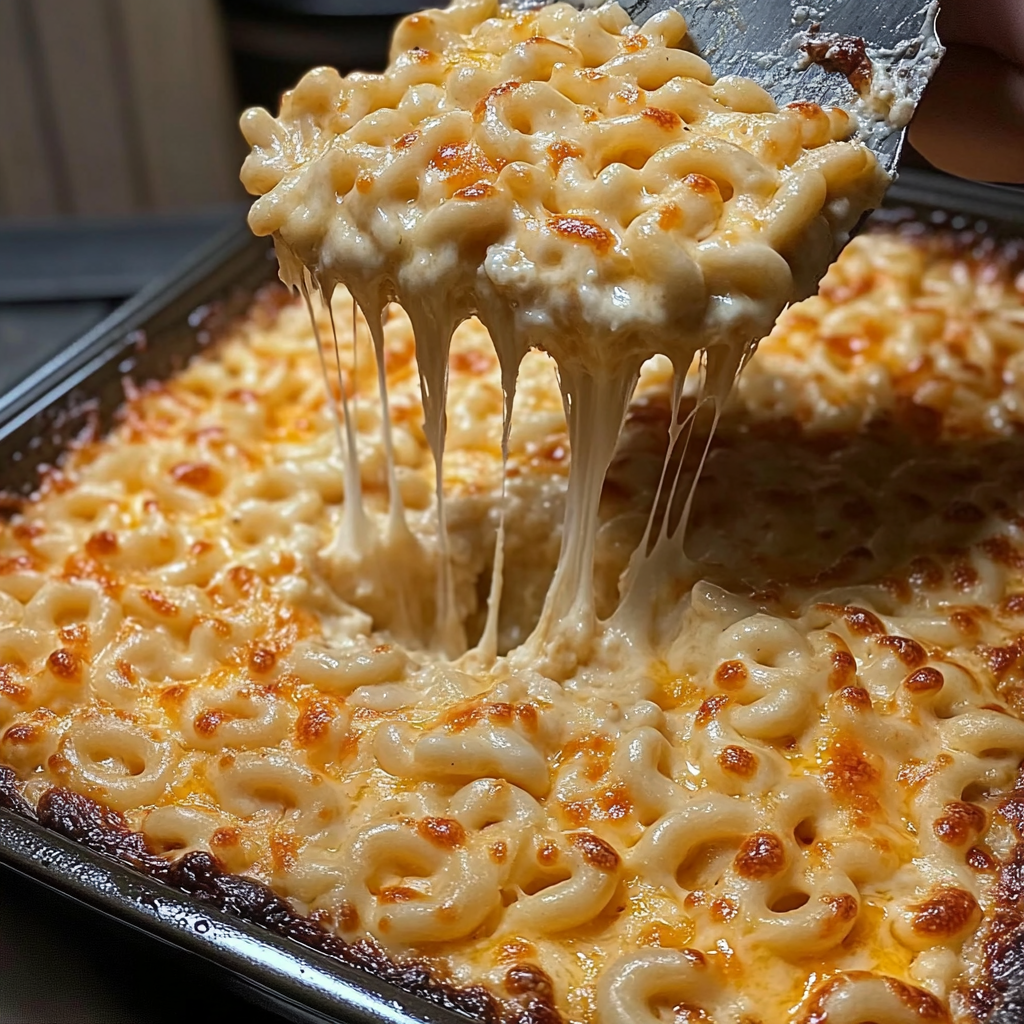
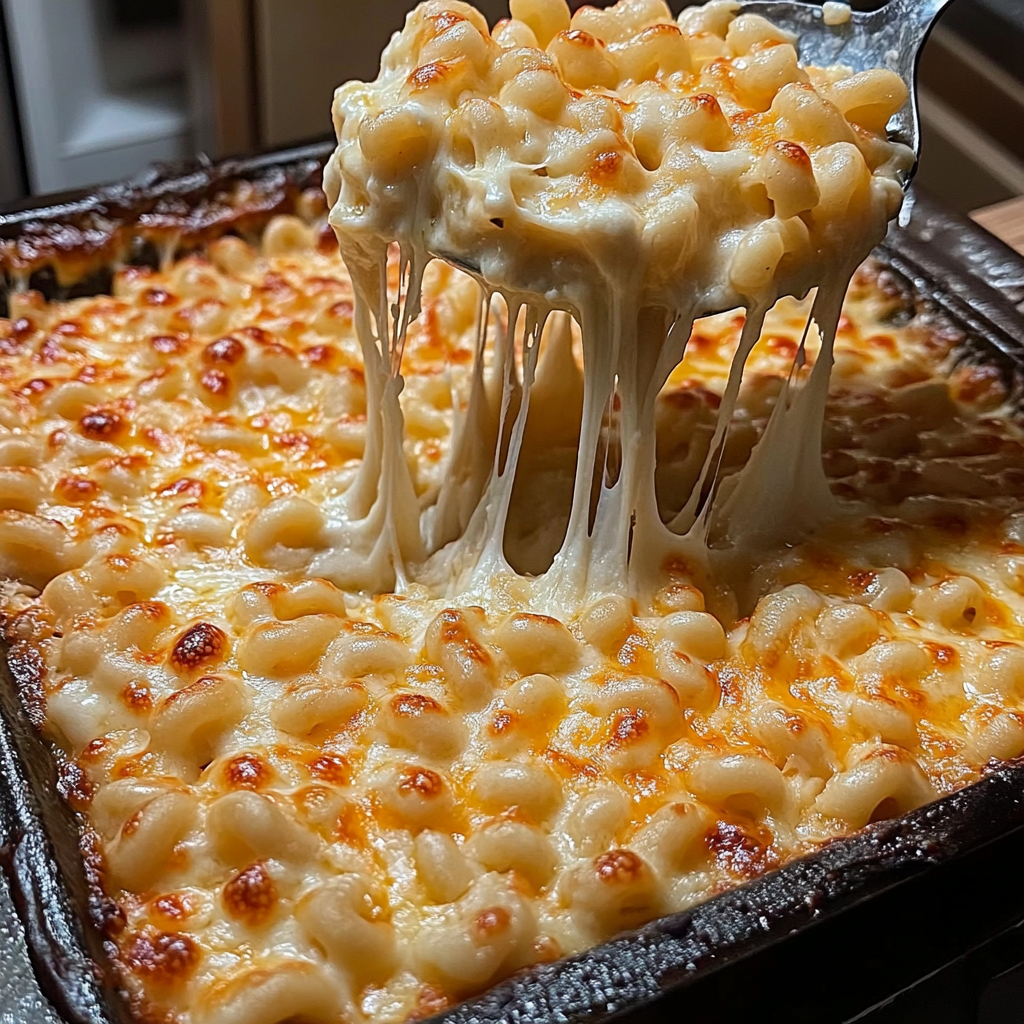
Dive into pure comfort with this ultra-cheesy baked mac and cheese loaded with five irresistible cheeses. Whenever comfort food cravings hit my crew hard or a potluck calls for serious wow factor this is the dish everyone requests the most. It bakes up bubbly rich and golden every time reminding me how much magic is in a really good cheese pull.
My nephew was never a mac and cheese fan until I made this version for his birthday. Now he tells everyone it is the only one worth eating and honestly I never have leftovers to bring home.
Ingredients
- Elbow macaroni: brings the perfect bite and soaks up all the cheesy sauce use bronze die pasta for more texture
- Cheddar cheese: for classic sharpness opt for a good quality block and shred it fresh at home
- Mozzarella cheese: for that essential stretchy melt buy whole milk mozzarella for best results
- Gouda cheese: adds a buttery nutty note try to grab a smoked version for extra depth
- Parmesan cheese: brings salty bold flavor aged parmesan will give more punch
- Cream cheese: creates the ultimate smooth creamy base let it soften fully before starting
- Milk: helps bring all the cheeses together use whole milk for richness
- Butter: starts the sauce off with real flavor and silkiness
- Garlic powder: adds warming undertones try granulated garlic for subtle but lasting taste
- Salt and pepper: for balancing the cheese flavors fresh cracked pepper works best
Instructions
- Cook the Pasta:
- Bring a large pot of salted water to a boil and add the elbow macaroni. Stir frequently as it cooks and aim for al dente. About one minute less than the package directions will stop the noodles from turning mushy after baking. Once drained set aside in a big bowl.
- Make the Cheese Sauce:
- In your largest pot melt the butter over medium heat. Add the cream cheese using a whisk to blend it into the butter as it softens. Pour in the milk a little at a time whisking until the mixture looks smooth and velvety. The secret is low heat and constant stirring so the sauce never gets lumpy.
- Season the Sauce:
- Sprinkle in the garlic powder now plus generous pinches of salt and pepper. Taste the sauce to make sure the seasoning pops but remember the cheeses are salty too so go gradually.
- Combine Pasta and Cheese Sauce:
- Return the drained macaroni to the pot with the sauce. Stir vigorously so every pasta shape is coated with the creamy base. From this point the smell alone might get your family hovering nearby.
- Add the Shredded Cheeses:
- Add cheddar mozzarella gouda and parmesan cheeses in handfuls stirring well after each addition so the sauce melts them all together. Wait for every addition to disappear into a silky mass before adding more.
- Transfer to Baking Dish:
- Grease your favorite casserole or baking dish with a little extra butter. Spread the cheesy macaroni mixture evenly right to the corners for those coveted crispy bits on the sides.
- Bake to Perfection:
- Slide the dish uncovered into a preheated 350 F oven. Bake for about twenty five to thirty minutes until the top is golden brown with bubbling cheese peeking through. For extra browning broil for one minute at the end but watch very closely.
- Rest and Serve:
- Let the pan cool for five minutes before spooning up thick creamy servings. This rest time helps set the cheese and makes serving neater.
Cheddar is always the star for me. An older sharp one delivers the best bite and melts like a dream. I still remember my grandmother’s kitchen filled with cheesy steam when she made big pans of mac for Sunday lunches.
Storage Tips
Let leftover mac and cheese cool to room temperature then cover tightly before refrigerating. It stays fresh for up to four days. Reheat small portions in the microwave with a splash of milk or rewarm covered in the oven for creamy results.
Ingredient Substitutions
Feel free to switch it up with asiago fontina or gruyere if you have them on hand. Sharp provolone gives a nice twist for the gouda while low moisture mozzarella keeps things more classic. Gluten free elbows or whole wheat varieties both work just as well.
Serving Suggestions
Serve as a filling main course with a crisp green salad or as an unforgettable holiday side. A sprinkle of hot sauce or crisped bacon takes it over the top. My family loves it with roasted broccoli or garlic bread.
Cultural and Historical Context
Baked mac and cheese has roots that go back to European royalty and early American kitchens. Today this ultra-cheesy version is the ultimate homey comfort food. No matter where you are it is always welcome on the table.
Seasonal Adaptations
In summer add a layer of ripe tomato slices before baking or stir in fresh herbs for brightness. In cooler months try roasted squash cubes or a pinch of smoked paprika to play up the sauce’s warmth.
Success Stories
I first brought this five cheese masterpiece to a neighborhood block party. No lie neighbors I had never met before came over for the recipe. People have messaged me since asking for it at every big event.
Freezer Meal Conversion
Assemble the mac and cheese but skip baking. Wrap tightly and freeze for up to two months. Thaw overnight then bake as directed. It comes out just as gooey and golden.
This five cheese mac and cheese is always a guaranteed crowd-pleaser and even better the next day. Get ready to claim the title of most requested dish at every gathering.
Recipe FAQs
- → What type of pasta works best?
Elbow macaroni is classic for even cheese coating and creamy texture, though shells or penne also work well.
- → Can I substitute other cheeses?
Yes, blend your favorites such as Swiss or Monterey Jack for variety, keeping a balance of meltable and flavorful cheeses.
- → How do I prevent the cheese from clumping?
Ensure cream cheese is softened and whisk until smooth before adding shredded cheeses. Add gradually and stir constantly.
- → How can I reheat leftovers?
Reheat covered in the oven at 325°F, or gently warm portions in the microwave with a splash of milk to restore creaminess.
- → Is it possible to make ahead?
Assemble up to baking, cover, and refrigerate. Bake when ready to serve, adding a few extra minutes if cold.