
 Pin it
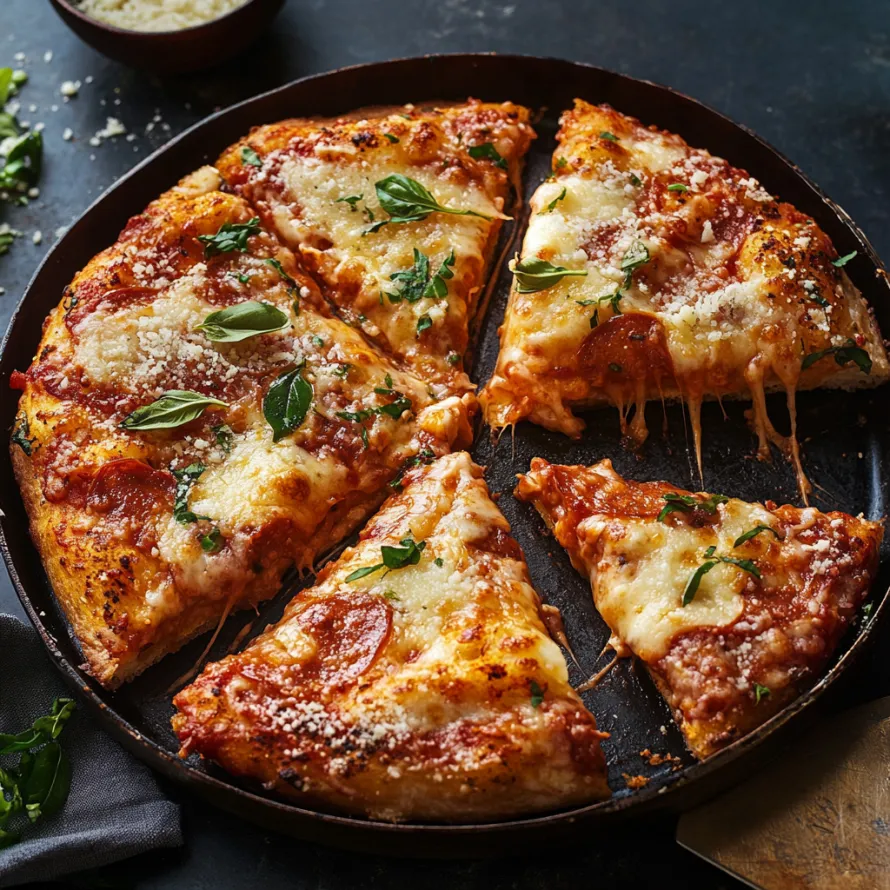
This crispy cheesy pan pizza has earned its title as King Arthur's 2020 Recipe of the Year for good reason. The extraordinary texture combines audibly crispy edges with a thick yet delicate crust, while the gooey cheese extends right to the edge creating a caramelized border that makes every bite irresistible.
I discovered this technique during pandemic baking experiments and it quickly became our Friday night tradition. My teenagers now request it weekly and have started creating their own signature topping combinations.
Ingredients
- All Purpose Flour: Provides the perfect structure without being too heavy. King Arthur brand is recommended for consistent protein content
- Salt: Enhances flavor and controls yeast activity for better texture
- Instant yeast: Gives reliable rise with minimal effort
- Water: Activates the yeast and creates steam pockets for an airy crust
- Olive oil: Adds flavor while creating that crispy exterior when baked in the pan
- Mozzarella cheese: Creates that perfect melty stretchy texture. Use low moisture for best results
- Tomato sauce: Adds flavor without making the crust soggy when applied correctly
- Optional hard cheeses and fresh herbs: Elevate the finished pizza with complex flavors
Step-by-Step Instructions
- Create The Dough:
- Mix flour, salt, yeast, water and 1 tablespoon olive oil together until no dry patches remain. This initial mix should be shaggy and sticky. Avoid overmixing which would develop too much gluten.
- Develop Structure Through Folding:
- Instead of traditional kneading, perform four sets of folds at 5 minute intervals. Simply grab the bottom of the dough and stretch it up over the top, rotating the bowl 90 degrees between each stretch. This gentle technique creates those desirable air pockets.
- Cold Fermentation:
- Cover the dough and refrigerate for at least 12 hours or up to 72 hours. This slow, cold rise develops complex flavors while the yeast works gradually. The flexibility in timing makes this perfect for busy schedules.
- Prepare The Pan:
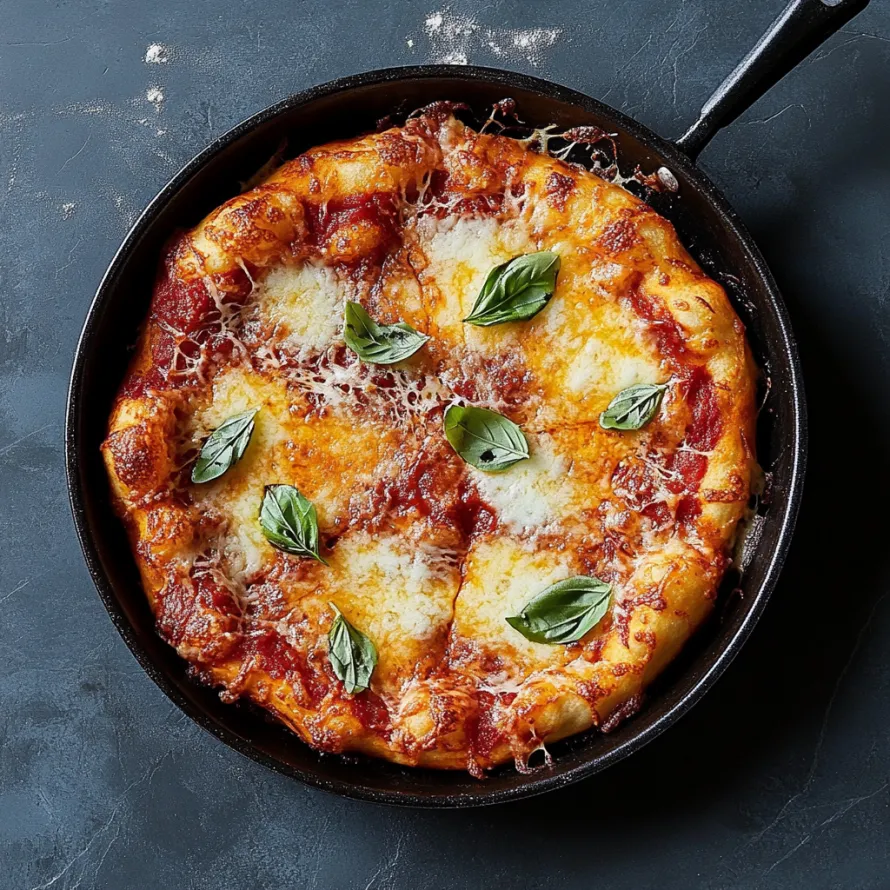
- Oil a cast iron skillet generously, making sure to coat the sides as well. The oil creates that signature crispy crust while preventing sticking. The heavy cast iron material retains heat perfectly for even baking.
- Shape The Crust:
- Transfer the dough to the oiled pan, turning once to coat both sides. Press the dough toward the edges using your fingertips to dimple the surface. Allow 15 minute rests if the dough resists stretching. The dimpling prevents large bubbles while creating texture.
- Final Rise:
- Let the shaped dough rise uncovered for 2 hours until puffy and jiggly. This final rise creates the perfect light texture while the exposed surface dries slightly to prevent sogginess.
- Layer Strategically:
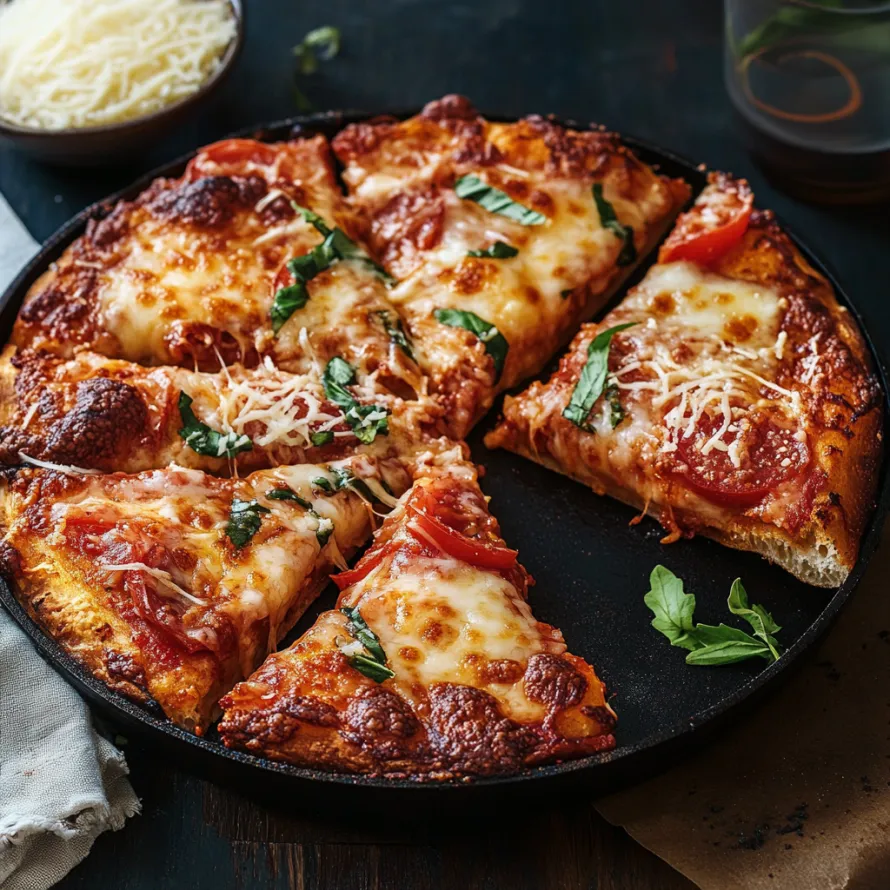
- Cover the entire crust with most of the cheese first, then add small dollops of sauce on top followed by remaining cheese. This cheese barrier prevents sauce from making the crust soggy while creating those desirable caramelized edges.
- Bake To Perfection:
- Bake on the bottom rack at 450°F for 18 to 20 minutes until deeply golden brown on the bottom and bubbling on top. Check the bottom with a spatula and adjust rack position if needed for even browning.
My absolute favorite part of this recipe is the contrast between the crispy olive oil soaked exterior and the tender airy interior. The first time I pulled this pizza from the oven, the satisfying crackling sound as I ran a spatula around the edges told me this was something special before I even tasted it.
Getting The Perfect Crust Texture
The success of this pizza relies heavily on proper pan preparation. Cast iron creates the ideal environment for crust development because it conducts heat slowly but retains it exceptionally well. This means the bottom of your pizza gets that slow, thorough bake that creates the perfect crispy texture. If you notice your crust not browning well, try preheating your pan for 5 minutes before adding the dough. Just remember that a preheated pan will accelerate the baking time slightly.
Smart Storage Solutions
This pizza is best enjoyed fresh, but leftovers can be stored in an airtight container in the refrigerator for up to 3 days. To reheat, avoid the microwave which will make the crust soggy. Instead, place slices in a dry skillet over medium low heat with a lid for about 5 minutes. This reactivates the crispy bottom while gently warming the toppings. For longer storage, fully baked pizza can be frozen for up to 2 months. Wrap individual slices in parchment paper then foil before placing in a freezer bag.
Customizing Your Toppings
While this recipe shines with simple cheese and sauce, it provides the perfect base for endless customization. Remember that any toppings containing moisture should be precooked to remove excess liquid. For meat toppings like sausage or bacon, cook completely and drain well before adding. Vegetables like mushrooms, peppers and onions benefit from a quick sauté to remove moisture and partially cook them before baking. Keep quantities moderate as overloading the pizza can prevent proper cooking of the crust.
This crispy pan pizza is guaranteed to impress your family or guests!
Recipe FAQs
- → What makes this pan pizza special?
This pizza stands out with its crispy golden edges, gooey cheese that extends all the way to the edge, and a thick yet delicate crust. It uses four special techniques: a no-knead folding method for airy pockets, overnight refrigeration for flavor development, cast iron baking for audible crispiness, and cheese layered beneath sauce to prevent sogginess.
- → Can I make this without a cast iron pan?
Yes! While a heavy cast iron skillet will give you the best crust, you can substitute another oven-safe heavy-bottomed skillet of similar size, a 10" round cake pan, or a 9" square pan. The key is using something that retains heat well to achieve that crispy bottom crust.
- → How do I prevent a soggy crust?
This method specifically addresses sogginess by placing the cheese down first as a barrier, then adding dollops of sauce on top. This prevents sauce from seeping into the dough. Additionally, transferring the pizza to a cooling rack shortly after baking helps maintain crispness.
- → Can I add different toppings?
Absolutely! You can customize with your favorite toppings, but remember to pre-cook any vegetables or meats before adding them in a single layer atop the cheese and sauce. Alternative sauces like pesto or white sauce work wonderfully too, just maintain the same layering process and quantities.
- → How long does the dough need to rest?
The dough requires a minimum 12-hour refrigeration (up to 72 hours for more flavor development), followed by a 2-hour room temperature rise before baking. This long, slow fermentation is essential for developing the perfect texture and flavor complexity.
- → Can I make this for a larger group?
Yes! Simply double all ingredients and divide the dough between two pans. Follow the recipe instructions as written, and you'll have twice the amount to serve a larger gathering.