
 Pin it
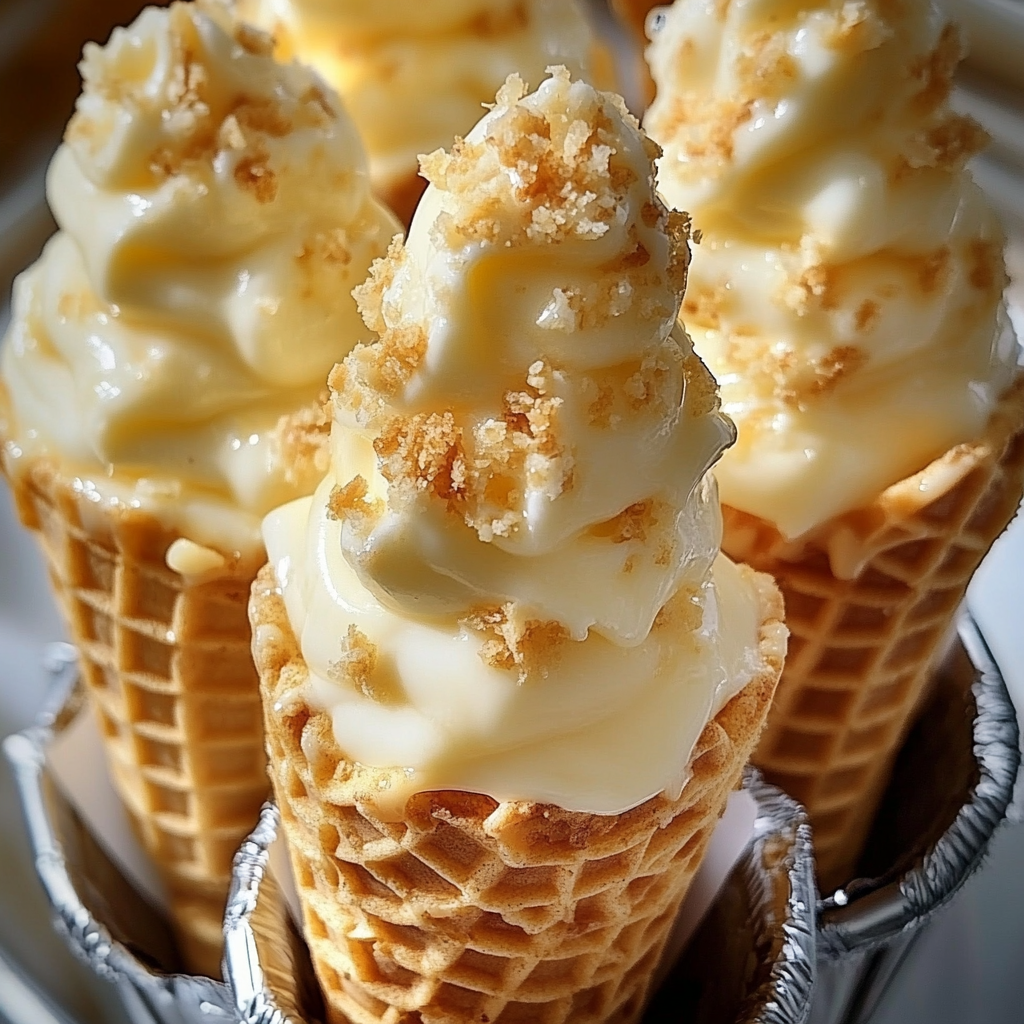
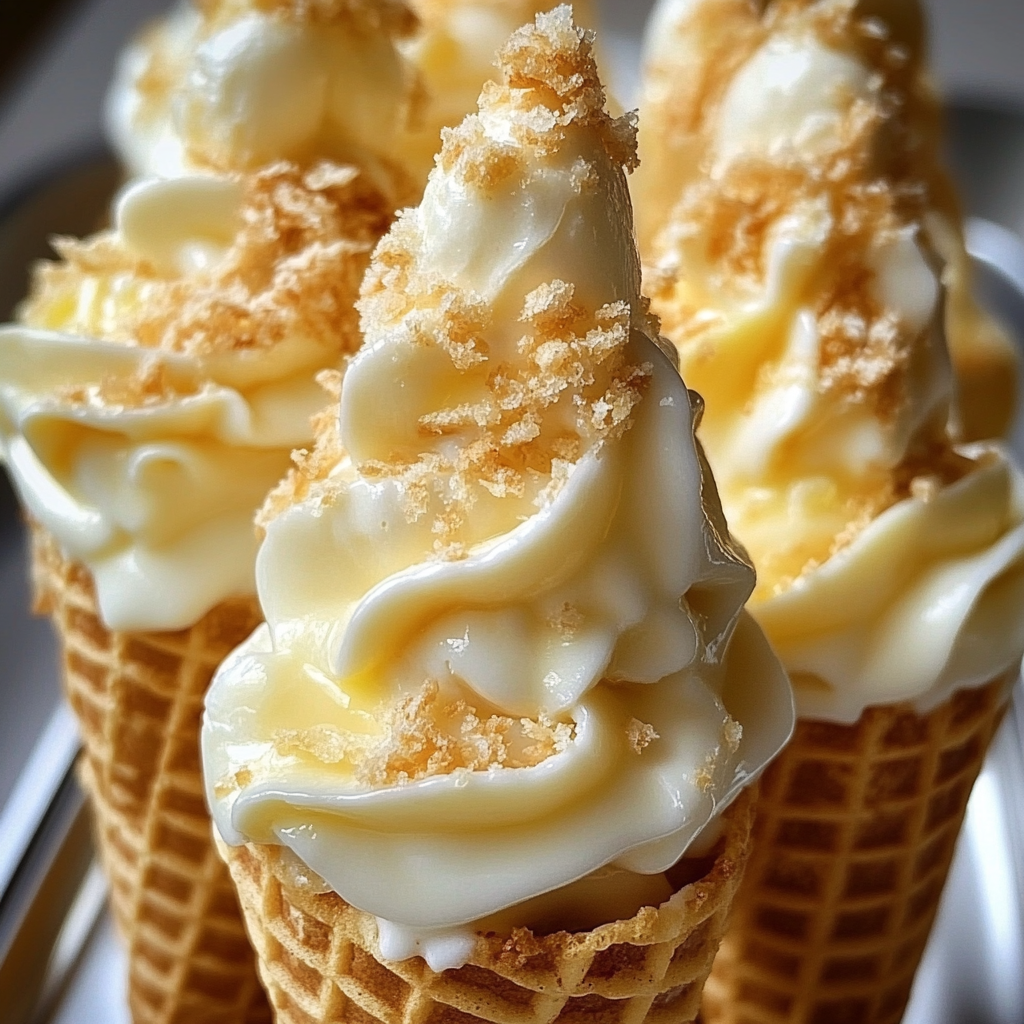
Banana pudding cheesecake cones are the ultimate fun treat for parties birthdays or just a delightful weekend dessert craving. This recipe blends rich creamy cheesecake filling with nostalgic banana pudding packed right into a crisp cookie-crusted cone. Every bite combines smooth tangy filling with the crunch of wafer cookies and sweet banana flavor.
I started making these for family gatherings because everyone loves both cheesecake and banana pudding and there are never any leftovers. When I brought these to my kid’s birthday picnic they instantly became the most talked-about dessert. I love how customizable the toppings are and how fun it is to watch everyone enjoy their own cone.
Ingredients
- Cream cheese: softened really makes the filling smooth and tangy choose full-fat for the richest texture
- Powdered sugar: adds sweetness and keeps the filling silky sift it first if clumpy
- Heavy whipping cream: brings richness and helps set the filling buy fresh and well-chilled
- Vanilla extract: rounds out all the flavors pure vanilla adds real depth
- Instant banana pudding mix: gives that classic banana flavor be sure it is instant and not cook-and-serve
- Cold milk: the base for the pudding whole milk makes the creamiest texture
- Waffle cones or sugar cones: your edible vessel choose crispy ones without cracks
- Crushed vanilla wafer cookies: classic banana pudding crunch look for golden not overly browned wafers
- Melted butter: helps cookie crumbs stick to cones use fresh unsalted butter for best flavor
- Sliced bananas: garnish for a fresh sweet bite pick ripe but not mushy bananas
- Whipped cream: adds a light finish stabilized whipped cream holds up the longest
- Extra crushed vanilla wafer cookies: for even more crunch
- Caramel drizzle: for extra sweetness and flair optional but highly recommended if you love caramel
Instructions
- Make the Cheesecake Filling:
- In a large bowl use a hand or stand mixer to beat the softened cream cheese with the powdered sugar. Keep mixing for several minutes until there are no lumps and the mixture is creamy and fluffy. This step sets the foundation for your filling's smoothness.
- Whip the Cream:
- In a separate chilled mixing bowl pour in the heavy whipping cream. Whip on medium speed until soft peaks hold their shape when you lift the whisk. Do not overwhip or it will turn grainy. Gently fold the whipped cream into the cream cheese base with a spatula. This makes everything light and airy.
- Prepare Banana Pudding:
- In another bowl use a whisk to blend together the instant banana pudding mix and the cold milk. Whisk for 2 to 3 minutes until it thickens to a pudding consistency. Let it sit for another minute to finish setting up.
- Combine and Chill:
- Fold the banana pudding into the cream cheese mixture carefully so you do not deflate all the air. Mix just until the color and texture are even. Place in the refrigerator while you prepare cones so the filling firms up a bit.
- Make Cookie Coating for Cones:
- In a small bowl mix together the crushed vanilla wafer cookies with the melted butter until all crumbs are evenly moistened. The crumbs should cling together slightly but not be soggy.
- Coat the Cones:
- Dip the top edges of each cone into the melted butter then immediately roll in the crushed wafer cookies to make a decorative crunchy rim. Set cones upright in a mug or glass and allow to set and firm up for several minutes.
- Fill the Cones:
- Using a spoon or a piping bag fill each cone generously with the cold cheesecake banana filling. Press gently to avoid air gaps and fill just to the top.
- Garnish Each Cone:
- Finish every cone with a fresh banana slice a swirl of whipped cream a sprinkle of extra cookie crumbs and a drizzle of caramel if you like. Serve right away for best crunch and flavor.

My favorite part is the cookie-crusted rim it gives just enough crunch to every creamy bite. My youngest niece always tries to eat the cone backwards so she gets as much cookie as possible in each bite and it cracks everyone up.
Storage Tips
These cones are best filled right before serving since the cones will soften if they sit too long with filling. You can make the cheesecake mixture and prep the coated cones a day ahead—just store the filling covered in the fridge and cones at room temperature. Fill cones right before you are ready to serve. If you want to store leftovers wrap the bottom of filled cones in foil and keep chilled but plan to eat them soon for maximum crunch.
Ingredient Substitutions
For different flavors you can swap banana pudding mix for vanilla or chocolate instant pudding and add berries or sliced fruit on top. To make it dairy free try using coconut milk based pudding and vegan cream cheese. Gluten free cones and cookies work well too.
Serving Suggestions
Set up a banana cheesecake cone bar at parties with dishes of different toppings like mini chocolate chips crushed nuts or fresh berries. For a retro vibe serve them with tall glasses of milkshakes. Add extra caramel or even a dusting of cinnamon on top for a grown up twist.
Cultural and Historical Context
Banana pudding has roots in Southern American hospitality and is always a comfort food favorite at gatherings. The idea of pudding cones mimics classic carnival ice cream cones and combines nostalgia with modern dessert trends. Cheesecake fillings became popular in American home kitchens because they are rich creamy and easy to customize.
Seasonal Adaptations
Change the pudding flavor to match the season Add fresh strawberries in spring or peaches in summer Top with nutmeg or cinnamon for fall and winter warmth
Success Stories
A neighbor made these with lemon pudding for a summer picnic and everyone asked for seconds. One reader wrote saying her granddaughter made them as her first kitchen project and she felt like a real chef.
Freezer Meal Conversion
You can freeze the cheesecake filling alone in an airtight container for up to one month. Thaw in the fridge overnight then pipe into cones and garnish just before eating. Do not freeze filled cones as the cone may get soggy.
These cones offer creamy nostalgia and cheerful crunch in every bite. Make them for your next gathering and watch them quickly disappear.
Recipe FAQs
- → How do I prevent soggy cones?
Fill cones just before serving to keep them crisp. The crushed wafer rim helps add a barrier between the filling and cone.
- → Can I make these ahead of time?
Prepare the filling and cookie coating in advance, but assemble cones right before enjoying for best texture.
- → What can I use instead of waffle cones?
Sugar cones or mini cones work well. For a gluten-free option, try gluten-free cone varieties.
- → How do I thicken the cheesecake filling?
Properly whip the heavy cream and use cold milk with the pudding mix to ensure the filling stays thick and creamy.
- → What toppings add extra flavor?
Fresh banana slices, whipped cream, caramel drizzle, or extra crushed wafers all complement the creamy filling beautifully.