
 Pin it
Grilled cheese roll-ups are my answer to a snack attack or an easy weeknight dinner These cheesy buttery bites have turned into a must-make for family movie nights and last-minute lunches thanks to how simple they are to whip up
I remember the first time I made these for a bunch of hungry kids after soccer practice They disappeared faster than the cupcakes and ever since they have become my back pocket lifesaver
Ingredients
- Slices of sandwich bread: Choose soft but sturdy slices so they are easy to roll up without breaking
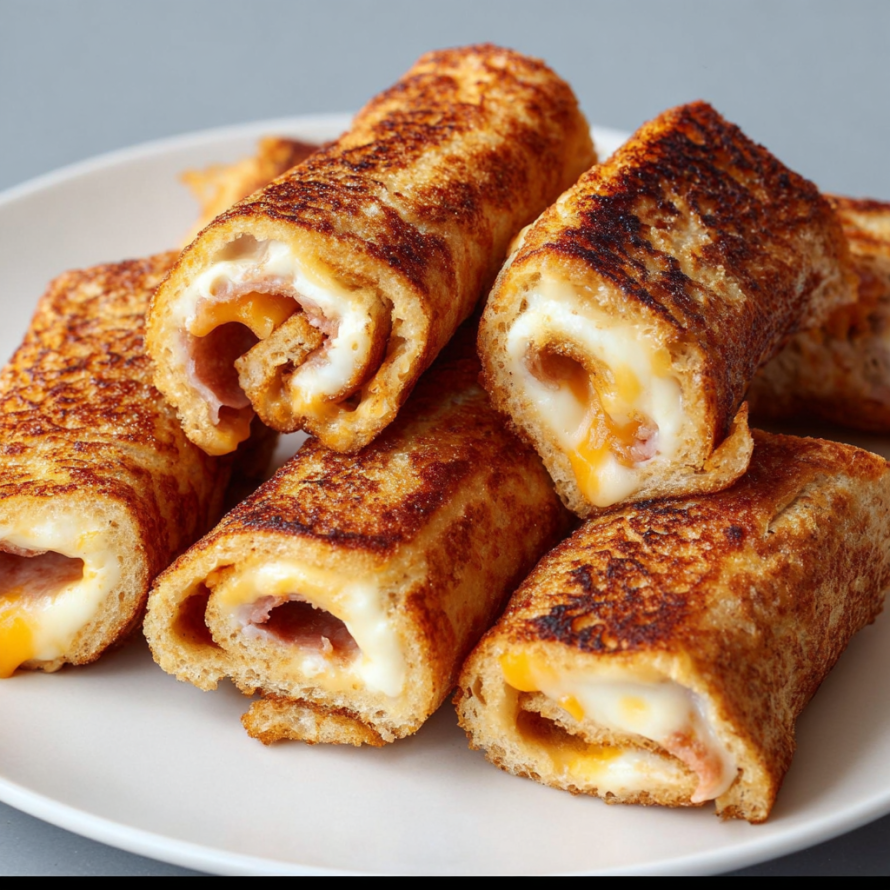
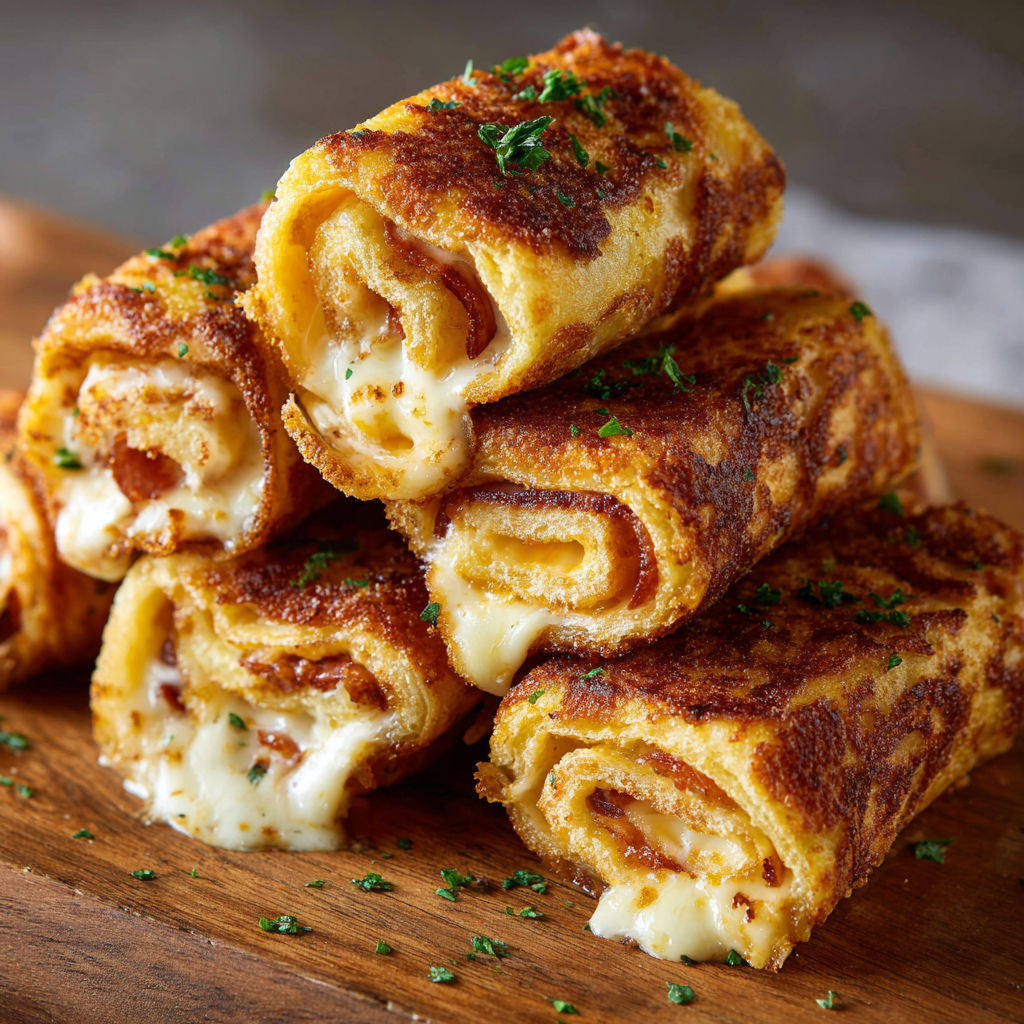
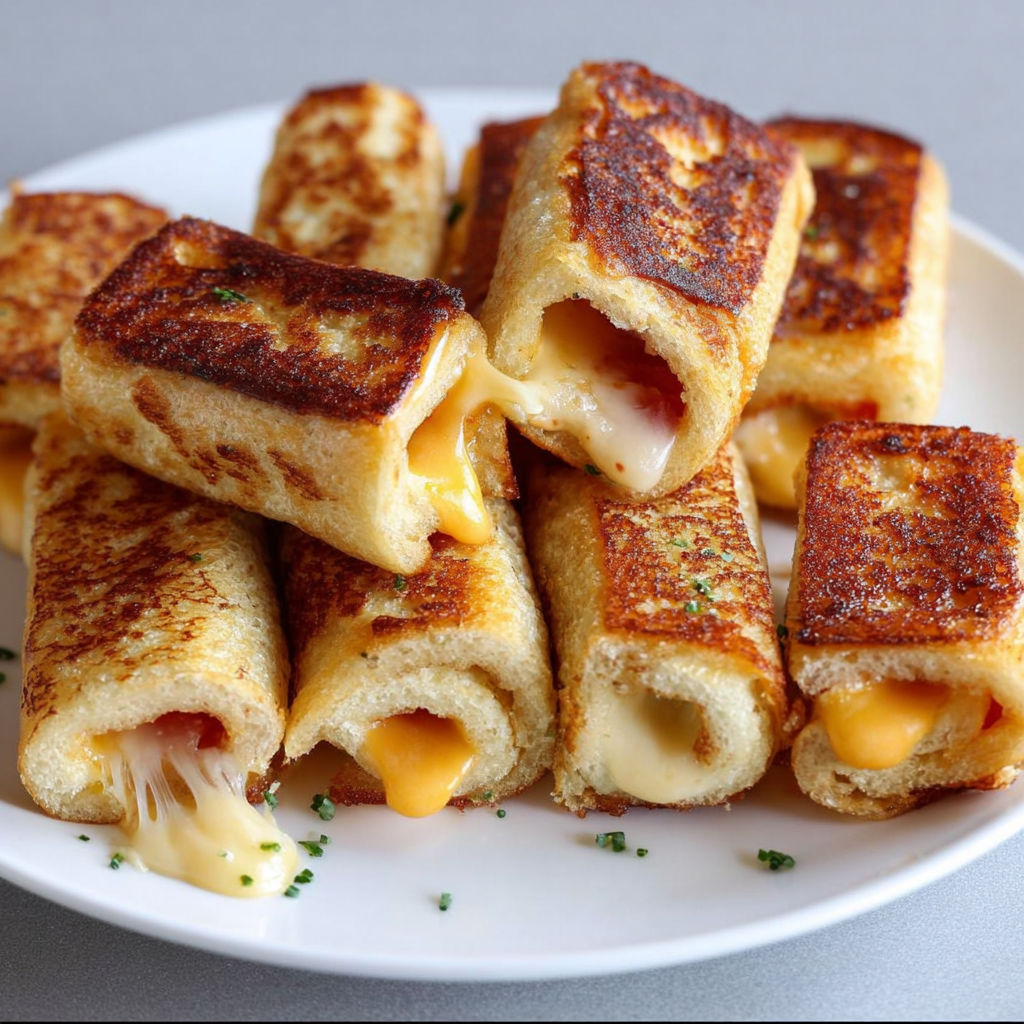
- Shredded cheese: Use whichever melts best like cheddar mozzarella or even American for super gooey roll-ups I love using freshly grated for richer flavor
- Thinly sliced ham: Choose high quality deli slices for best taste or skip for a vegetarian version
- Butter: Real butter gives the perfect crisp golden finish as the roll-ups cook salted or unsalted both work just fine
Instructions
- Trim and Flatten:
- Cut the crusts off your bread slices This makes for perfect roll-ups and helps each one seal well Use a rolling pin or sturdy glass to flatten out each slice until very thin This step creates a tender yet crisp texture once cooked
- Layer and Roll:
- Evenly sprinkle shredded cheese over each flattened bread slice spreading almost to the edges Add a slice of ham if you want savory extra Rolling tightly is key here to keep the cheese inside You can secure them with toothpicks if your rolls want to unravel
- Sizzle in Butter:
- Heat a skillet to just between medium and medium low Once it is warm add the butter swirling to coat evenly Gently place your prepared roll-ups in the pan side by side
- Cook Until Golden:
- Keep turning the roll-ups every couple minutes with tongs so each side browns up evenly It usually takes between five and eight minutes When you see all sides are crisp and the cheese is melted inside they are ready to devour
- Serve and Enjoy:
- Remove from the pan carefully Slice in half for easy dipping or serve whole While hot they are best but leftovers can be gently reheated too
Cheese is my favorite part especially when it gets that oozy melt in the middle I once made these as a midnight snack for friends after a long road trip and it turned our evening into something special Everyone always asks for seconds
Storage Tips
Store leftover roll-ups in an airtight container in the fridge for up to two days They reheat best in a toaster oven or skillet for maximum crispness Avoid the microwave if you can because it can make the bread a bit soft
Ingredient Substitutions
Swap the ham for turkey for a lighter take or try pepperoni for a pizza twist For a vegetarian option skip the meat entirely and add roasted red peppers or baby spinach You can also use gluten free bread if needed
Serving Suggestions
Serve with a bowl of tomato soup or your favorite dipping sauce like ranch or spicy ketchup The roll-ups also make a fun party appetizer stacked on a platter with pickles and crunchy veggies
Cultural and Historical Context
Grilled cheese sandwiches date back to the early twentieth century but these roll-ups give a playful modern spin Perfect for parties picnics or quick meals this recipe proves comfort food never goes out of style
Seasonal Adaptations
Add a sprinkle of fresh herbs like basil or parsley to the cheese for a springtime twist In summer try adding thin tomato slices before rolling For fall or winter a dusting of smoked paprika or garlic powder adds depth
Success Stories
Kids love helping roll up the bread and watching the cheese melt My youngest once insisted on making a batch for their teacher because it was the best snack ever These moments are why I keep this recipe in my rotation
Freezer Meal Conversion
You can freeze unbaked assembled roll-ups on a tray then transfer to a freezer bag Bake or cook from frozen adding an extra few minutes in the skillet Just be sure to let them cool first so they do not turn soggy
Grilled cheese roll-ups deliver smiles at every meal Try new fillings and turn your next snack into something everyone will crave
Recipe FAQs
- → What type of cheese works best for these roll-ups?
Any melting cheese works well such as cheddar, mozzarella, or American—choose your favorite for desired flavor.
- → Can I add meat to the roll-ups?
Yes, thin slices of ham add a savory, meaty touch, but you can skip it for a vegetarian option.
- → How do I keep the roll-ups from unrolling?
Roll tightly and use toothpicks to secure them while grilling. Remove toothpicks before serving.
- → What’s the secret to a crispy outside?
Butter the pan generously and cook over medium-low heat, turning the roll-ups until evenly browned.
- → Can these be made ahead of time?
They're best fresh, but you can assemble ahead and refrigerate them until ready to grill for max crunch.
- → What can I serve with grilled cheese roll-ups?
Pair with tomato soup, a fresh salad, or your favorite dipping sauces for extra flavor.