
 Pin it
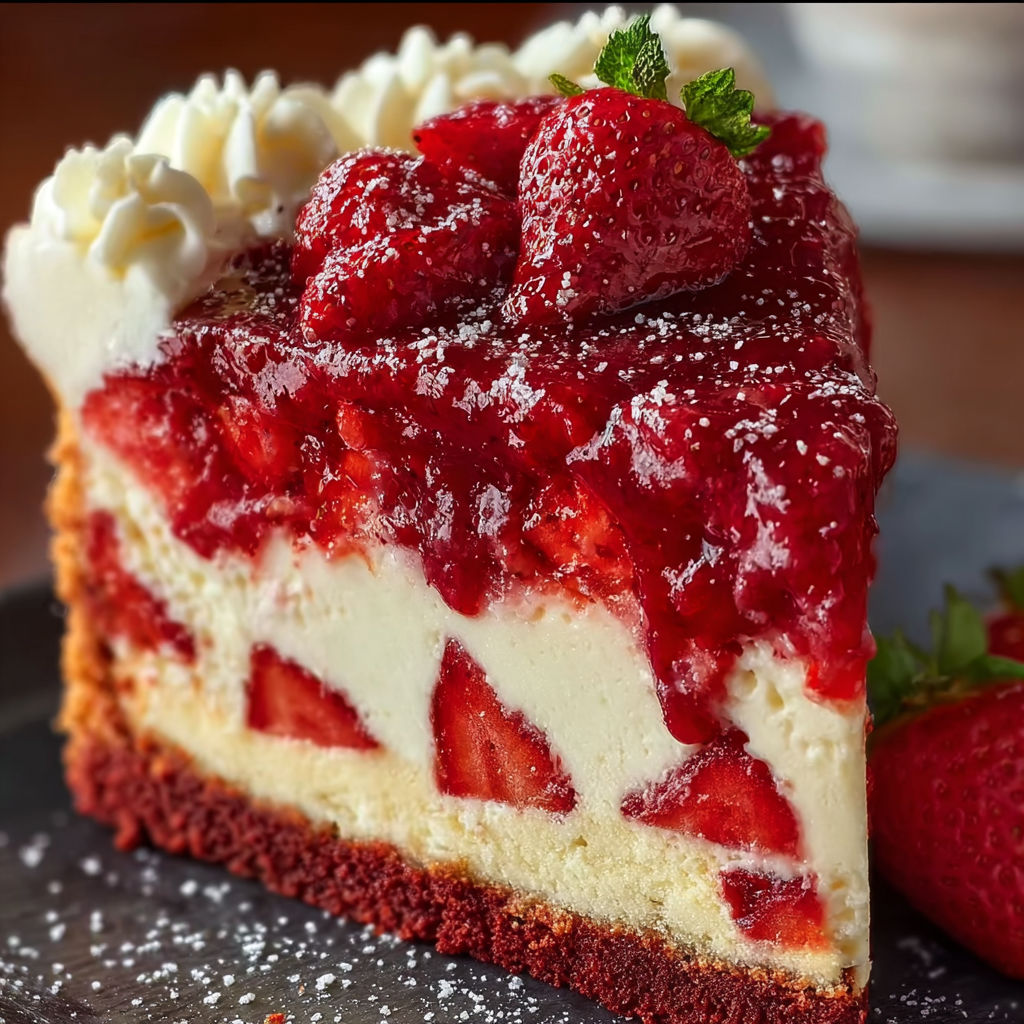
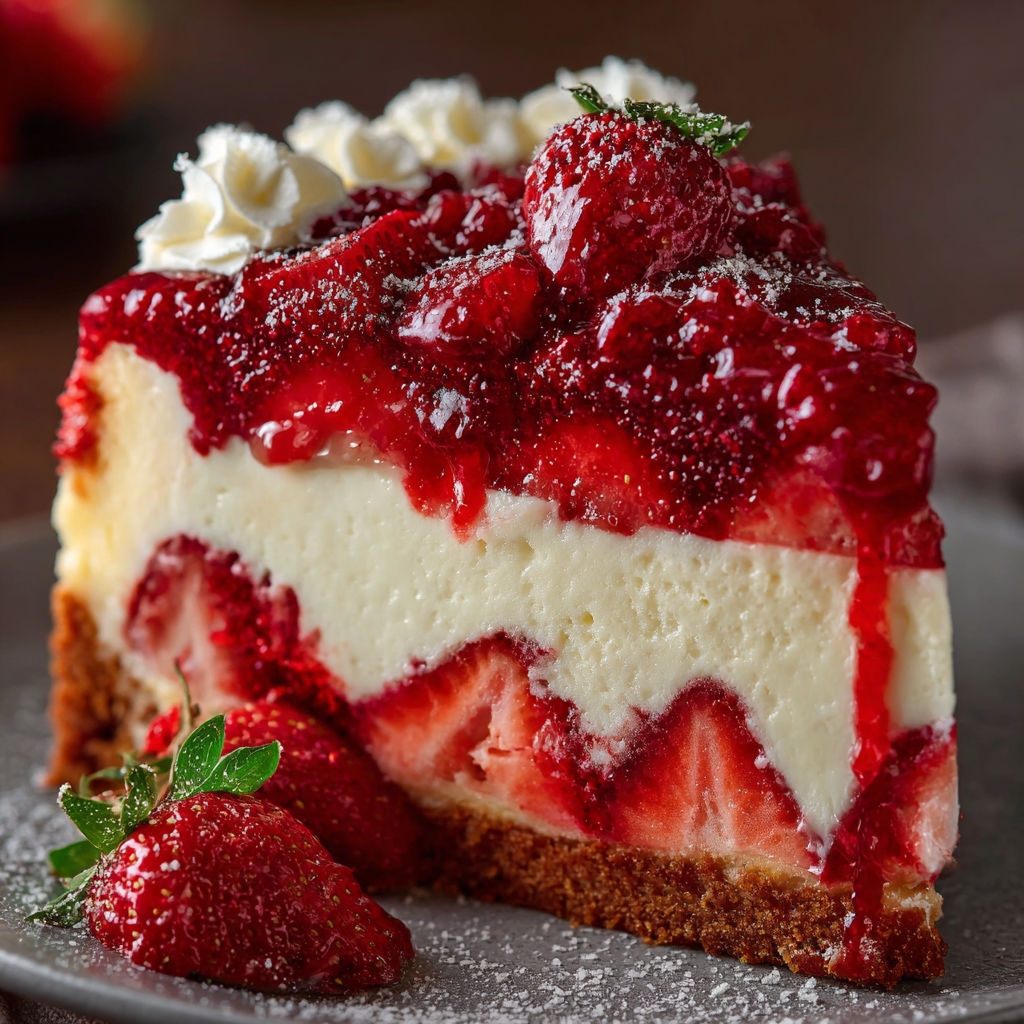
Red velvet strawberry cheesecake is the showstopper dessert I always make for birthdays and family milestones. What I love most is how it combines the soft tang of red velvet, classic creamy cheesecake, and a glossy crown of strawberry topping in every bite. This cake always wows guests and makes any gathering feel extra special.
I remember the first time I made this for my mom’s birthday and the whole table gasped when I brought it out. Now it is a tradition and everyone waits for that first creamy slice.
Ingredients
- All-purpose flour: essential for sturdy red velvet layers that hold up under the cheesecake
- Unsweetened cocoa powder: deepens the cake flavor choose a high quality Dutch process if you can
- Baking soda: gives the cake its gentle rise and tender crumb
- Salt: brightens the flavors in both cake and cheesecake
- Buttermilk: classic for red velvet cake provides tang and moisture go for full fat if possible
- Distilled white vinegar: reacts with cocoa for signature red velvet tang
- Vanilla extract: the background note in all layers pure extract is worth it
- Red gel food coloring: for the richest color use gel so your cake does not get watery
- Unsalted butter: brings richness to both cake and frosting let it fully soften for success
- Granulated sugar: gives structure and sweetness in every layer use superfine for luscious cheesecake
- Eggs: the binding hero in cake and cheesecake always bring to room temp for even blending
- Cream cheese: makes the cheesecake and frosting creamy go for blocks not spreadable tubs
- Sour cream: adds richness to cheesecake layer if thick use full fat
- Heavy cream: helps cheesecake achieve its silky custardlike texture
- Fresh strawberries: for vibrant color and juicy topping buy ripe and fragrant berries for best results
- Cornstarch: thickens the strawberry sauce so it hugs the cake instead of sliding off
- Lemon juice: sharpens the strawberry flavor and balances sweetness
- Powdered sugar: needed for smooth creamy frosting sift before using for the silkiest finish
Instructions
- Prepare the Red Velvet Cake Batter:
- Begin by heating your oven to three hundred fifty degrees Fahrenheit and greasing two eight inch cake pans then fitting the bottoms with parchment paper. In a mixing bowl whisk together flour cocoa powder baking soda and salt until everything is evenly blended. In a measuring cup mix buttermilk vinegar vanilla and gel food coloring to create a vivid red base. In a stand mixer cream the butter and sugar until fluffy and pale this should take two to three minutes. Beat in eggs one at a time letting each blend fully. Alternate adding the dry ingredients and the red buttermilk mixture to the wet ingredients beginning and ending with the dry mix. Scrape the bowl often to ensure no pockets of unmixed batter linger.
- Bake the Cake Layers:
- Split the prepared batter between the two pans and smooth the tops with an offset spatula for even surfaces. Place pans in the oven and bake for twenty two to twenty five minutes or until a toothpick inserted into the center of both cakes comes out clean. Let cakes cool in their pans for ten minutes then gently turn them onto a wire rack to cool completely. These are the signature layers that will sandwich your creamy cheesecake.
- Prepare the Cheesecake Layer:
- Lower your oven to three hundred twenty five degrees Fahrenheit. Line an eight inch springform pan with parchment and grease the sides for easy release. Beat softened cream cheese and sugar together until the mixture is very smooth with no lumps visible. Add vanilla then eggs one by one fully blending before adding the next. Stir in sour cream and heavy cream to achieve a silky texture. Pour this batter into your prepared springform pan. Place this pan inside a larger roasting pan and fill the outer pan halfway up with very hot water for a gentle bake. Bake for fifty five to sixty five minutes until the edges are set and the center has the barest jiggle. Turn off the oven prop the door open and let the cheesecake rest inside for one hour before bringing to room temperature and chilling for at least four hours or up to overnight.
- Prepare the Strawberry Topping:
- Combine your sliced strawberries sugar cornstarch lemon juice and water in a saucepan. Cook over medium heat stirring now and then for five to seven minutes. The mixture will thicken and the berries will soften visibly with syrupy juices. Remove from heat and allow to cool so the topping is thick enough to sit prettily on your cake.
- Assemble the Red Velvet Strawberry Cheesecake:
- If necessary level the tops of both red velvet cakes with a serrated knife. Place one cake layer on your serving platter. Set the cooled cheesecake layer on top aligning edges neatly. Place the second red velvet cake layer on the cheesecake pressing lightly to help it settle. Spoon the cooled strawberry topping across the top of your cake letting the red syrup trickle over the edges naturally. If you want a bakery style finish use a piping bag to pipe cream cheese frosting around the top edge and garnish with extra strawberry slices for drama.
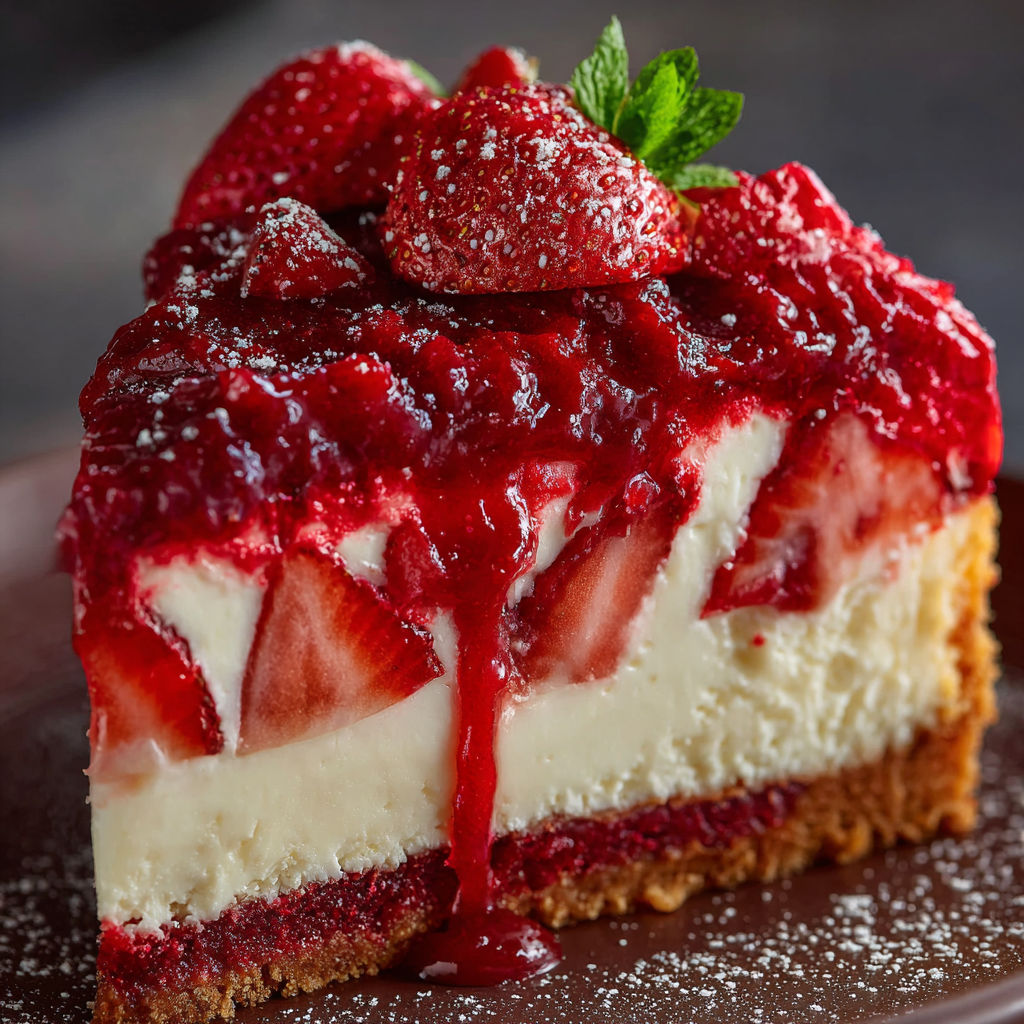
My favorite thing is slicing into the cake and seeing all three layers hold together perfectly. My niece always asks for the first slice with extra strawberry syrup and the smile on her face is magical for me.
Storage Tips
If you are making this ahead keep the assembled cake chilled under a cake dome or tented with foil. The flavor actually gets even better on day two as the cheesecake and cake meld together in the fridge. For longest freshness do not add the strawberry topping or frosting until a few hours before serving.
Ingredient Substitutions
No buttermilk on hand Mix whole milk with a splash of vinegar and let it sit five minutes. If you do not have red gel food coloring liquid will work just reduce any extra buttermilk a little to keep the batter thick. Gluten free all purpose blend works beautifully for the cake layers if needed.
Serving Suggestions
Slice small wedges since this dessert is very rich. Serve with fresh berries or a little whipped cream for a lighter touch. For special occasions decorate with chocolate curls or gold flakes for that bakery boutique look.
Cultural and Historical Context
Red velvet cake was once called red cocoa cake and became a Southern classic after the Great Depression when food coloring became widely available. Cheesecake dates back to Ancient Greece and layering it with red velvet is a modern baking twist that brings both traditions together for the ultimate celebration dessert.
Seasonal Adaptations
Use blueberries or blackberries in the topping for different summer flavors Garnish with mint leaves for a springtime finish Cranberry compote is a holiday option when strawberries are out of season
Three helpful notes about this recipe
Plan for the chilling time after baking each layer for stress free assembly It is best made in standard eight inch pans for those impressive tall cake layers Always let your cheesecake come to room temperature before assembling to prevent slippage
Success Stories
After I brought this to our family reunion it became the most requested dessert for every gathering. One friend even made the cake using raspberries in the sauce with rave results. It is a cake people remember and talk about long after the last slice is gone.
Freezer Meal Conversion
Both cake layers and the cheesecake can be made ahead and frozen separately. Wrap tightly in plastic and foil. To assemble thaw overnight in the fridge and build as usual. The strawberry topping is best made fresh.
Make this cake once and you will always be asked for the recipe. It is sure to brighten any celebration and create sweet memories for your family and friends.
Recipe FAQs
- → How do I achieve a vibrant red color?
Use red gel food coloring for a deeper, more vivid hue without thinning your cake batter. Adjust the amount for your desired intensity.
- → Can I prepare the layers in advance?
Yes, cake and cheesecake layers can be made a day ahead and refrigerated separately. Assemble close to serving for freshness.
- → How should the strawberry topping be stored?
Store the cooled topping in an airtight container in the refrigerator. Apply just before serving to prevent sogginess.
- → What’s the best way to slice this dessert?
Use a sharp, heated knife for clean layers. Wipe the blade between slices for best results.
- → Can I use frozen strawberries?
Frozen strawberries work well for the topping. Thaw and drain excess liquid before cooking with sugar and cornstarch.
- → Is cream cheese frosting necessary?
The dessert is delicious without it, but adding cream cheese frosting provides extra richness and visual appeal if desired.