
 Pin it
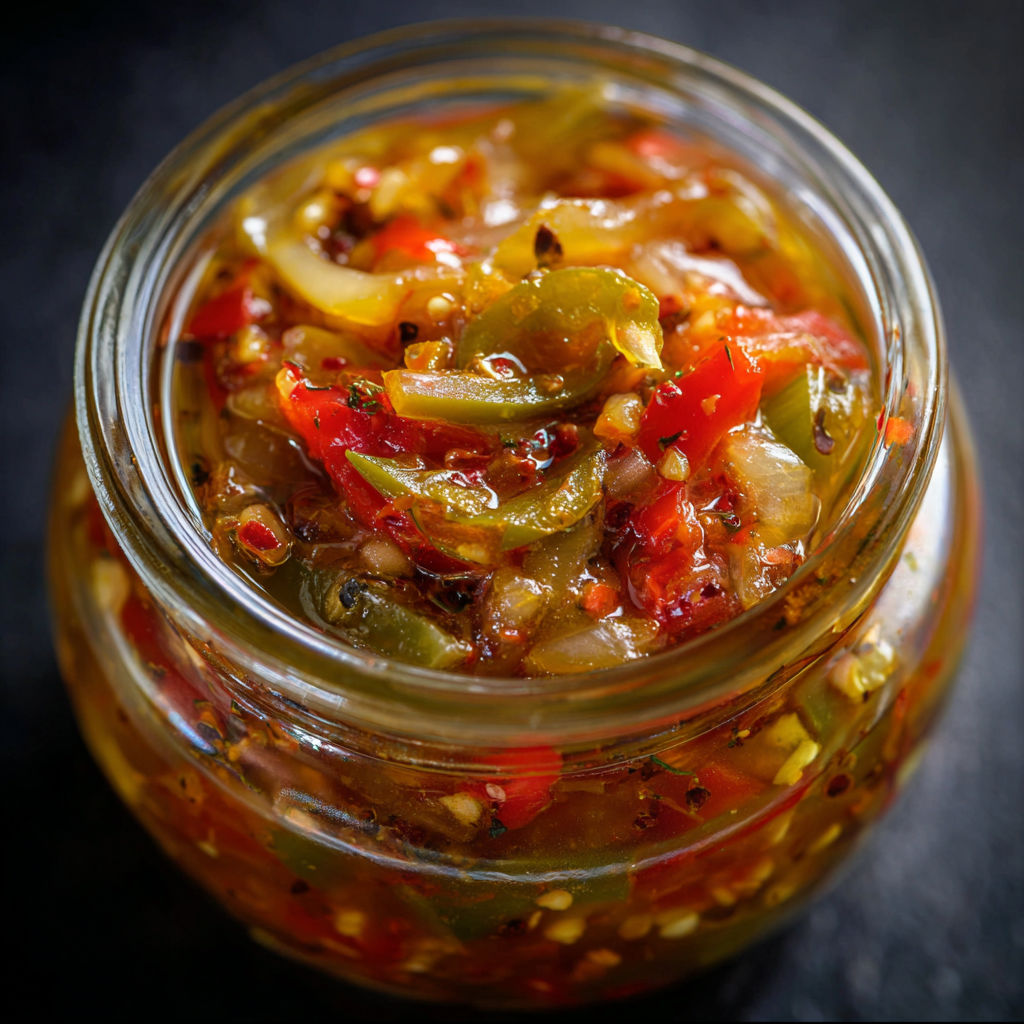
Pickled pepper and onion relish is my secret weapon for instantly elevating any summer sandwich or charcuterie board. Whether topping grilled sausages or brightening a bowl of rice, this tangy sweet condiment has brought color and crunch to family backyard barbeques for years.
I first tossed this together on a whim for a burger night and everyone kept spooning more onto their plates. Now I cannot picture a gathering without a jar front and center.
Ingredients
- Mixed bell peppers: Fresh colorful peppers add sweetness and crunch Choose firm peppers without wrinkles
- Large onions: Sliced onions give the relish depth and mild bite I like using sweet yellow onions for the best balance
- White vinegar: Provides classic sharp pickling flavor Look for one with 5 percent acidity
- Apple cider vinegar: Adds a fruity mellow note Choose a bottle with no added sugar
- Granulated sugar: Brings out the sweetness in the veggies Organic sugar gives a cleaner taste
- Mustard seeds: Deliver subtle pops of flavor Golden seeds work best but brown are fine
- Celery seeds: Layer in aromatic complexity Make sure seeds are fragrant and not stale
- Turmeric powder: Gives brilliant color and earthy flavor Use fresh bright yellow turmeric powder
- Salt: Seasons and draws out moisture Go for kosher or flaky sea salt
- Ground black pepper: Balances with subtle heat Use freshly ground pepper for the most aroma
- Red pepper flakes: Provide optional spicy kick Adjust to preference and use fresh flakes
Instructions
- Prepare the Vegetables:
- Slice the bell peppers and onions as thin as possible. This ensures every bite is packed with tang and crunch. Pile the sliced vegetables into a large heatproof bowl.
- Mix the Pickling Brine:
- In a saucepan, measure out the vinegars, sugar, mustard seeds, celery seeds, turmeric, salt, black pepper, and red pepper flakes if you like a spicy edge. Stir everything together so the sugar starts to dissolve. This blended brine is what infuses the vegetables with complex flavor.
- Heat the Brine:
- Set the saucepan over medium heat. Bring the mixture to a full simmer, stirring so nothing burns at the bottom. Wait until the sugar fully disappears into the vinegars and the spices begin to bloom. You might notice the brine changing from cloudy to clear.
- Combine Vegetables with Brine:
- As soon as the brine is ready, carefully pour it over the sliced vegetables in the bowl. Use a spoon or tongs to toss everything together so every slice is coated. Warming the vegetables helps them soak up the flavor.
- Cool and Jar:
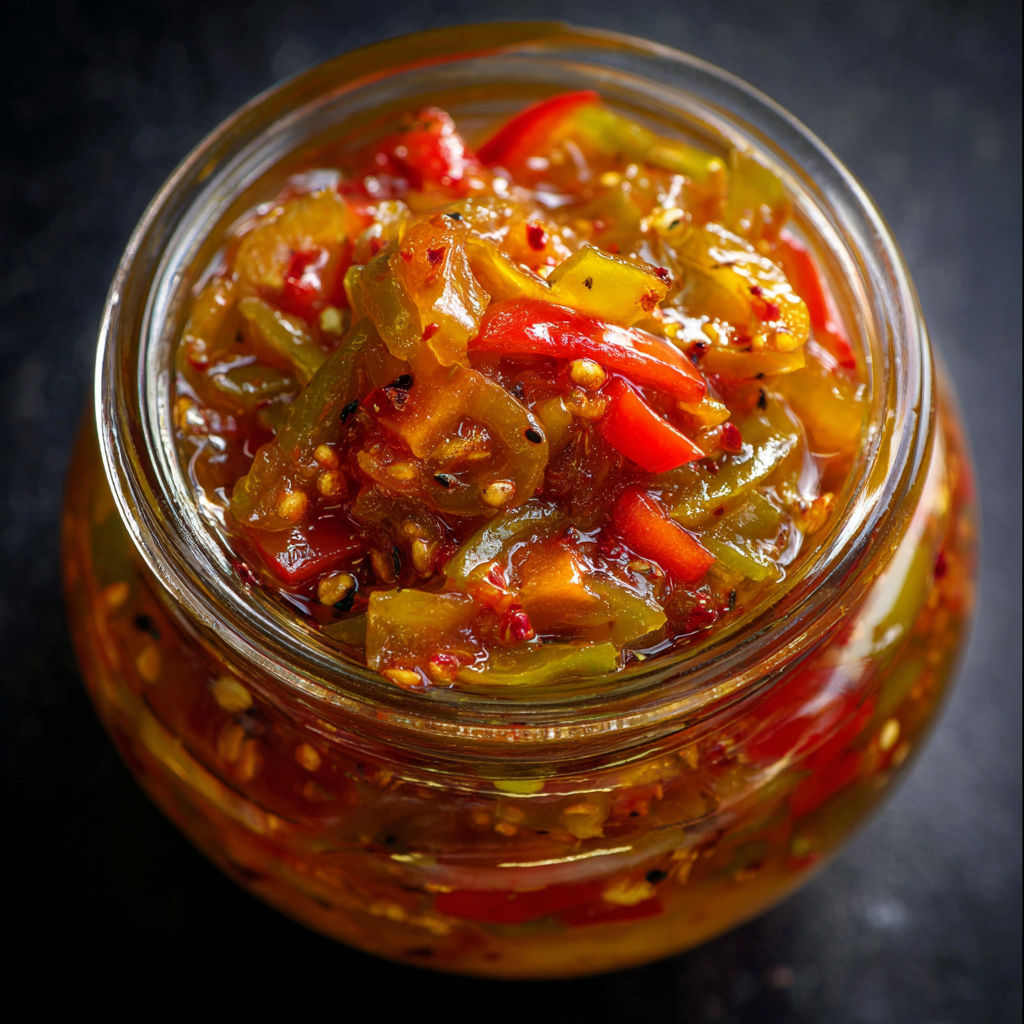
- Let the relish hang out at room temperature until it stops steaming. Once cool, spoon the mixture and brine into clean jars or airtight containers. Press the veggies down to keep them submerged.
- Refrigerate and Wait:
- Place the relish in the fridge for at least a day. This patience pays off. The flavors meld together and the colors get even brighter. Now it is ready to lift all your meals.
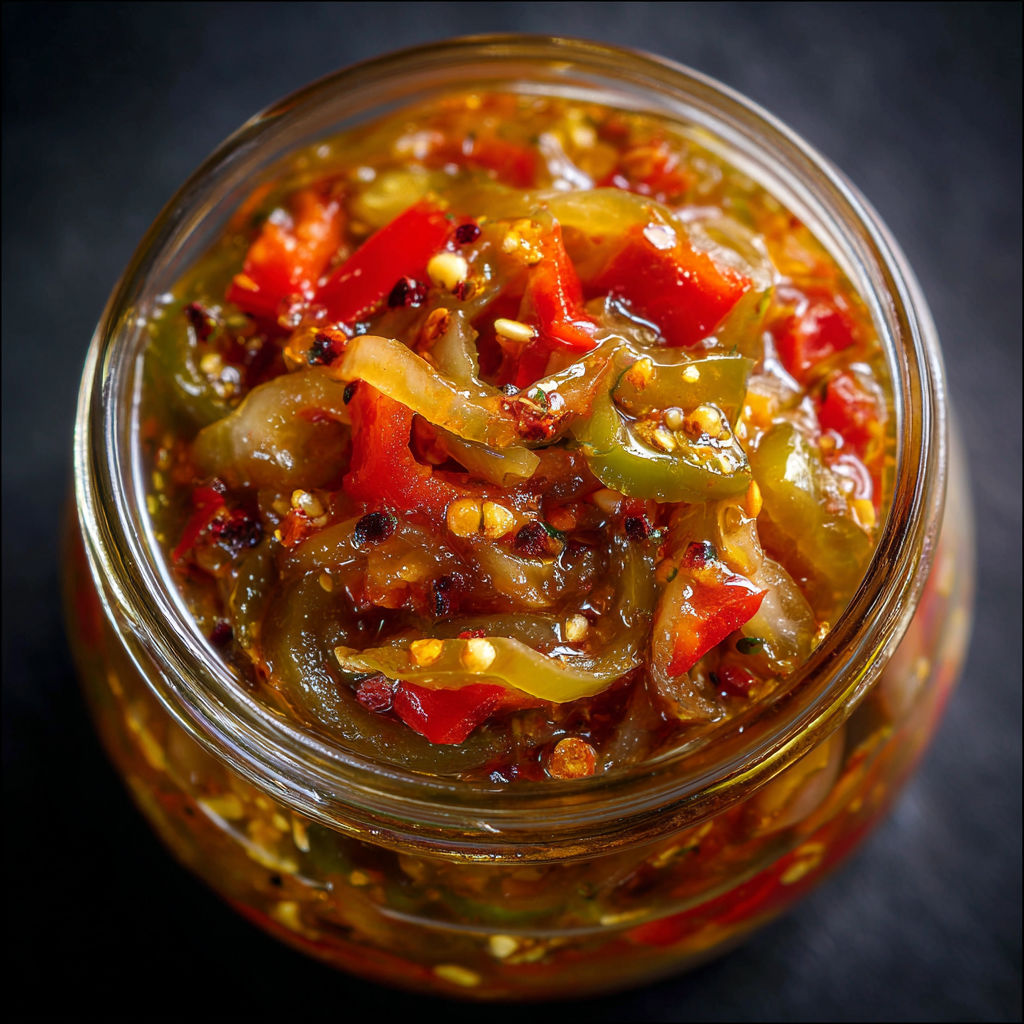
Whenever I open a fresh jar the scent of mustard and celery seeds always brings me back to that first summer picnic where this relish completely stole the show. The way the turmeric stains every veggie golden still feels a little bit magical to me.
Storage Tips
Keep jars refrigerated and always use a clean spoon to serve. If liquid stops covering the veggies add a splash of vinegar to keep things safe and tangy. Relish keeps its crunch best when packed tightly in small jars so air stays out.
Ingredient Substitutions
Try banana peppers for extra sweetness or jalapeños if you want it bold and spicy. Substitute brown or red onions for a sharper flavor. Rice vinegar brings a gentle taste if you are out of apple cider vinegar.
Serving Suggestions
Pile onto hot dogs burgers or roasted chicken. Spoon over tacos or scrambled eggs for a tangy hit. Add a bright mound to any cheese plate for color and zip.
Cultural and Seasonal Notes
Quick pickled relishes like this are popular across southern US cookouts and European picnics. In late summer farmers market peppers make the most vibrant relish. This recipe works year-round just swap out pepper colors for the season.
Seasonal Adaptations
In spring use early green and yellow peppers for mellow flavor. During fall swap in red onions for a deeper sweetness. Winter batches benefit from a little extra turmeric for warmth.
Success Stories
My uncle brought this relish to a holiday potluck and it disappeared before dinner was even served. Even the pickiest kids at the table asked for extra on their plates. More than once I have handed out jars as food gifts and everyone asks for the recipe afterwards.
Freezer Meal Conversion
This relish is best enjoyed fresh from the fridge but you can freeze extra in freezer-safe containers. The texture may soften slightly but still brightens sauces or soups with a spoonful.
However you serve it, this vibrant relish is sure to spark appetite and conversation. It is an easy way to turn the ordinary into something memorable.
Recipe FAQs
- → How long should the relish chill before eating?
Refrigerate the relish for at least 24 hours to allow the flavors to meld and intensify before serving.
- → Can I use different types of peppers?
Yes, feel free to use any mix of bell peppers for color and flavor, or add a hot pepper for extra heat.
- → How should I store the finished relish?
Store the cooled relish in airtight containers or jars in the refrigerator for maximum freshness.
- → What foods pair well with this relish?
It’s delicious on burgers, sandwiches, hot dogs, grilled chicken, or as a tangy addition to cheese boards.
- → Is the relish suitable for canning?
This version is intended for refrigeration, but you may process jars using approved canning methods for longer storage.