
 Pin it
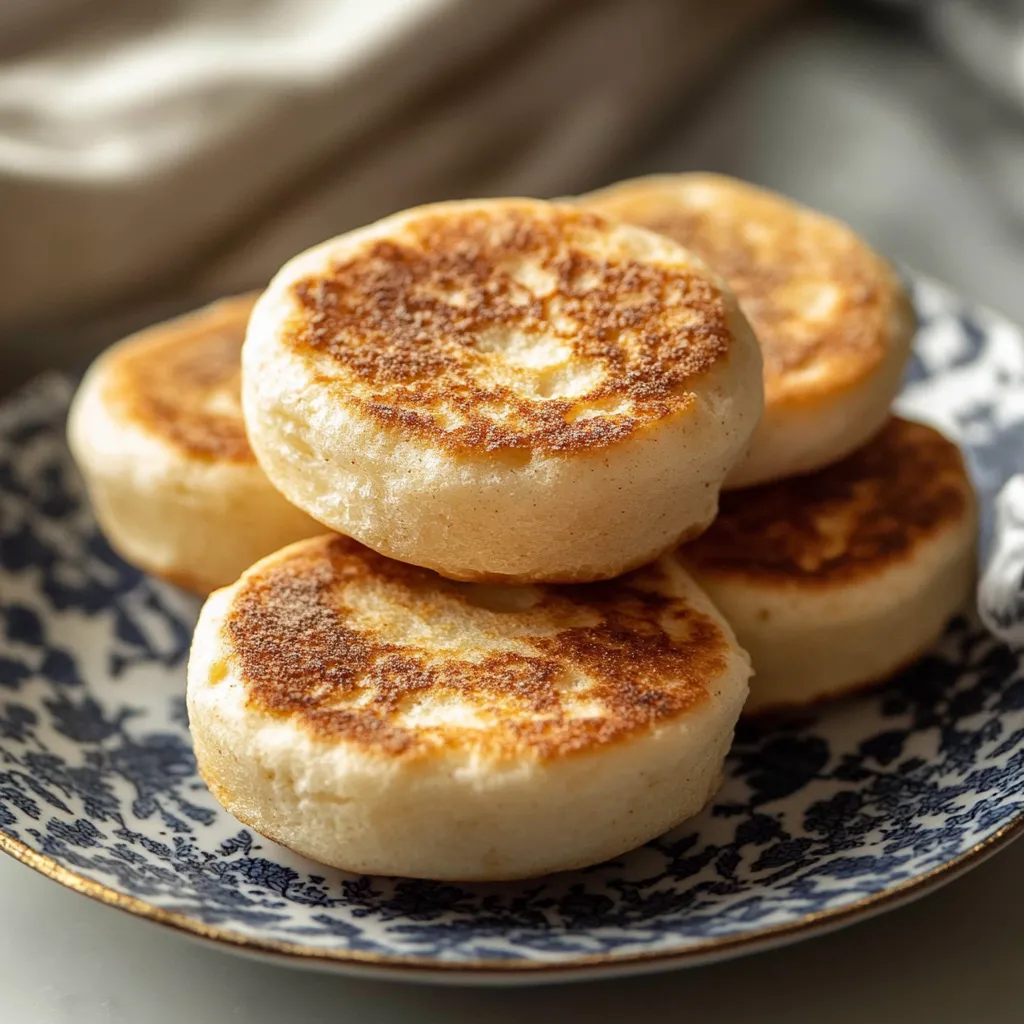
Discover the joy of creating perfectly chewy, homemade English muffins dotted with those coveted nooks and crannies. Unlike their store-bought counterparts, these fresh beauties offer an irresistible aroma and texture that will transform your breakfast experience. The magic lies in the slow fermentation process that develops deep flavor and creates those signature air pockets we all love.
I discovered the secret to perfect English muffins during a baking workshop - it's all about patience and temperature control. The slower the rise, the better the flavor and texture.
Essential Ingredients and Selection Tips
- Flour: Use unbleached all-purpose for best results
- Yeast: Fresh active dry yeast for reliable rising
- Milk: Whole milk adds richness and tenderness
- Butter: Unsalted allows better control of saltiness
- Cornmeal: Medium-grind creates the perfect crust
Detailed Cooking Instructions
- Step 1: Perfect Your Yeast Activation
- Test milk temperature on your wrist. Look for tiny bubbles around edges. Wait for yeast mixture to become foamy. Ensure consistent warmth.
- Step 2: Master the Dough Development
- Mix until dough becomes elastic. Watch for window pane effect. Keep dough slightly sticky. Cover tightly during rising.
- Step 3: Shape with Care
- Handle dough gently to preserve air bubbles. Use steady pressure when cutting. Dust generously with cornmeal. Leave space between muffins.
- Step 4: Cook to Perfection
- Maintain medium-low heat. Resist urge to press down. Look for golden brown color. Test centers for doneness.
My grandmother would always say, "A watched muffin never browns" - teaching me patience in the cooking process.

The Art of Temperature Control
Through countless batches, I've learned that maintaining the right temperature at every stage is crucial: Liquid temperature affects yeast activation. Room temperature impacts rising time. Cooking temperature determines texture. Even ingredient temperature matters for best results.
Make-Ahead Options
- Prepare dough the night before
- Let rise slowly in refrigerator
- Shape and cook fresh in morning
- Freeze cooked muffins for later use
Troubleshooting Common Issues
- If muffins are dense, allow longer proofing time
- If centers are doughy, lower heat and cook longer
- If bottoms burn, reduce heat and add more cornmeal
- If muffins lack holes, make dough slightly wetter
Health Benefits
Lower in preservatives than store-bought. Control over ingredients and portions. Good source of complex carbohydrates. Can be made with whole grain flour.
The first time my daughter helped make these, she was amazed at how the flat rounds puffed up into perfect muffins. Now it's our weekend tradition.
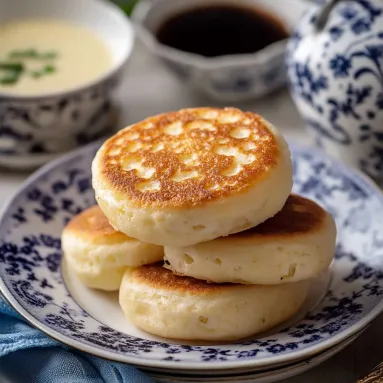
After years of perfecting these English muffins, I've learned that success lies in respecting the process. The way the yeast slowly develops flavor, how the dough transforms during proofing, and the satisfaction of splitting open a freshly cooked muffin to reveal perfect nooks and crannies - it's a beautiful thing. Whether you're making eggs Benedict or simply enjoying one warm with butter, these homemade English muffins will make any breakfast special.
Recipe FAQs
- → Why do my English muffins need to rise twice?
- The first rise develops flavor and structure, while the second rise after shaping helps create those signature nooks and crannies inside.
- → Can I make the dough ahead of time?
- Yes, you can refrigerate the dough overnight after the first rise. Let it warm up for an hour before shaping.
- → What's the best way to split English muffins?
- Use a fork to pierce around the middle and then pull apart, rather than cutting. This creates more nooks and crannies.
- → Why are my English muffins burning?
- The heat is likely too high. They need to cook slowly on very low heat to cook through without burning the outside.
- → How do I store homemade English muffins?
- Keep them in an airtight container for 3-5 days at room temperature, or freeze for up to 3 months.
- → Why do we use cornmeal on the outside?
- Cornmeal prevents sticking and gives that traditional crunchy exterior that English muffins are known for.