
 Pin it
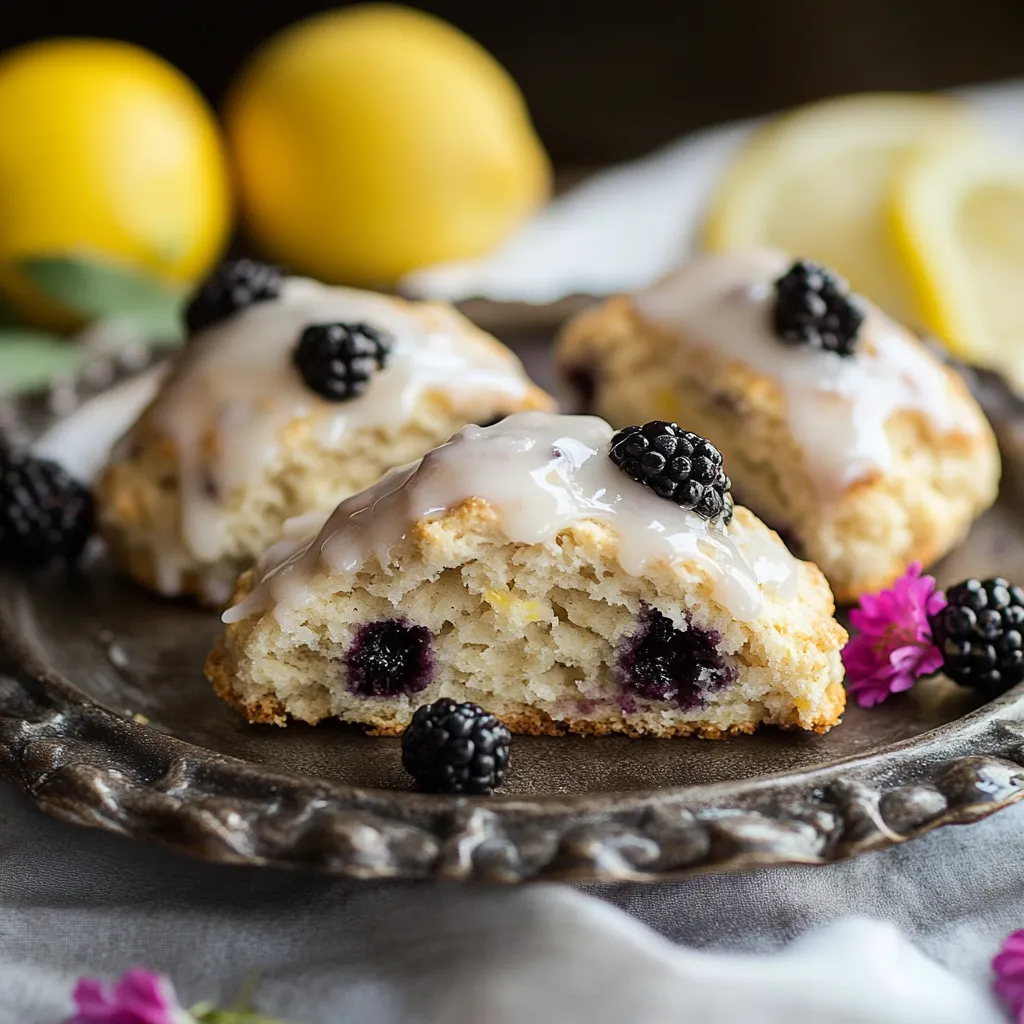
These buttery Earl Grey blackberry scones with zesty lemon glaze bring together the delicate floral notes of tea with juicy summer berries for a sophisticated breakfast treat that feels both rustic and elegant. The contrast between the tender crumb and the bright citrus glaze creates a balanced bite that pairs perfectly with morning coffee or afternoon tea.
I first made these scones when hosting a garden brunch for my sister's birthday last summer. The combination of earl grey and blackberries was such a hit that they've become my signature bake whenever friends come over for coffee.
Ingredients
- All purpose flour: Creates the perfect tender structure while providing enough strength to hold the berries
- Granulated sugar: Balanced amount sweetens without making them too dessert like
- Finely ground Earl Grey tea: Infuses the entire scone with bergamot flavor
- Cold unsalted butter: Essential for creating those flaky pockets
- Buttermilk: Adds tanginess and helps activate the leavening agents
- Fresh blackberries: Provide juicy pockets of fruit throughout
- Lemon juice and zest (in the glaze): Cuts through the richness with bright acidity
Step-by-Step Instructions
- Prepare Your Workspace:
- Preheat your oven to 400°F and position a rack in the upper third. Line a baking sheet with parchment paper. Grind the Earl Grey tea leaves until fine using a spice grinder or mortar and pestle to release their aromatic oils.
- Create The Dry Mixture:
- Sift together flour sugar ground tea baking powder baking soda and salt in a large bowl. This removes any lumps and aerates the mixture. Discard any tea pieces that don't pass through the sieve easily.
- Cut In The Butter:
- Work quickly using a pastry cutter or your fingertips to incorporate the cold butter until the mixture resembles coarse crumbs with pea sized pieces of butter visible throughout. This cold butter creates steam pockets during baking resulting in a flaky texture. Chill this mixture for 5 minutes to keep the butter cold.
- Combine Wet And Dry Ingredients:
- Mix the beaten egg and cold buttermilk together then pour into the flour mixture. Stir just until barely combined with some dry flour still visible at the bottom. Gently fold in the blackberries being careful not to crush them completely.
- Shape The Dough:
- Turn the shaggy dough onto a lightly floured surface. Using the heel of your hand press the dough together from the top and sides until it becomes more cohesive. Cut the dough in half and stack one piece on top of the other then gently press down. This creates beautiful layers in your finished scones.
- Cut And Chill:
- Pat the dough to a 1 inch thickness and cut into rounds or squares. Place shaped scones on your prepared baking sheet and freeze for 5 minutes. This final chill ensures the butter stays cold for maximum rise. Brush tops with buttermilk and sprinkle with sugar before baking.
- Bake To Golden Perfection:
- Bake for 16 to 20 minutes until the tops are golden brown and the scones feel set when lightly touched. Transfer to a cooling rack with parchment underneath to catch glaze drips.
- Glaze And Serve:
- Whisk together powdered sugar lemon juice vanilla and zest until smooth. Drizzle over cooled scones allowing it to set for 10 to 15 minutes before serving. The tangy glaze perfectly complements the subtle tea flavor and sweet berries.
The blackberries are truly the star ingredient in these scones. I learned to use fresh rather than frozen after my first attempt left me with purple dough and soggy centers. Now I look forward to summer blackberry season specifically to make these scones when the berries are at their peak sweetness.
Mastering The Cold Butter Technique
The secret to professionally flaky scones lies in keeping your butter cold throughout the entire process. I recommend cutting your butter into small cubes then freezing for 10 minutes before incorporating it into the flour mixture. Some bakers even grate frozen butter directly into the dry ingredients for perfect distribution. The tiny pockets of cold butter create steam during baking which pushes the dough apart creating those beautiful layers that define a perfect scone.
Storage And Make-Ahead Tips
These scones are best enjoyed fresh on the day they're baked but can be stored in an airtight container at room temperature for up to 2 days. For longer storage freeze the unbaked shaped scones on a baking sheet until solid then transfer to a freezer bag. You can bake them straight from frozen adding 3 to 5 minutes to the baking time. The glaze can be made ahead and stored in the refrigerator for up to a week just bring to room temperature and whisk before using.
Flavor Variations
While Earl Grey and blackberry create a sophisticated pairing you can easily adapt this recipe based on what you have available. Try orange zest with cranberries in winter or substitute raspberries for blackberries in summer. Chai tea makes a wonderful alternative to Earl Grey especially when paired with pears or apples. For those who prefer less obvious tea flavor reduce the amount to 1 tablespoon and add 1 teaspoon of vanilla bean paste to the dough.
Enjoy these scones as a delightful treat for breakfast or tea time. They are sure to impress and become a new family favorite!
Recipe FAQs
- → Can I use frozen blackberries instead of fresh?
Yes, frozen blackberries can be used as a substitute. Don't thaw them before adding to the dough—incorporate them while still frozen to prevent excess moisture and bleeding. You may need to increase baking time by 2-3 minutes.
- → How finely should I grind the Earl Grey tea?
The tea should be ground until fine but doesn't need to be powdered. A texture similar to coarse sand works well—this releases the aromatics while preventing unpleasant gritty bits in the finished scones.
- → Can I make these scones ahead of time?
Absolutely! You can prepare the dough, cut into shapes, and freeze unbaked scones for up to 3 months. Bake directly from frozen, adding 3-5 minutes to the baking time. Alternatively, baked scones freeze well for up to 1 month—just reheat and add fresh glaze before serving.
- → Why do you need to chill the dough during preparation?
Chilling the dough keeps the butter cold, which is essential for creating flaky layers in the finished scones. When cold butter hits the hot oven, it creates steam pockets that yield that classic tender, layered texture.
- → Can I substitute the buttermilk with something else?
Yes, you can make a buttermilk substitute by adding 2 teaspoons of lemon juice or vinegar to regular milk and letting it sit for 5 minutes. Alternatively, plain yogurt thinned with a bit of milk works well as a replacement.
- → What's the best way to serve these scones?
These scones are best served slightly warm, either fresh from the oven or gently reheated. They pair wonderfully with additional fresh berries, clotted cream, or even a berry jam. For a complete tea service experience, serve alongside a pot of earl grey tea.