
 Pin it
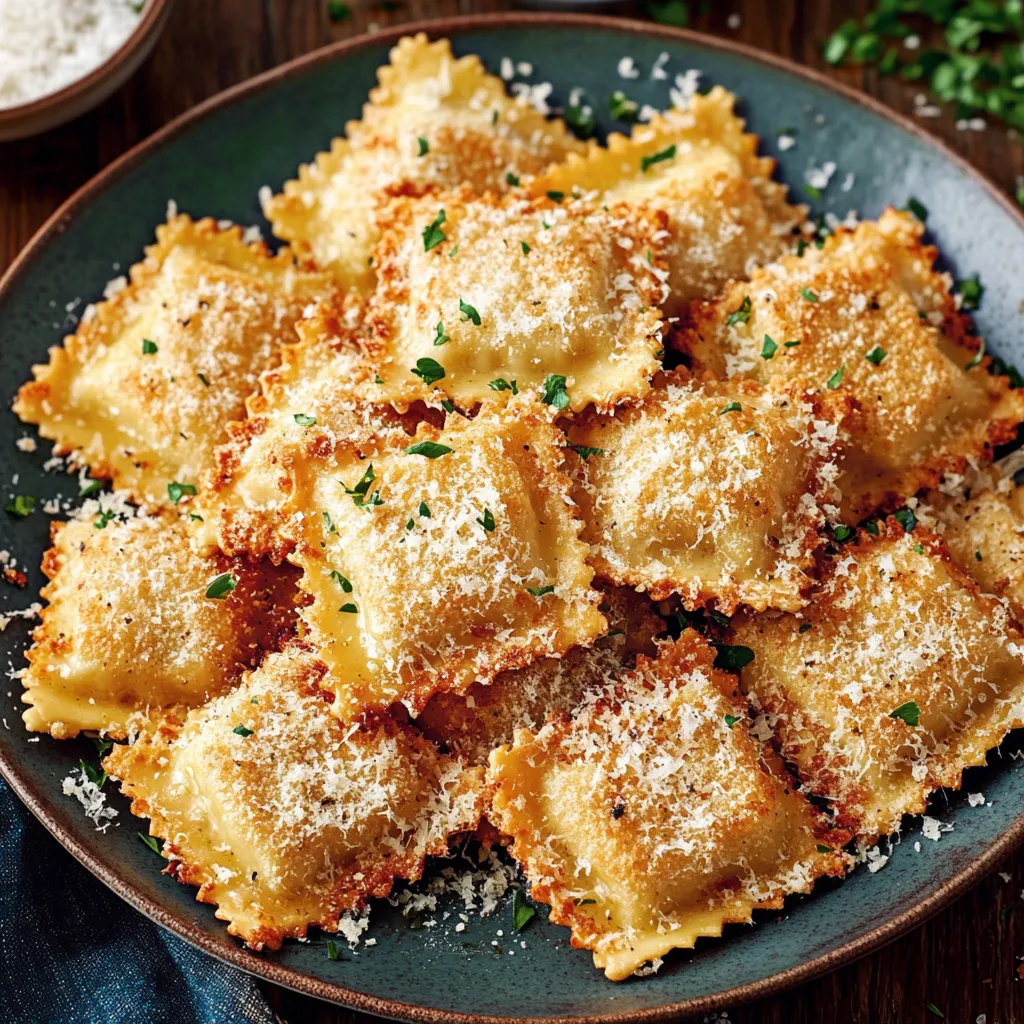
Transform ordinary store-bought ravioli into a crunchy, golden appetizer that will have everyone reaching for seconds. These oven-baked treasures combine the comfort of pasta with an irresistible crispy coating, creating the perfect balance of textures that make them impossible to resist. The secret lies in the special breadcrumb mixture that turns each ravioli into a perfectly crispy bite while keeping the filling tender and delicious.
Last weekend, I served these at my daughter's graduation party, and they disappeared faster than any other dish. Even my Italian grandmother, who usually only enjoys traditional recipes, asked for the secret behind their incredible crunch.
Ingredients For Success
- Fresh cheese ravioli: Brings the perfect tenderness and rich filling that makes this recipe special.
- Panko breadcrumbs: Create that distinctive crunch that regular breadcrumbs simply cannot match.
- Italian seasoning: Adds an authentic herb blend that complements the pasta perfectly.
- Parmesan cheese: Introduces a nutty, salty element that enhances the overall flavor.
- Garlic powder: Infuses each bite with aromatic depth.
- Eggs: Help the coating stick while adding richness to the exterior.
- Olive oil spray: Ensures even golden browning in the oven.
Crafting Your Crispy Creation
- Preparation Phase:
- Start by gathering your ingredients and preheating the oven to 425°F. Line a large baking sheet with parchment paper and ensure your workspace is clean and organized.
- Coating Creation:
- Combine the Panko breadcrumbs with freshly grated Parmesan, dried Italian herbs, and a perfect balance of garlic powder in a wide, shallow dish. This mixture will become the crispy exterior that makes these ravioli irresistible.
- Dipping Process:
- Whisk eggs with a splash of water in a separate shallow bowl until completely combined. This mixture will help our coating stick perfectly to each ravioli piece.
- Breading Technique:
- Place each ravioli into the egg wash, ensuring complete coverage before transferring to the breadcrumb mixture. Press the coating gently on both sides for maximum adherence.
- Baking Brilliance:
- Arrange the coated ravioli on your prepared baking sheet, leaving space between each piece. Spray lightly with olive oil for that perfect golden finish.
Growing up in an Italian household, Sunday dinners always featured some version of ravioli. This crispy variation became our family's special occasion treat, especially loved by my younger siblings who enjoyed helping with the breading process.
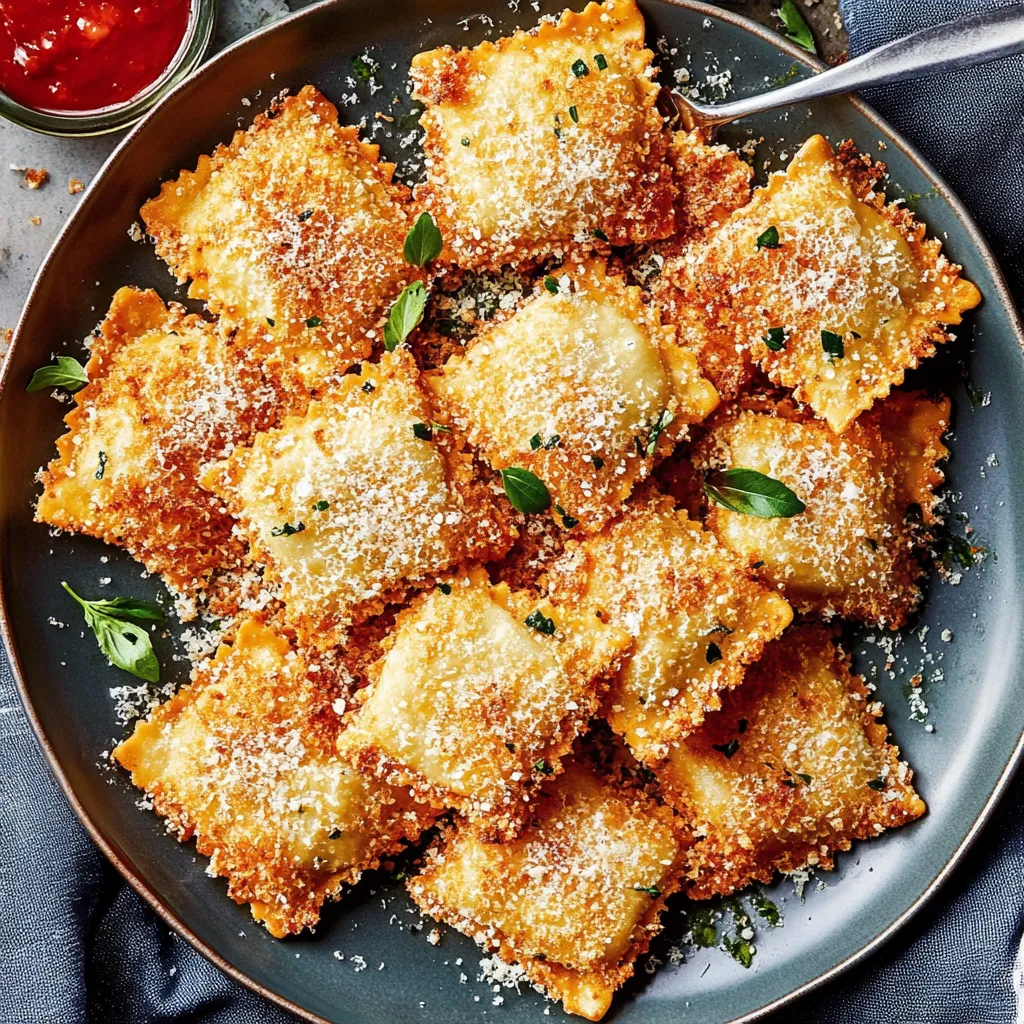
Perfect Pairings
Transform these golden bites into a complete meal experience with thoughtful accompaniments. Warm marinara sauce is a classic choice, but try serving with pesto aioli for an elevated twist. A fresh arugula salad dressed with lemon vinaigrette provides a perfect contrast to the crispy ravioli. For larger gatherings, create a dipping station with various sauces like garlic butter, spicy arrabiata, or creamy alfredo.
Creative Twists
Experiment with different ravioli fillings to create unique flavor profiles. Butternut squash ravioli offers a sweet-savory combination, while mushroom ravioli brings an earthy depth. Switch up the coating by adding crushed nuts to the breadcrumb mixture or incorporating different cheese varieties. For a spicy kick, mix red pepper flakes into the breading or serve with a spicy chipotle dipping sauce.
Keep It Fresh
Store any leftover ravioli in an airtight container in the refrigerator for up to three days. To reheat, place them on a baking sheet in a 350°F oven for 8-10 minutes until heated through and crispy again. Avoid microwaving as this will make them soggy. For longer storage, freeze uncooked breaded ravioli on a baking sheet, then transfer to a freezer bag for up to two months.
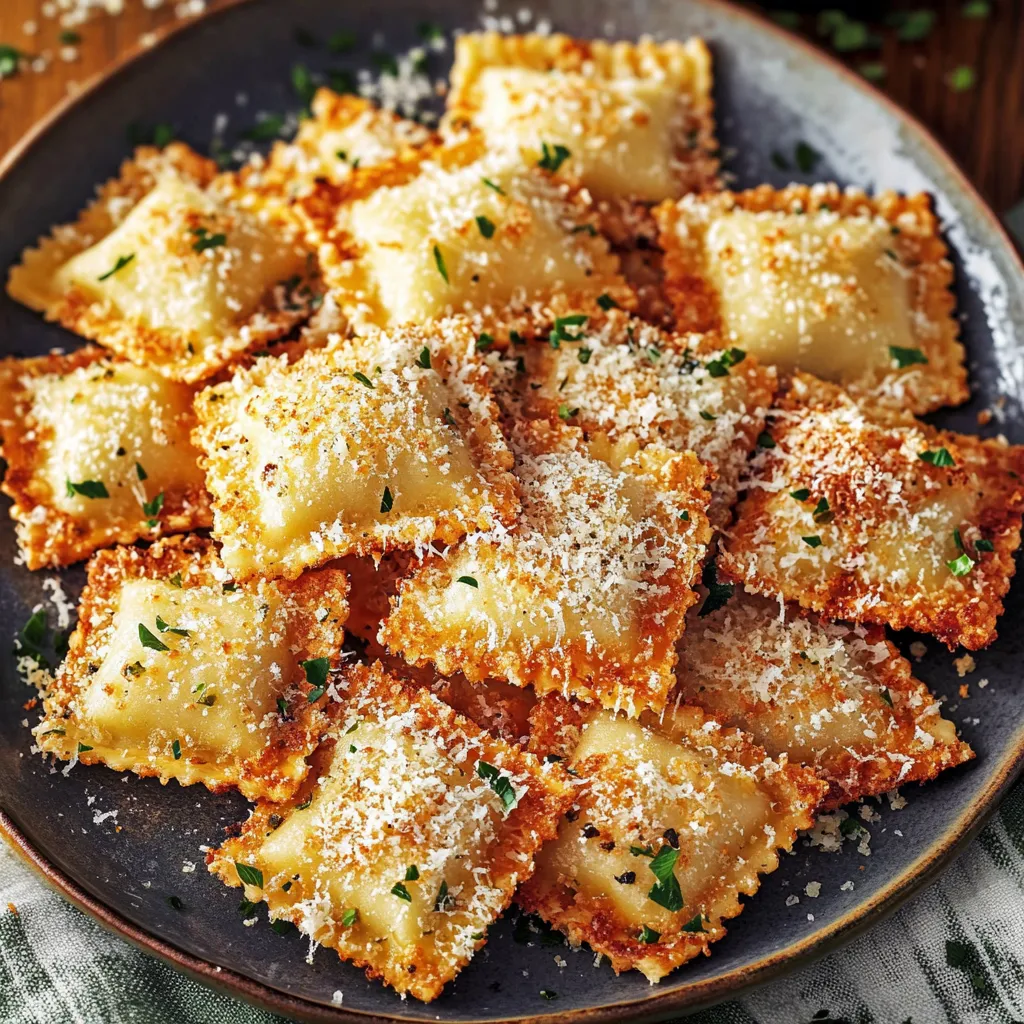
After years of perfecting this recipe, I've found that the key to success lies in patience during the breading process and not rushing the baking time. The end result should be golden brown, crispy bites that make a satisfying crunch when you bite into them. The combination of the crunchy exterior giving way to the tender, cheesy filling creates a magical moment that keeps everyone coming back for more. Whether served as an appetizer or a main course, these crispy ravioli never fail to impress and bring smiles to the table.
Recipe FAQs
- → Can I use frozen ravioli instead of fresh?
- Fresh ravioli works best for this recipe as frozen ravioli contains more moisture and may not get as crispy. If using frozen, thaw completely and pat dry before coating.
- → How do I store leftover toasted ravioli?
- Store cooled ravioli in an airtight container in the fridge for up to 3 days. Reheat in the oven at 350°F for 5-10 minutes to restore crispiness.
- → What type of marinara sauce works best for dipping?
- Any marinara sauce you enjoy works great - use your favorite jarred sauce or homemade. Warm it slightly before serving for the best dipping experience.
- → Why do you use a wire rack when baking?
- The wire rack allows hot air to circulate around the entire ravioli, ensuring even browning and crispiness on all sides without having to flip them.
- → Can I make these ahead of time?
- You can coat the ravioli up to 2 hours ahead and keep them refrigerated until ready to bake. For best results, bake just before serving to ensure maximum crispiness.