
 Pin it
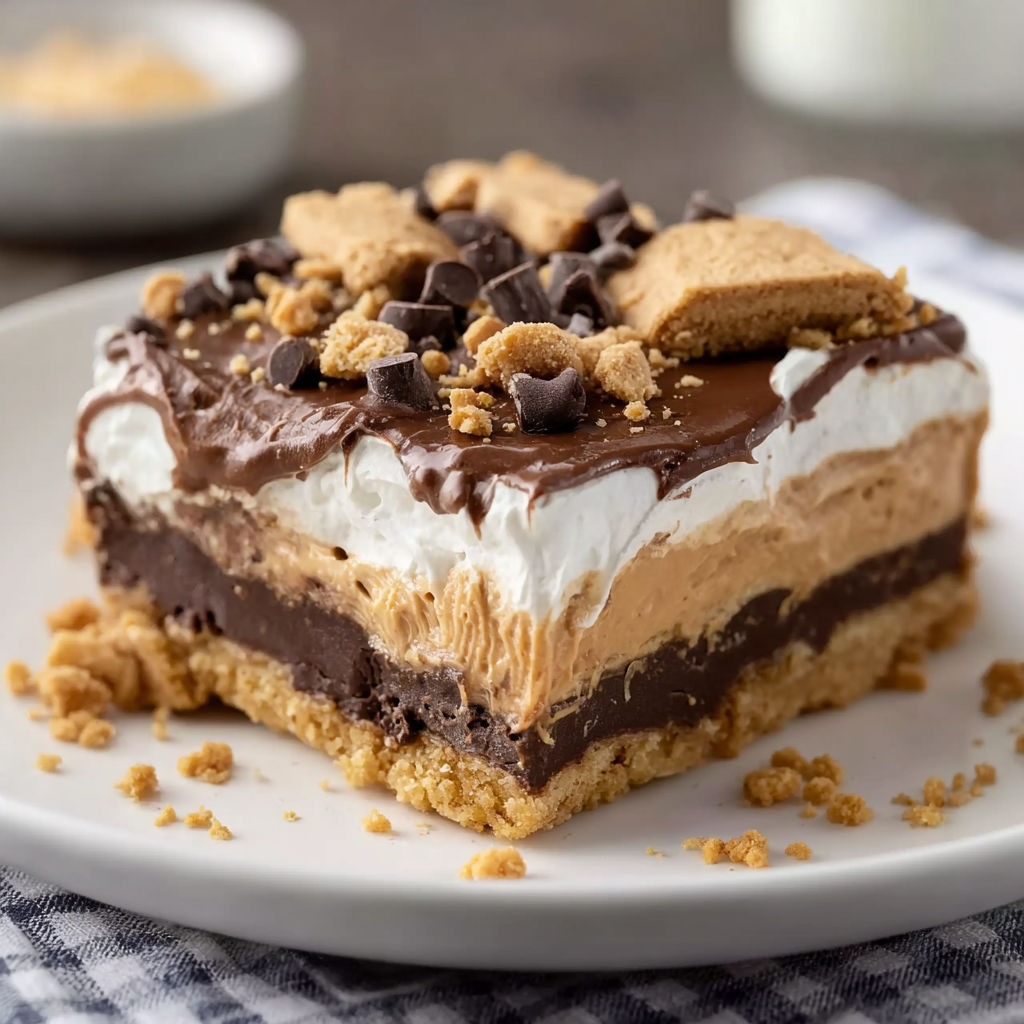
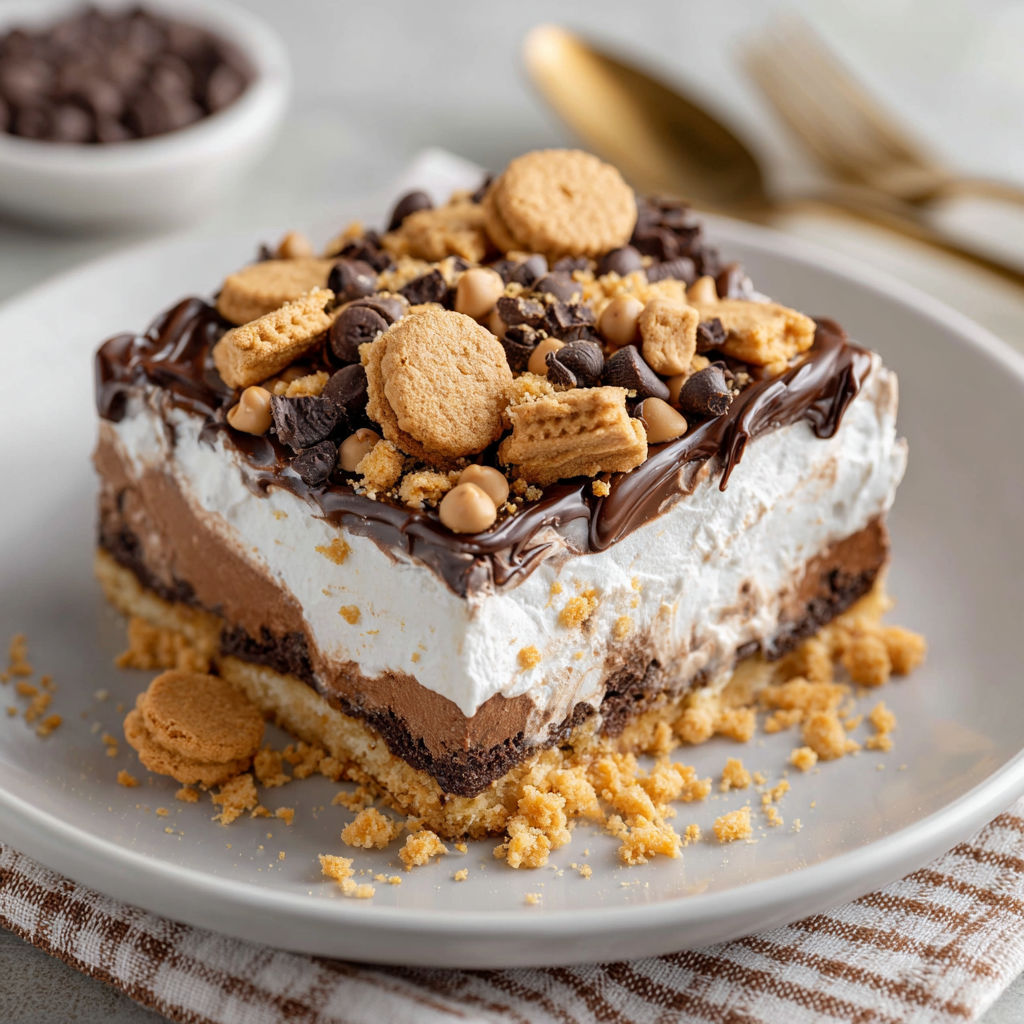
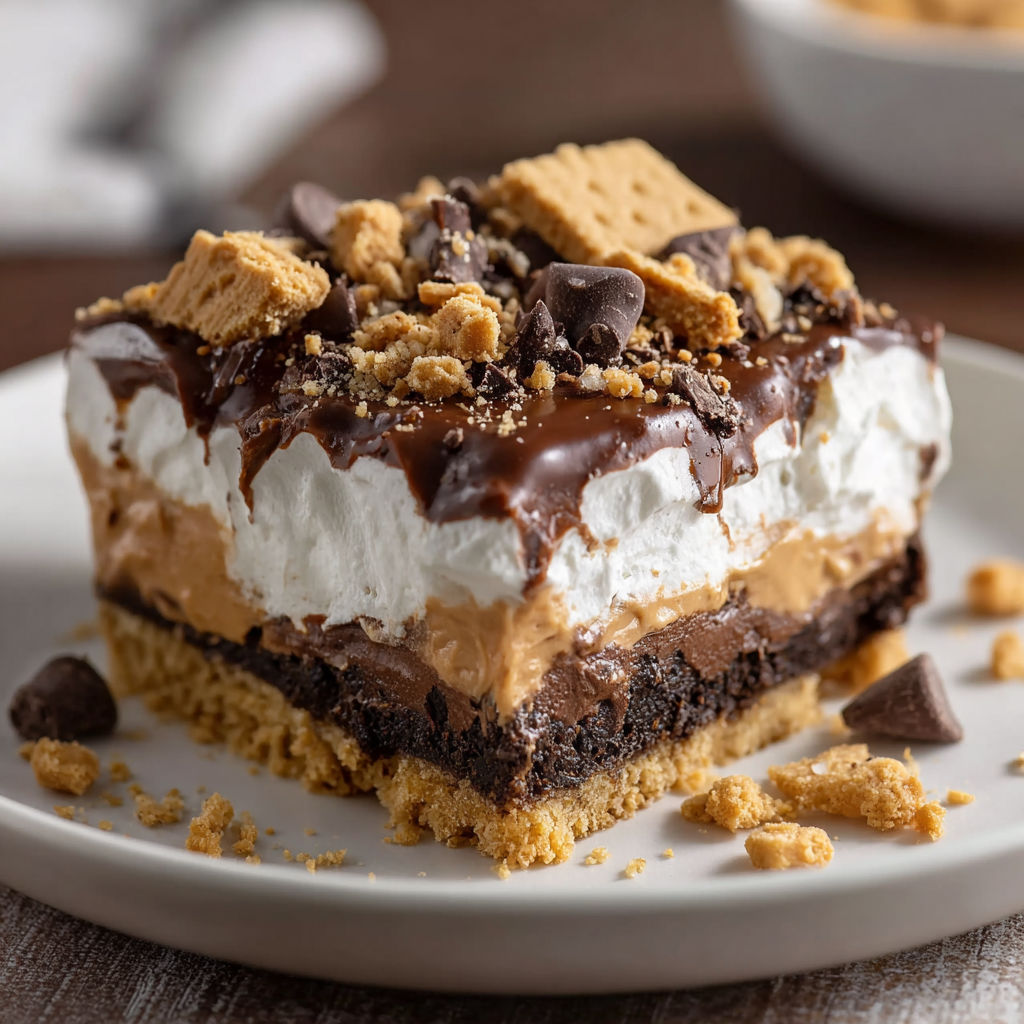
Meet the Chocolate Peanut Butter Dessert Dream Bar that always cracks a smile at the table. This easy bar layers crunchy cookies a smooth peanut butter blend and rich chocolate pudding into cool squares that disappear faster than I ever expect. Perfect for potlucks birthdays or when you crave something decadent and nostalgic without fussing over the oven.
I first brought these bars to a family card night and had to scribble the recipe for three guests before coffee was even poured. Now it is everyone’s favorite for birthdays.
Ingredients
- Peanut butter sandwich cookies: use your favorite brand and pick ones with a strong peanut butter flavor for the best base
- Unsalted butter: binds the cookie base together and adds rich undertones using fresh butter matters
- Instant chocolate pudding: brings a deep chocolate punch opt for a reputable brand for consistent thickness
- Whole milk: needed for creamy pudding do not use reduced-fat or your filling might be runny
- Cream cheese: for the peanut butter layer adds just the right tangy balance always use softened to avoid lumps
- Powdered sugar: sweetens the peanut butter layer and ensures smoothness sift before measuring
- Creamy peanut butter: gives signature flavor avoid natural brands that separate
- Whipped topping: creates a light pillow layer chill before using to keep it fluffy
- Milk chocolate chips: scatter across the top for a sweet contrast go for high-quality chips that melt evenly
- Peanut butter chips: reinforce the nutty flavor and add extra creamy bites
- Reserved crushed cookies: sprinkled on top give crunch and a nostalgic finish crush just before using for freshness
Instructions
- Prepare the Baking Pan:
- Line an 8-inch square pan with a light coating of nonstick spray making sure the corners are covered so nothing sticks later
- Make the Cookie Crust:
- Mix crushed peanut butter cookies with melted butter in a small bowl and stir until every crumb is shiny with butter. Press into an even layer across the pan’s bottom use a flat measuring cup for a firm compact base. Bake the crust at 350 degrees for 10 minutes then cool it completely which keeps it crisp for layering
- Whip Up the Chocolate Pudding:
- Beat instant pudding mix and milk in a bowl until it thickens into a smooth and spreadable consistency. Layer chocolate pudding over the cooled crust using a spatula to smooth every corner then chill so it firms
- Blend the Peanut Butter Layer:
- Beat softened cream cheese until smooth and airy about one minute. Add creamy peanut butter and keep mixing to make a uniform blend. On low speed add powdered sugar and mix until there are no streaks left
- Layer with Whipped Topping:
- Spread the peanut butter mixture evenly over the chilled chocolate layer. Spoon the whipped topping over the peanut butter and use gentle strokes for a soft cloud effect
- Top and Finish:
- Sprinkle milk chocolate chips and peanut butter chips over the top so each bite has a pop of chocolate. Scatter reserved crushed sandwich cookies last for a mix of pretty texture and extra flavor. Chill the fully assembled bars in the fridge for two hours before cutting into perfect squares
I am obsessed with the crushed cookie topping on these Bars because it makes every bite just a little bit fun and unexpected. My kids love helping with that part and it always sparks a lot of laughter in the kitchen.
Storage Tips
Cover leftovers tightly and keep them in the refrigerator for up to four days. If you want to freeze slices wrap each piece in plastic wrap place them in an airtight container and freeze up to a month. Thaw in the refrigerator before serving for the best texture.
Ingredient Substitutions
You can use chocolate sandwich cookies instead of peanut butter if that is what you have. Neufchatel works in place of cream cheese for a lower-fat version. Homemade stabilized whipped cream swaps well for store-bought whipped topping if you prefer to control the sweetness.
Serving Suggestions
Serve chilled for defined layers or let the bars warm for a few minutes for a softer fork. A drizzle of chocolate syrup and a sprinkle of chopped roasted peanuts take these from fun treat to showstopper on any dessert tray.
Cultural and Historical Context
The chocolate peanut butter pairing has classic American roots and became popular with the rise of ready-to-eat peanut butter in the early 20th century. Bar desserts like this grew in popularity for their easy transport and family-friendly assembly that fit fast-paced modern kitchens.
Seasonal Adaptations
Top with seasonal candies for holidays. Mix a little cinnamon into the crust for autumn flavor. Add fresh sliced strawberries in summer for a peanut butter cup and fruit twist.
Success Stories
My niece once asked for a whole pan as her birthday cake and the rest of the family went along without protest. I have also sent these bars with my husband to work parties where his coworkers never leave a crumb behind.
Freezer Meal Conversion
Wrap the cut squares separately for easy grab-and-go treats. Place waxed paper between stacked bars to prevent sticking. These are perfect for making ahead when you want a ready-to-share dessert stash.
Enjoy every cool decadent bite and let everyone fight over the last one. These dreamy bars will make any gathering sweeter.
Recipe FAQs
- → Do I need to bake the cookie base?
Yes, baking the cookie crumb base helps set the bottom layer and creates a firmer foundation for the bars.
- → How long should I chill the bars before serving?
Chill for at least 2 hours. Longer chilling helps the layers set even better for cleaner slices.
- → Can I use homemade whipped cream instead of whipped topping?
Homemade whipped cream can be used, but make sure to whip it to stiff peaks for the best texture.
- → What kind of peanut butter is best for the filling?
Creamy peanut butter works best as it blends smoothly with cream cheese and powdered sugar.
- → Can I make this dessert ahead of time?
Yes, it's ideal for advance preparation and actually tastes better as the layers have more time to set.