
 Pin it
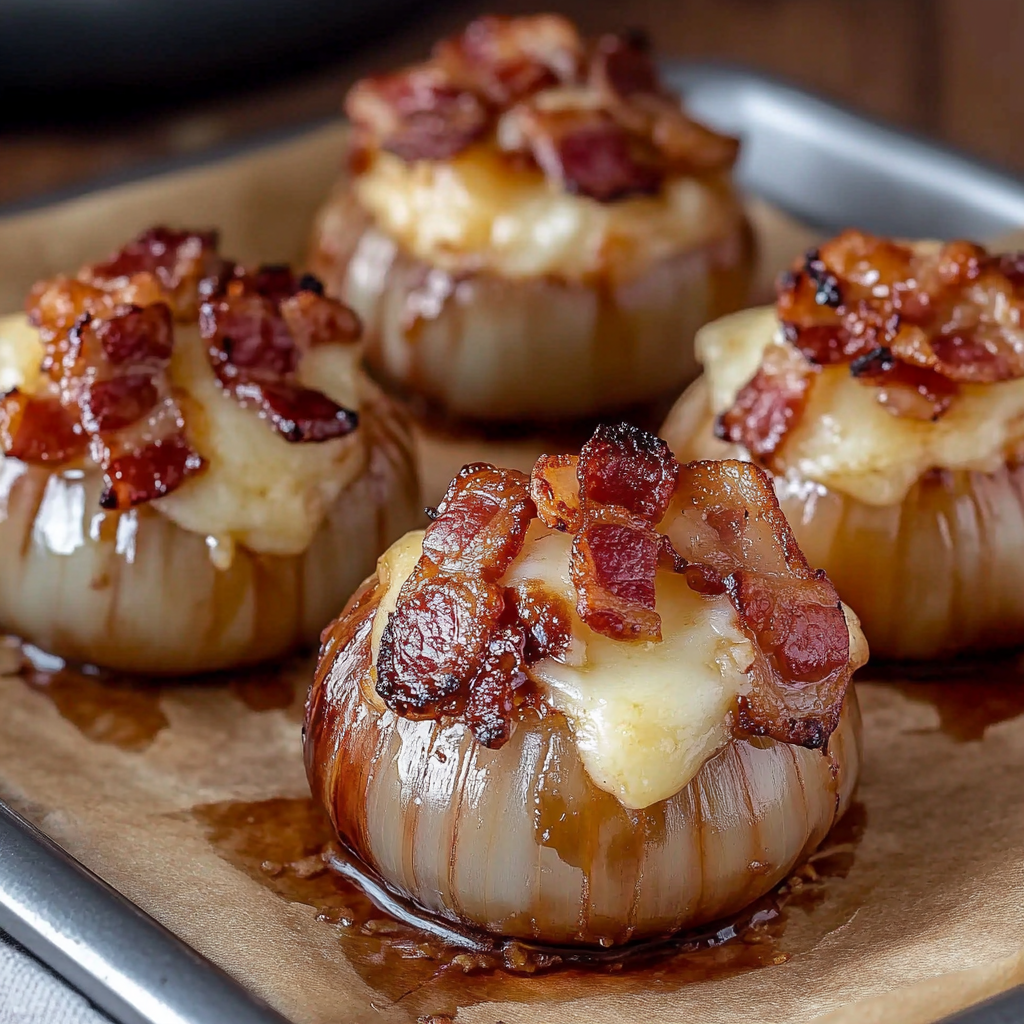
These Bacon Cheddar Onion Bombs deliver a powerful hit of comfort food with every bite—melty cheddar, smoky bacon, savory beef, and sweet onion all wrapped up in one glorious package. They look impressive for a party spread but secretly come together with everyday ingredients.
These bomb-style meatballs have sparked friendly sibling rivalries at our table over who gets the cheesiest one. Being able to prep ahead and bake as guests arrive makes them my go-to for casual entertaining.
Ingredients
- Yellow onions: Look for medium-sized onions that feel heavy and have tight outer skins for best peeling
- Lean ground beef: Choose a 93 percent lean 7 percent fat blend so the bombs hold together tightly and cook evenly
- Bread crumbs: Helps bind the filling and keeps it juicy select plain or panko for a lighter texture
- Large egg: This is the secret to firm meatballs that do not fall apart
- Whole milk: Adds moisture and a bit of tenderness
- Barbecue sauce: Sweet Baby Rays original works perfectly for tangy glaze
- Garlic powder and onion powder: Enhances savoriness and echo the fresh onions
- Salt and black pepper: Go for kosher salt and freshly ground pepper for best flavor
- Cheddar cheese cubes: Use sharp cheddar for optimum melt and punch
- Center cut smoked bacon: It crisps beautifully and fits snugly around each bomb
Instructions
- Prepare Equipment and Oven:
- Preheat your oven to 425 degrees Fahrenheit. Line a large rimmed baking sheet with aluminum foil for easy cleanup and set aside
- Prep the Onions:
- Slice the top and bottom off each onion then carefully peel. Slice each onion in half from top to bottom and remove the two thickest outer layers. You want the largest possible layers to help form a shell
- Mix the Filling:
- In a large bowl combine the ground beef bread crumbs egg milk three tablespoons barbecue sauce garlic powder onion powder salt and pepper. Use your hands or a wooden spoon to gently mix everything until the ingredients are distributed but avoid overmixing
- Portion the Meat:
- Divide your seasoned meat mixture into eight even portions. Damp hands make this less sticky
- Stuff with Cheese:
- Flatten one meat portion in your palm to a round disc about three or four inches wide. Tuck a cheddar cube in the center and seal the meat around it forming a stuffed meatball
- Assemble Onion Bombs:
- Take two onion layer halves and wrap them securely around the meatball ensuring coverage on all sides. Overlapping is fine
- Wrap in Bacon:
- Lay two bacon strips in an X shape and set the onion wrapped bomb in the center. Wrap the ends up and around and secure with a toothpick if needed
- Arrange and Bake:
- Place each bacon onion bomb on your lined baking sheet giving them space to crisp. Bake for thirty minutes in the preheated oven
- Glaze and Finish:
- Remove the tray and brush each bomb with the remaining barbecue sauce covering the tops and sides for maximum sticky crust. Put them back in the oven and bake another ten to fifteen minutes until the bacon is caramelized and the inside hits at least 160 degrees Fahrenheit
- Rest and Serve:
- Let the bombs cool five minutes before serving so the cheese settles and the juices lock in
Watching the cheese bubble out after baking always gets cheers at our house. I love the way the smoky bacon scent fills the whole kitchen and reminds me of summer barbecues with my dad who taught me to always go heavy on the sauce.
Storage Tips
Store leftovers in an airtight container in the fridge for up to three days. Reheat in the oven at 350 degrees Fahrenheit so the bacon crisps again. For longer storage freeze individual bombs tightly wrapped then bake from frozen at 350 degrees until hot and bubbly throughout
Ingredient Substitutions
Try ground turkey in place of beef or swap in mozzarella or pepper jack for a different cheesy core. For a sweeter touch use a honey based barbecue sauce. Gluten free bread crumbs keep this friendly for all eaters
Serving Suggestions
Serve these bombs over mashed potatoes or buttered rice to catch any barbecue juices. If you want a lighter meal toss together a crisp green salad dressed in a tangy vinaigrette. They are also fantastic as a game day finger food cut in halves or quarters
Cultural and Seasonal Variations
This recipe is inspired by American backyard grilling classics. When summer peak hits and fresh onions are abundant these taste even sweeter. In cooler months I sometimes add a pinch of smoked paprika to the filling or use applewood smoked bacon for extra warmth
Give these a try at your next gathering—they are guaranteed to disappear fast. With minimal fuss and maximum cheesy payoff, they will make you the hero of any table.
Recipe FAQs
- → How do I keep the bacon crispy?
Bake uncovered at a high temperature and consider broiling briefly if you want extra crispiness on the bacon.
- → Can I use a different cheese inside?
Yes, try pepper jack, mozzarella, or gouda for different flavors and melting qualities.
- → What type of onion works best?
Medium-sized yellow onions provide a sweet, mild flavor and hold their shape during baking.
- → Is toothpick securing necessary?
Toothpicks help keep bacon in place but can be omitted if bacon overlaps securely around each bomb.
- → Can I prepare these ahead of time?
Yes, assemble and refrigerate them for several hours before baking to save time and enhance flavor blending.
- → How do I ensure even cooking?
Space onion bombs apart on the baking sheet and check internal temperature for doneness (at least 160°F).